Templates
How to submit Templates for approval from Whatsapp through Gupshup Enterprise
- Login to Gupshup Enterprise Dashboard: https://unify.smsgupshup.com/WhatsApp/Analytics/ You can find the Gupshup credentials in the email shared by the Gupshup team.
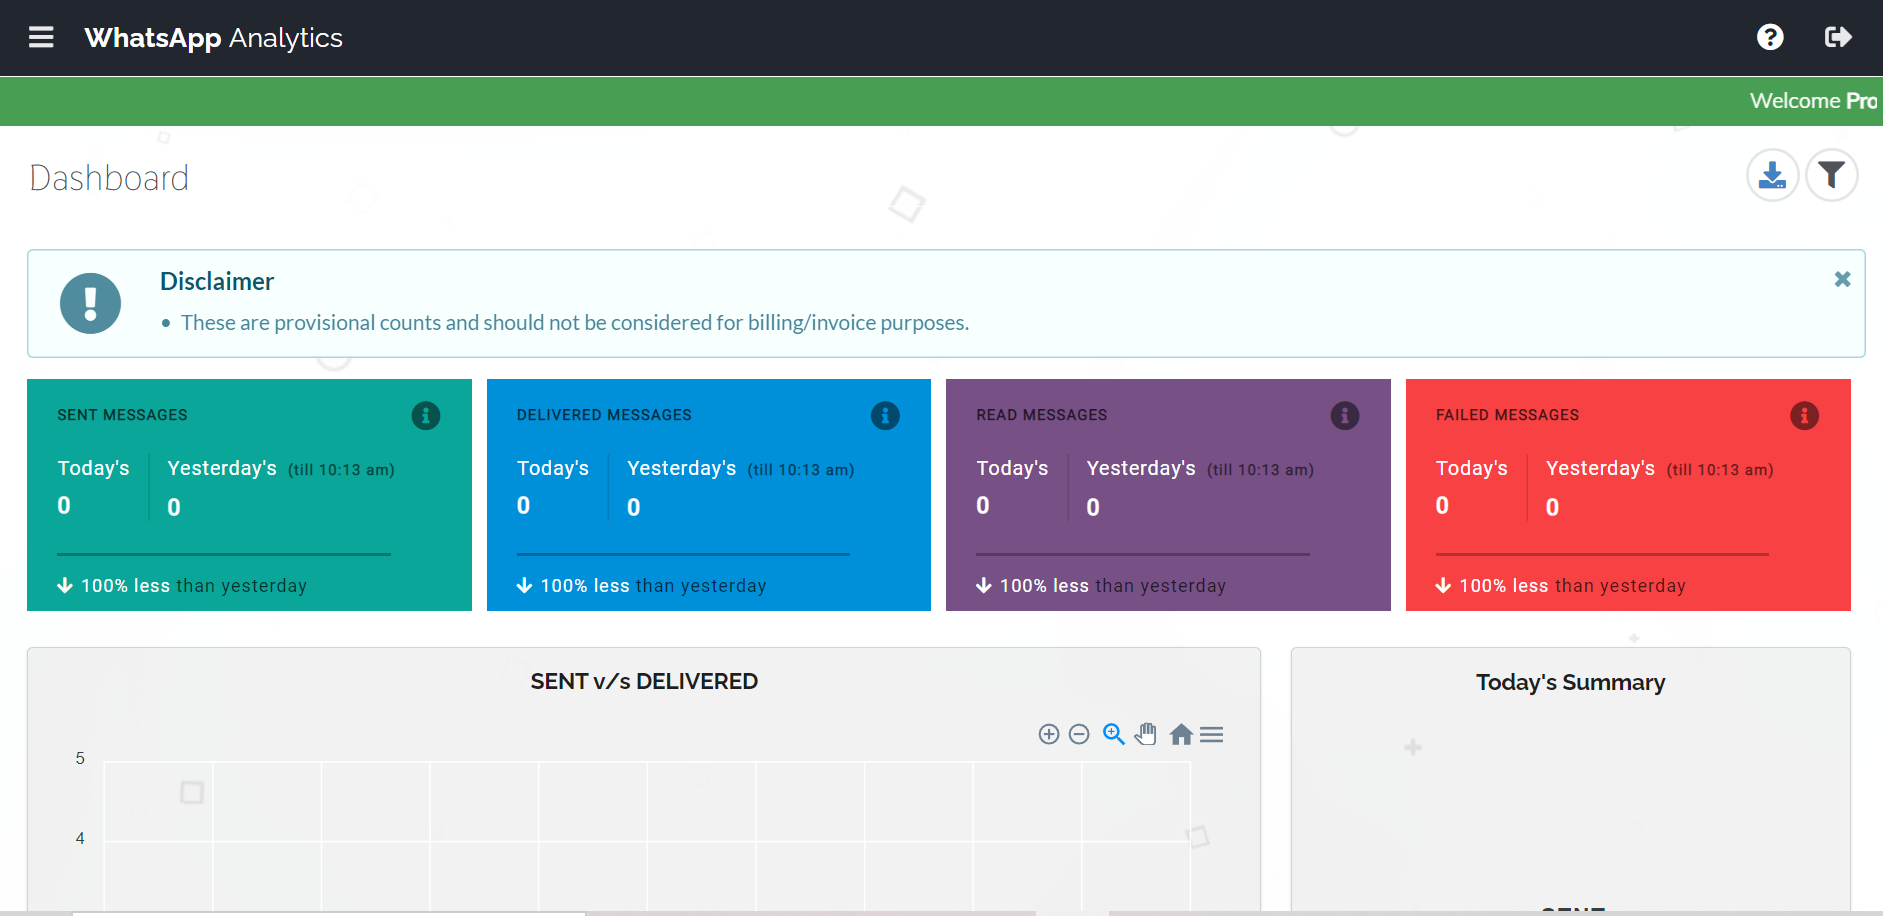
- Click on ≡ from the top left pane.
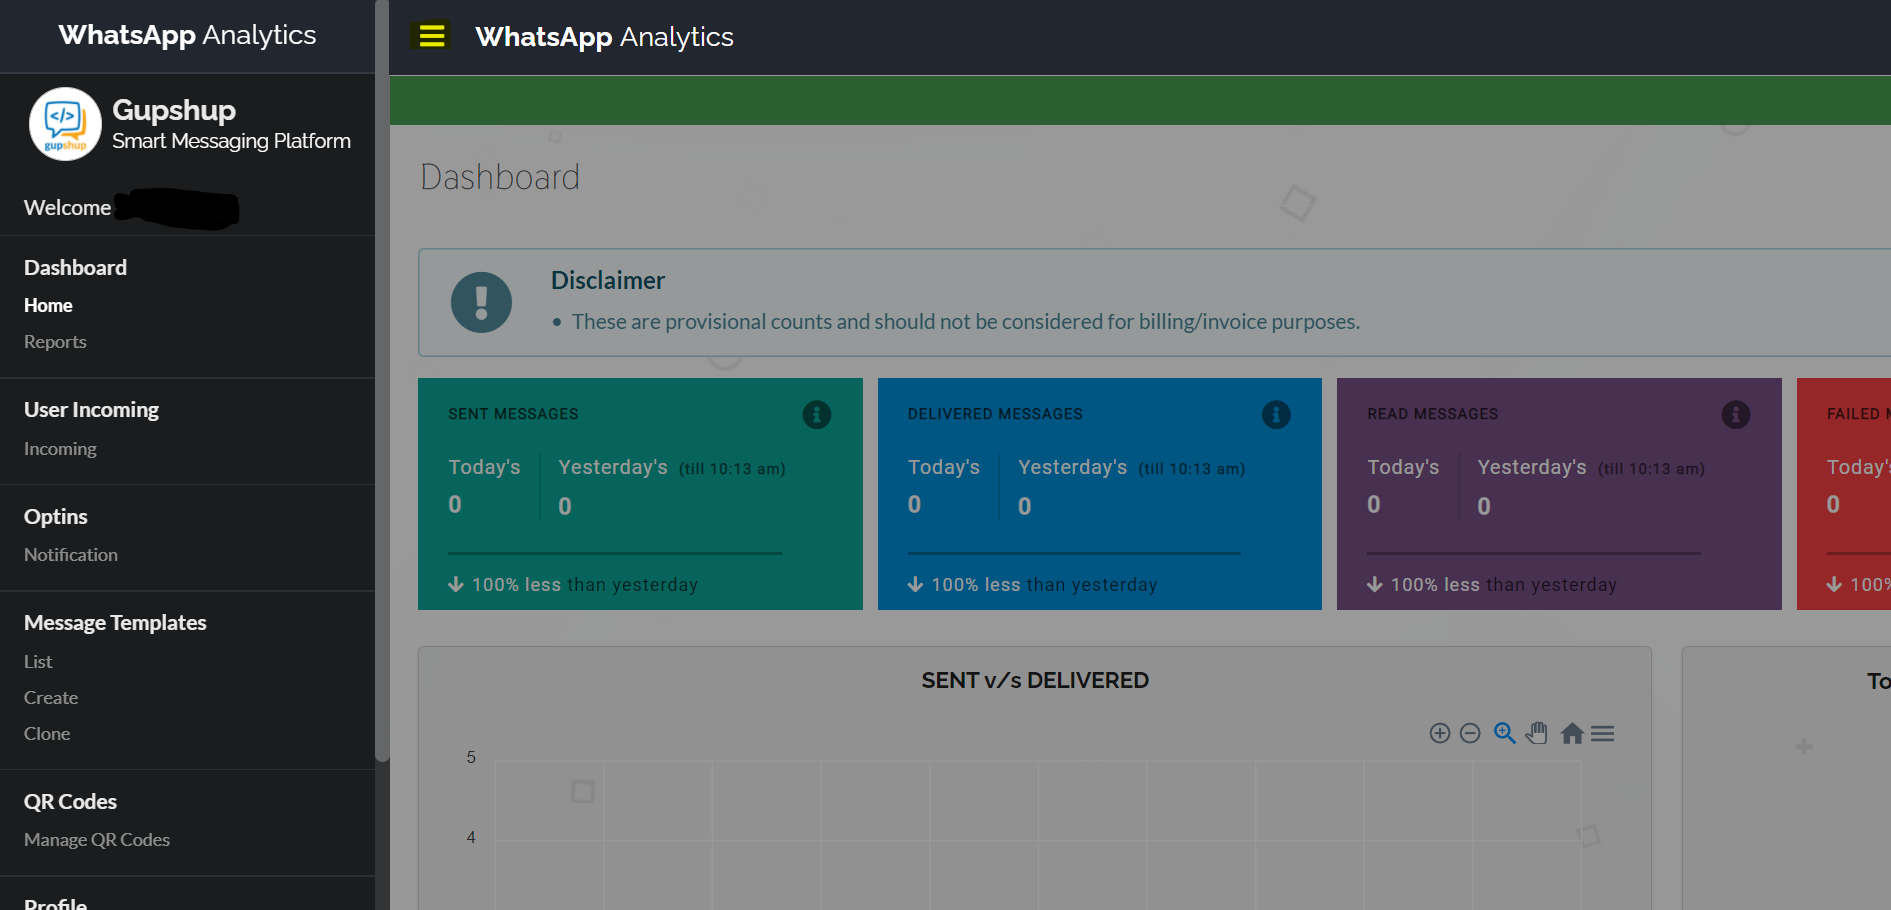
- Scroll to Message Templates and then click on Create.
- A form will appear (as shown in the below screenshot). The fields to fill are described below:
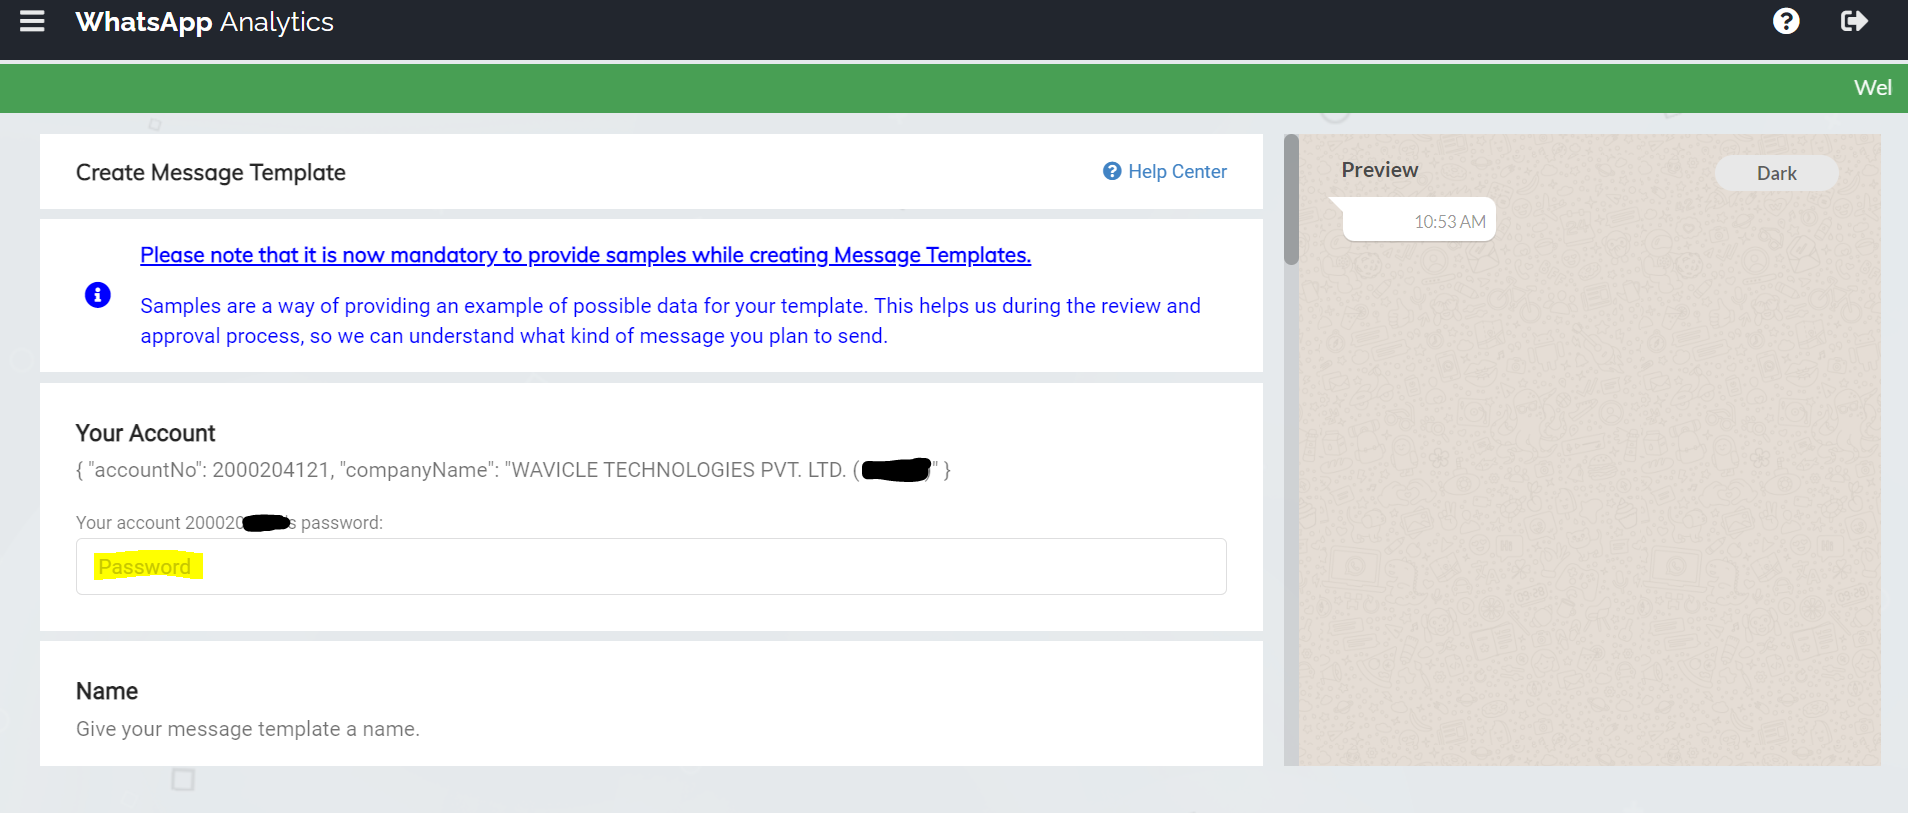
The fields to fill are described below:
- Your Account: Fill in the password for your account; credentials would be the HSM username along with the HSM password (which you can find in the email shared by the Gupshup team).
- Name: This is where you give a name to your template. Template names can only contain letters, numbers, and underscores (e.g., Limechat_ABC, we recommend naming the templates in such a way that you can easily find them later).
- Category: There is a list of pre-defined categories given by WhatsApp. You choose the one which suits best to your template. (Since all our templates would be sent as an Alert, you can select the category to be Alert Update.)
- Template Type: This is a drop-down menu. This is used to define what is your template type — Text, Media.
- Language: This is a drop-down menu. It is used to select the language for your template.
- Header: This is optional. It allows you to add a title/header to the message. You can add up to 60 characters. However, you cannot use any special character or emoji in here.
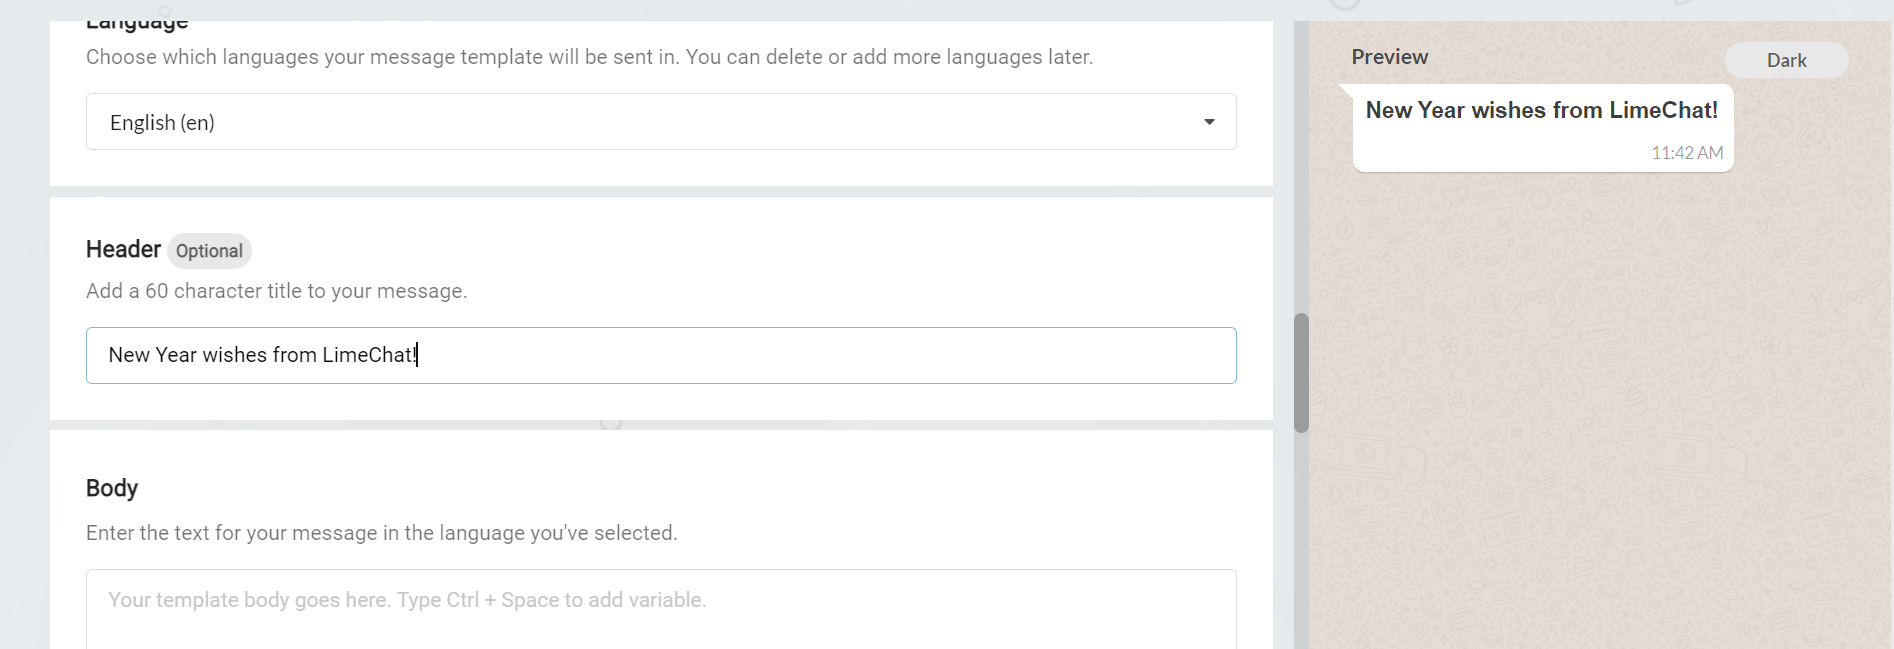
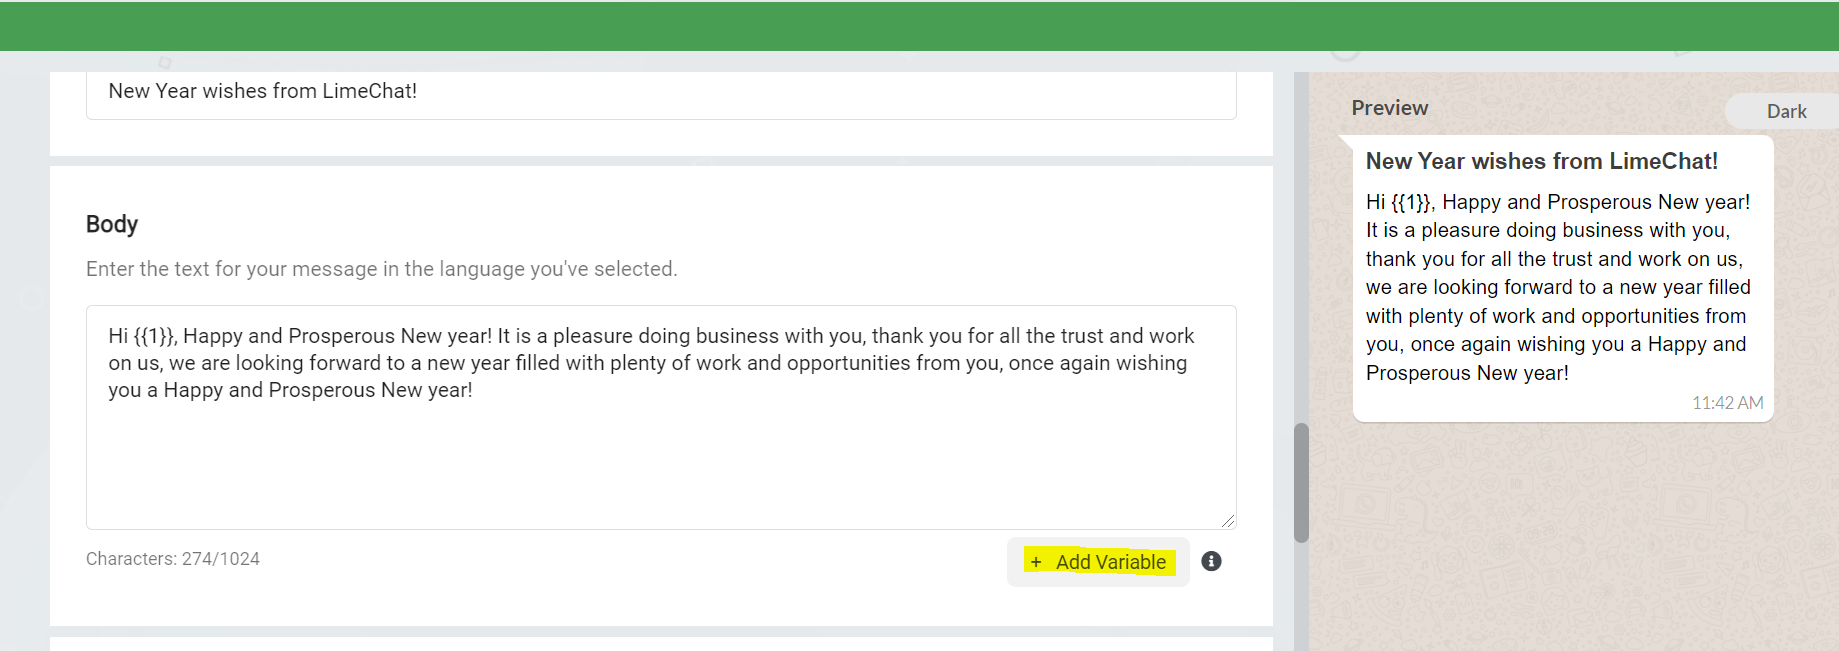
Body: Enter the text for the message. You can add up to 1024 characters. Can contain special characters and emojis.
Note: Please do not use the sign “|” (commonly termed as Pipe) anywhere in the template.
To add Variable click on + Add Variable.
Footer: This is optional. Add an ending message, up to 60 characters. Like the header you cannot use any special character or emoji in here.
Example: Powered by LimeChat — type UNSUB to stop
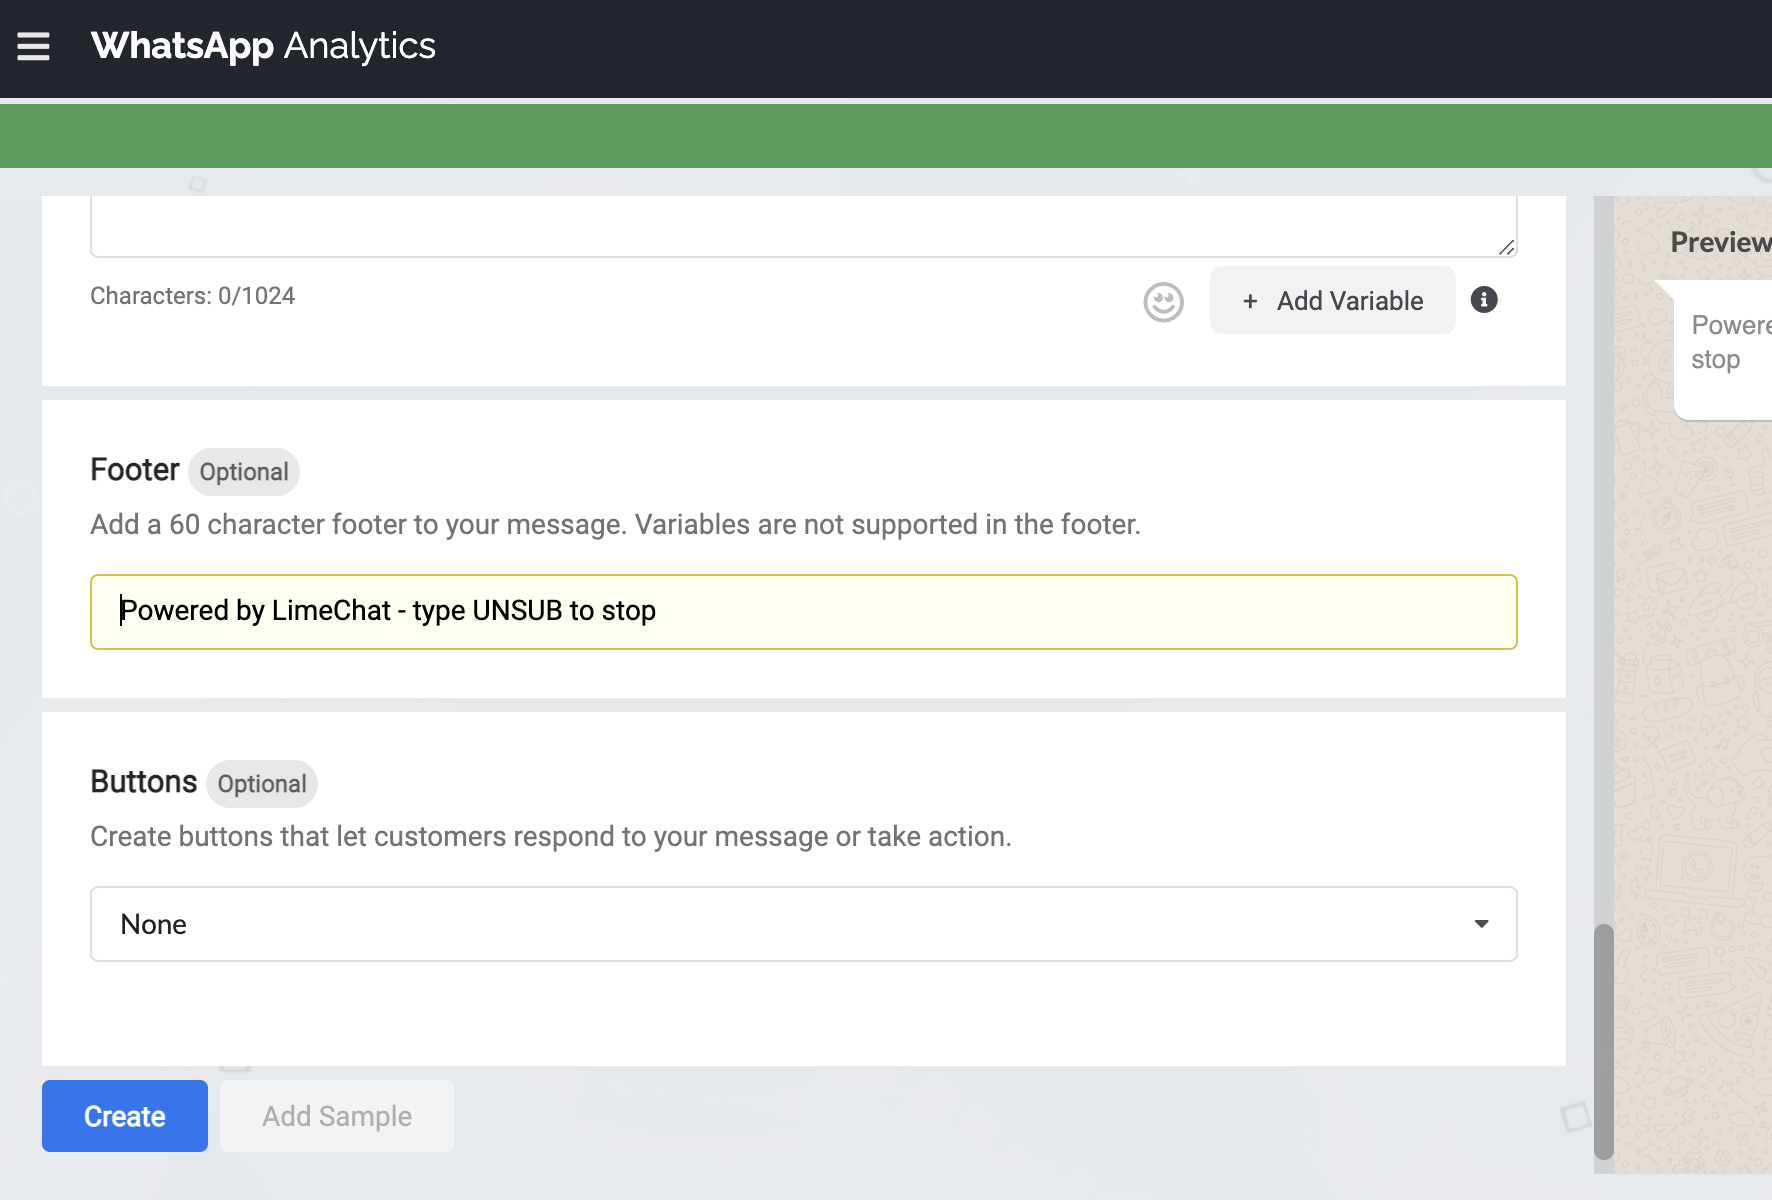
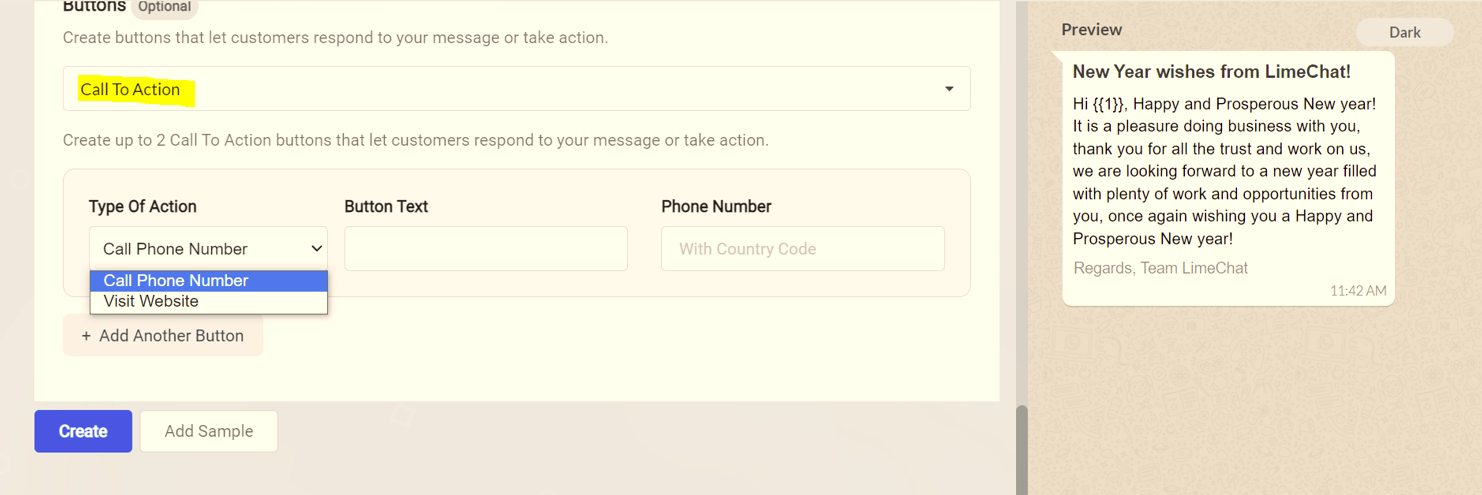
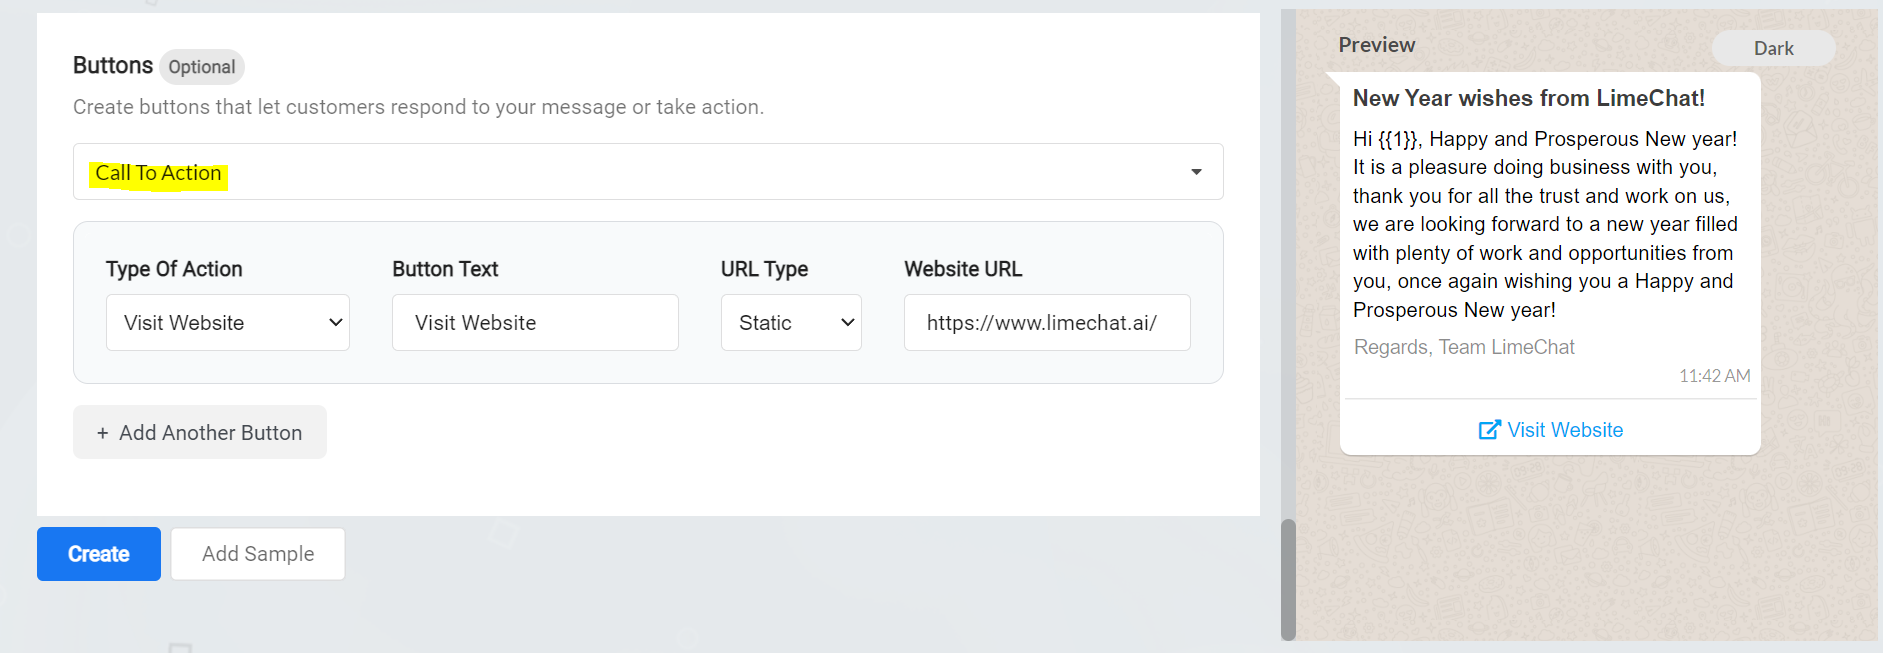
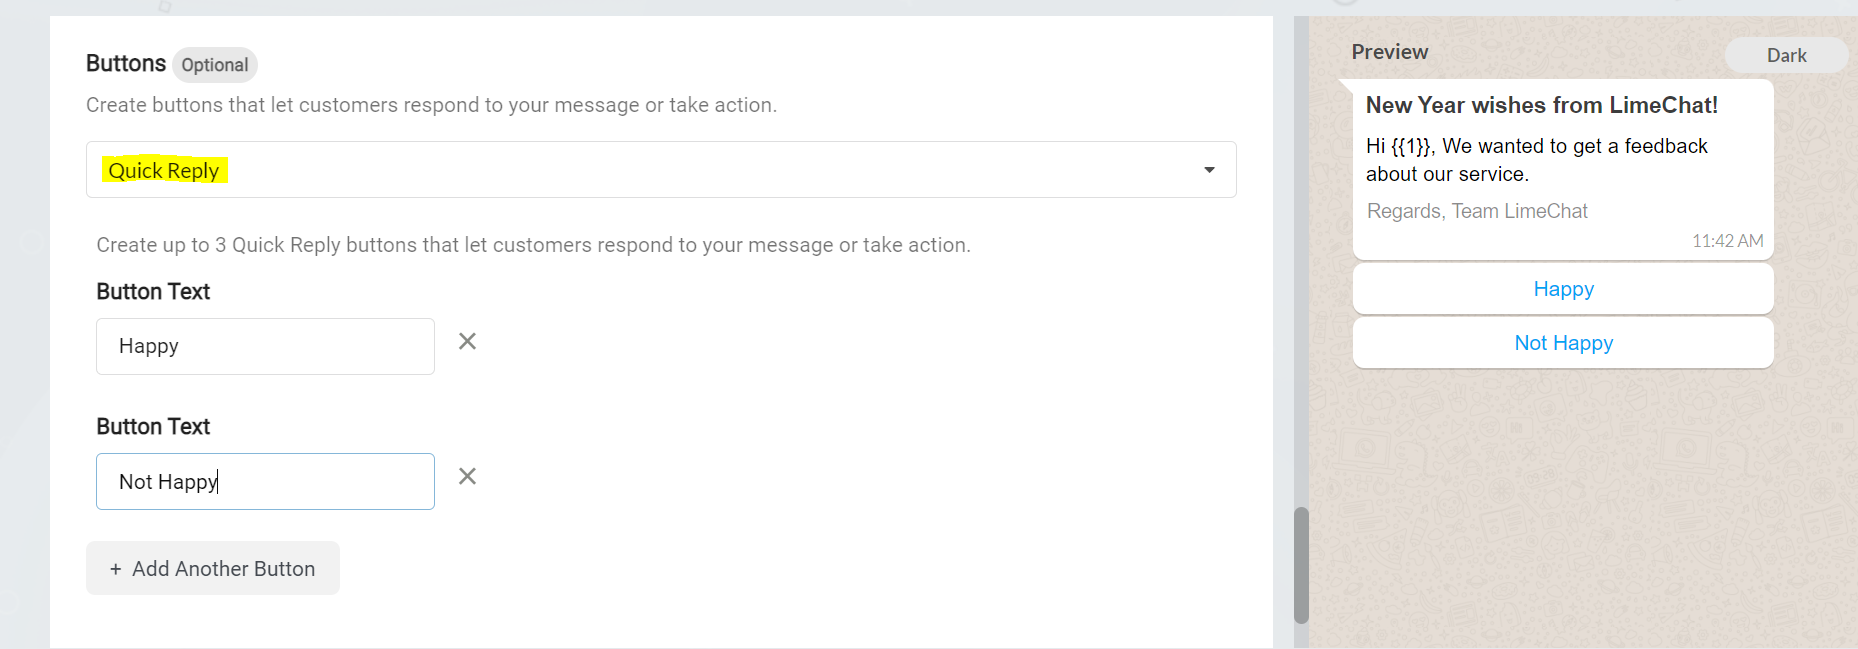
- Buttons: This is optional. Here you describe if you want to put an interactive action to your template. You can select: None: If no buttons need to be added Call to Action: You can create up to 2 Action Buttons — Call Phone Number and Visit Website.
Quick Replies: Create up to 3 Quick Reply buttons that let customers respond to your message or take action.
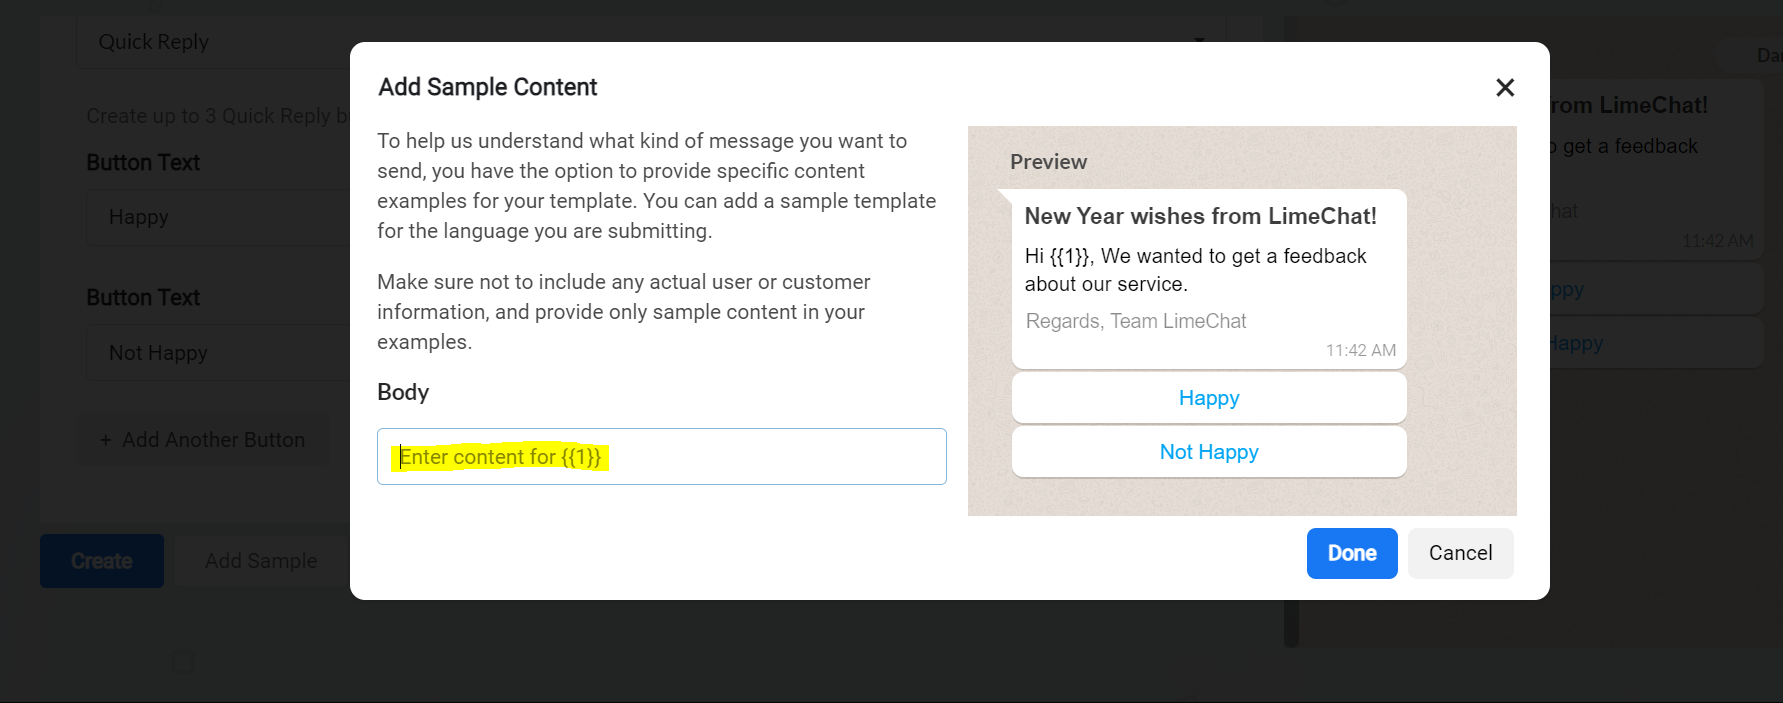
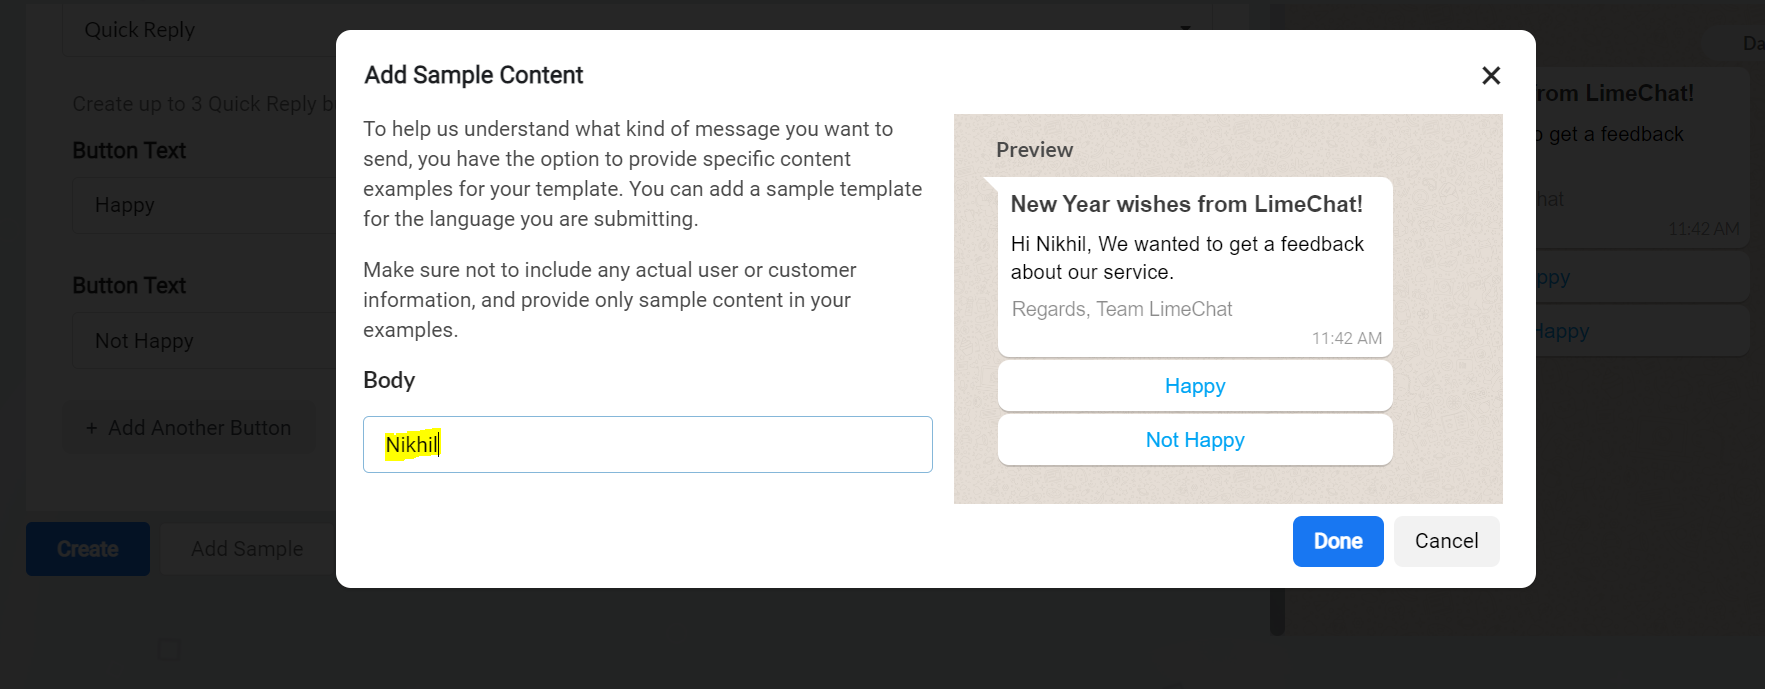
- Add Sample: It is compulsory to provide a sample message. To help WhatsApp understand what kind of message you want to send, you have the option to provide specific content examples for your template. Add sample content in your examples for Variables, i.e., whenever you’re using any variable in the template you will have to provide a sample message.
Next actions:
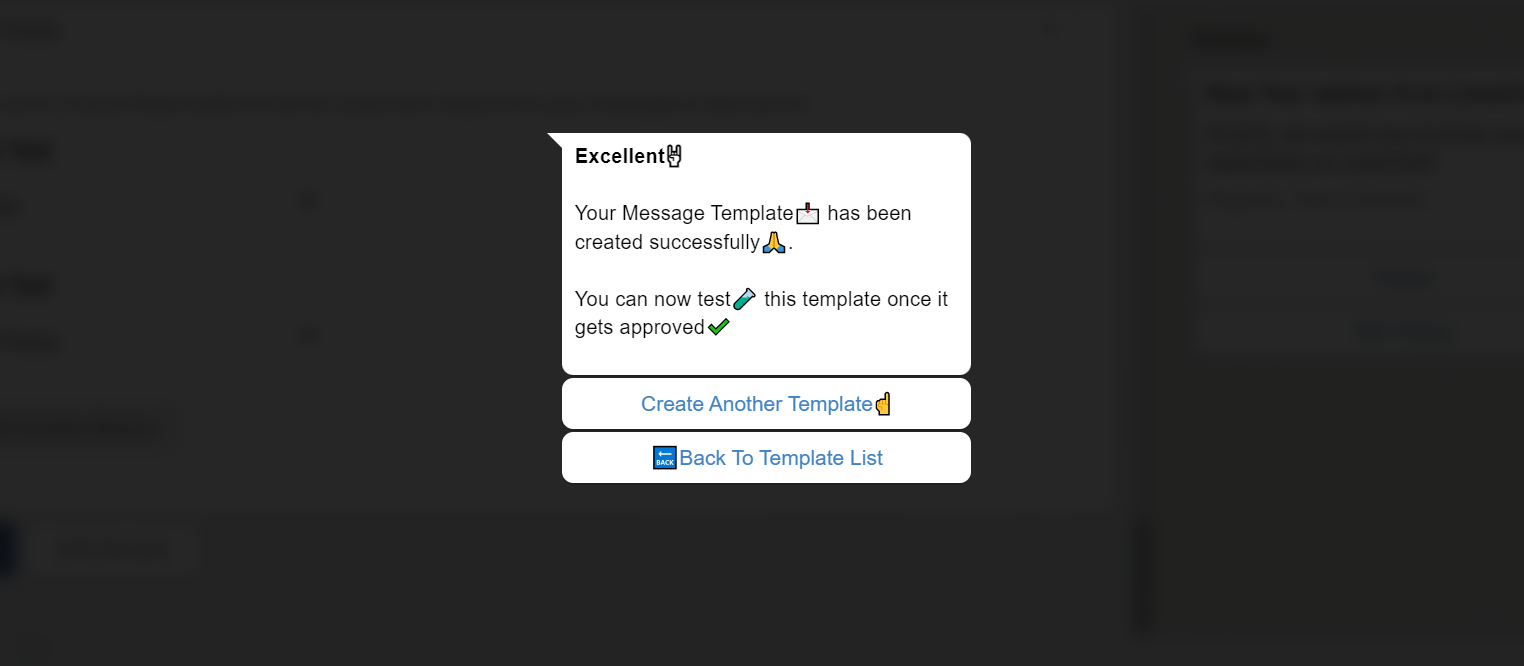
- Once the Template is applied, you can create another template or check the template list.
- Templates can get approved or rejected in 15 minutes – 24 hours.
- Steps to check Submitted Templates:
You will have to navigate to Message Templates > Click on List. Check template status here.
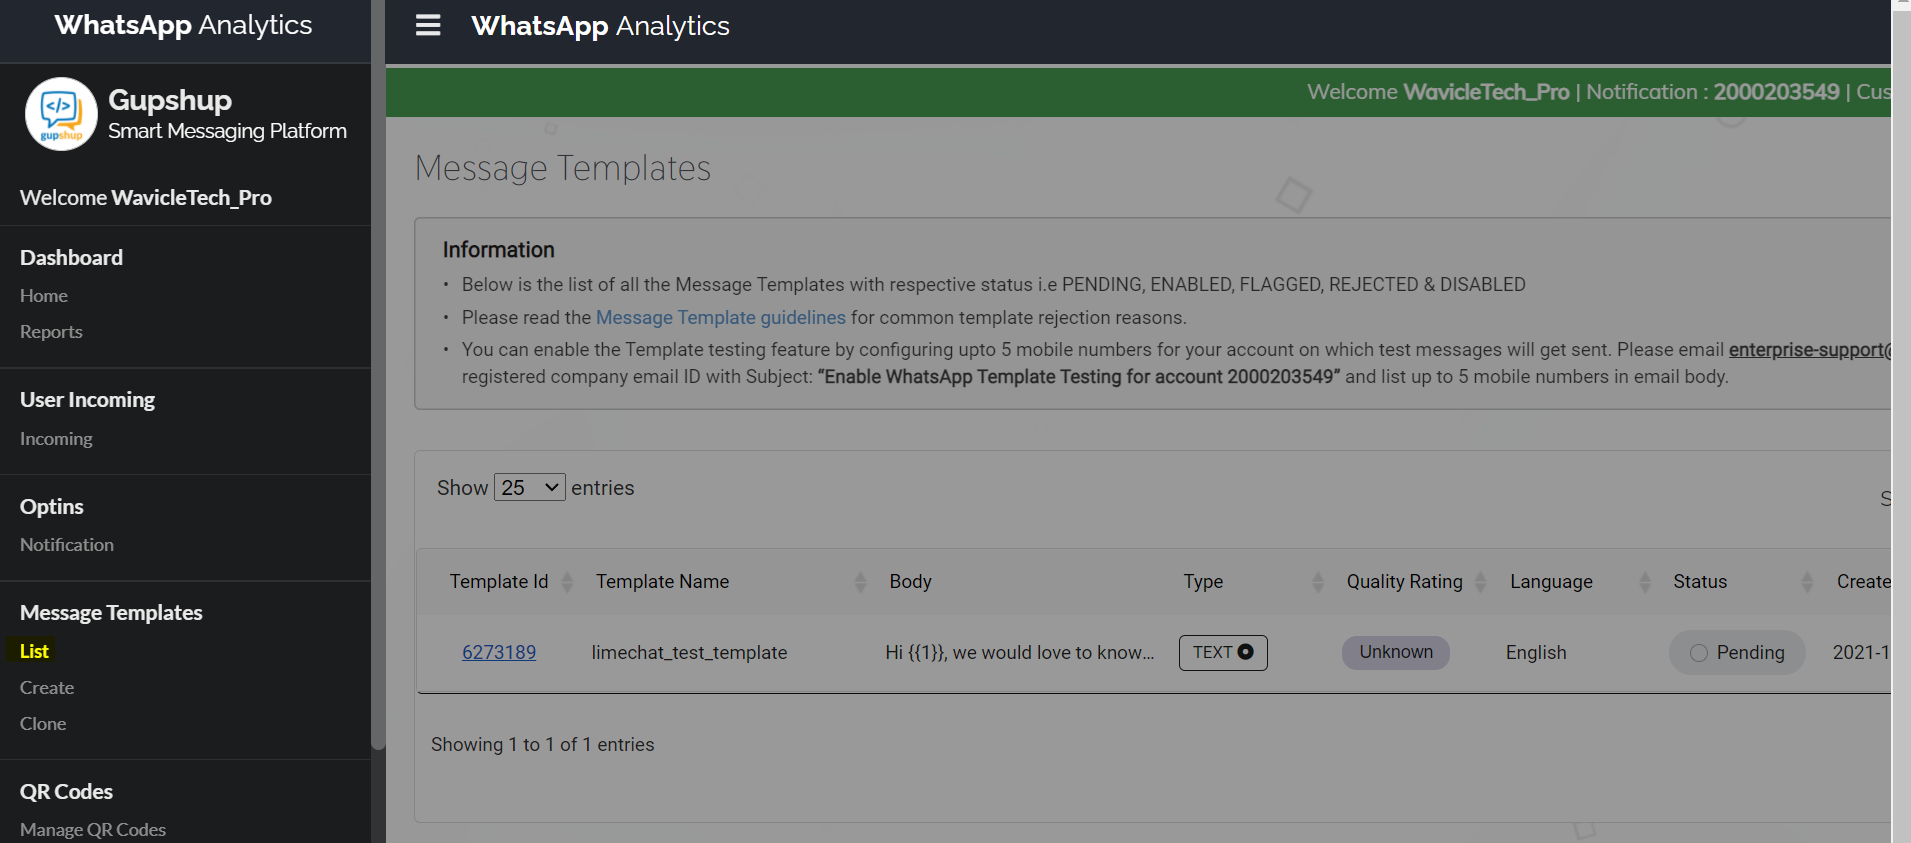
- When the Templates are approved, you need to import them to the LimeChat dashboard before you start using them.
How to import Templates from Gupshup to the LimeChat dashboard?
- Go to https://app.limechat.ai/. Login to the LimeChat dashboard.
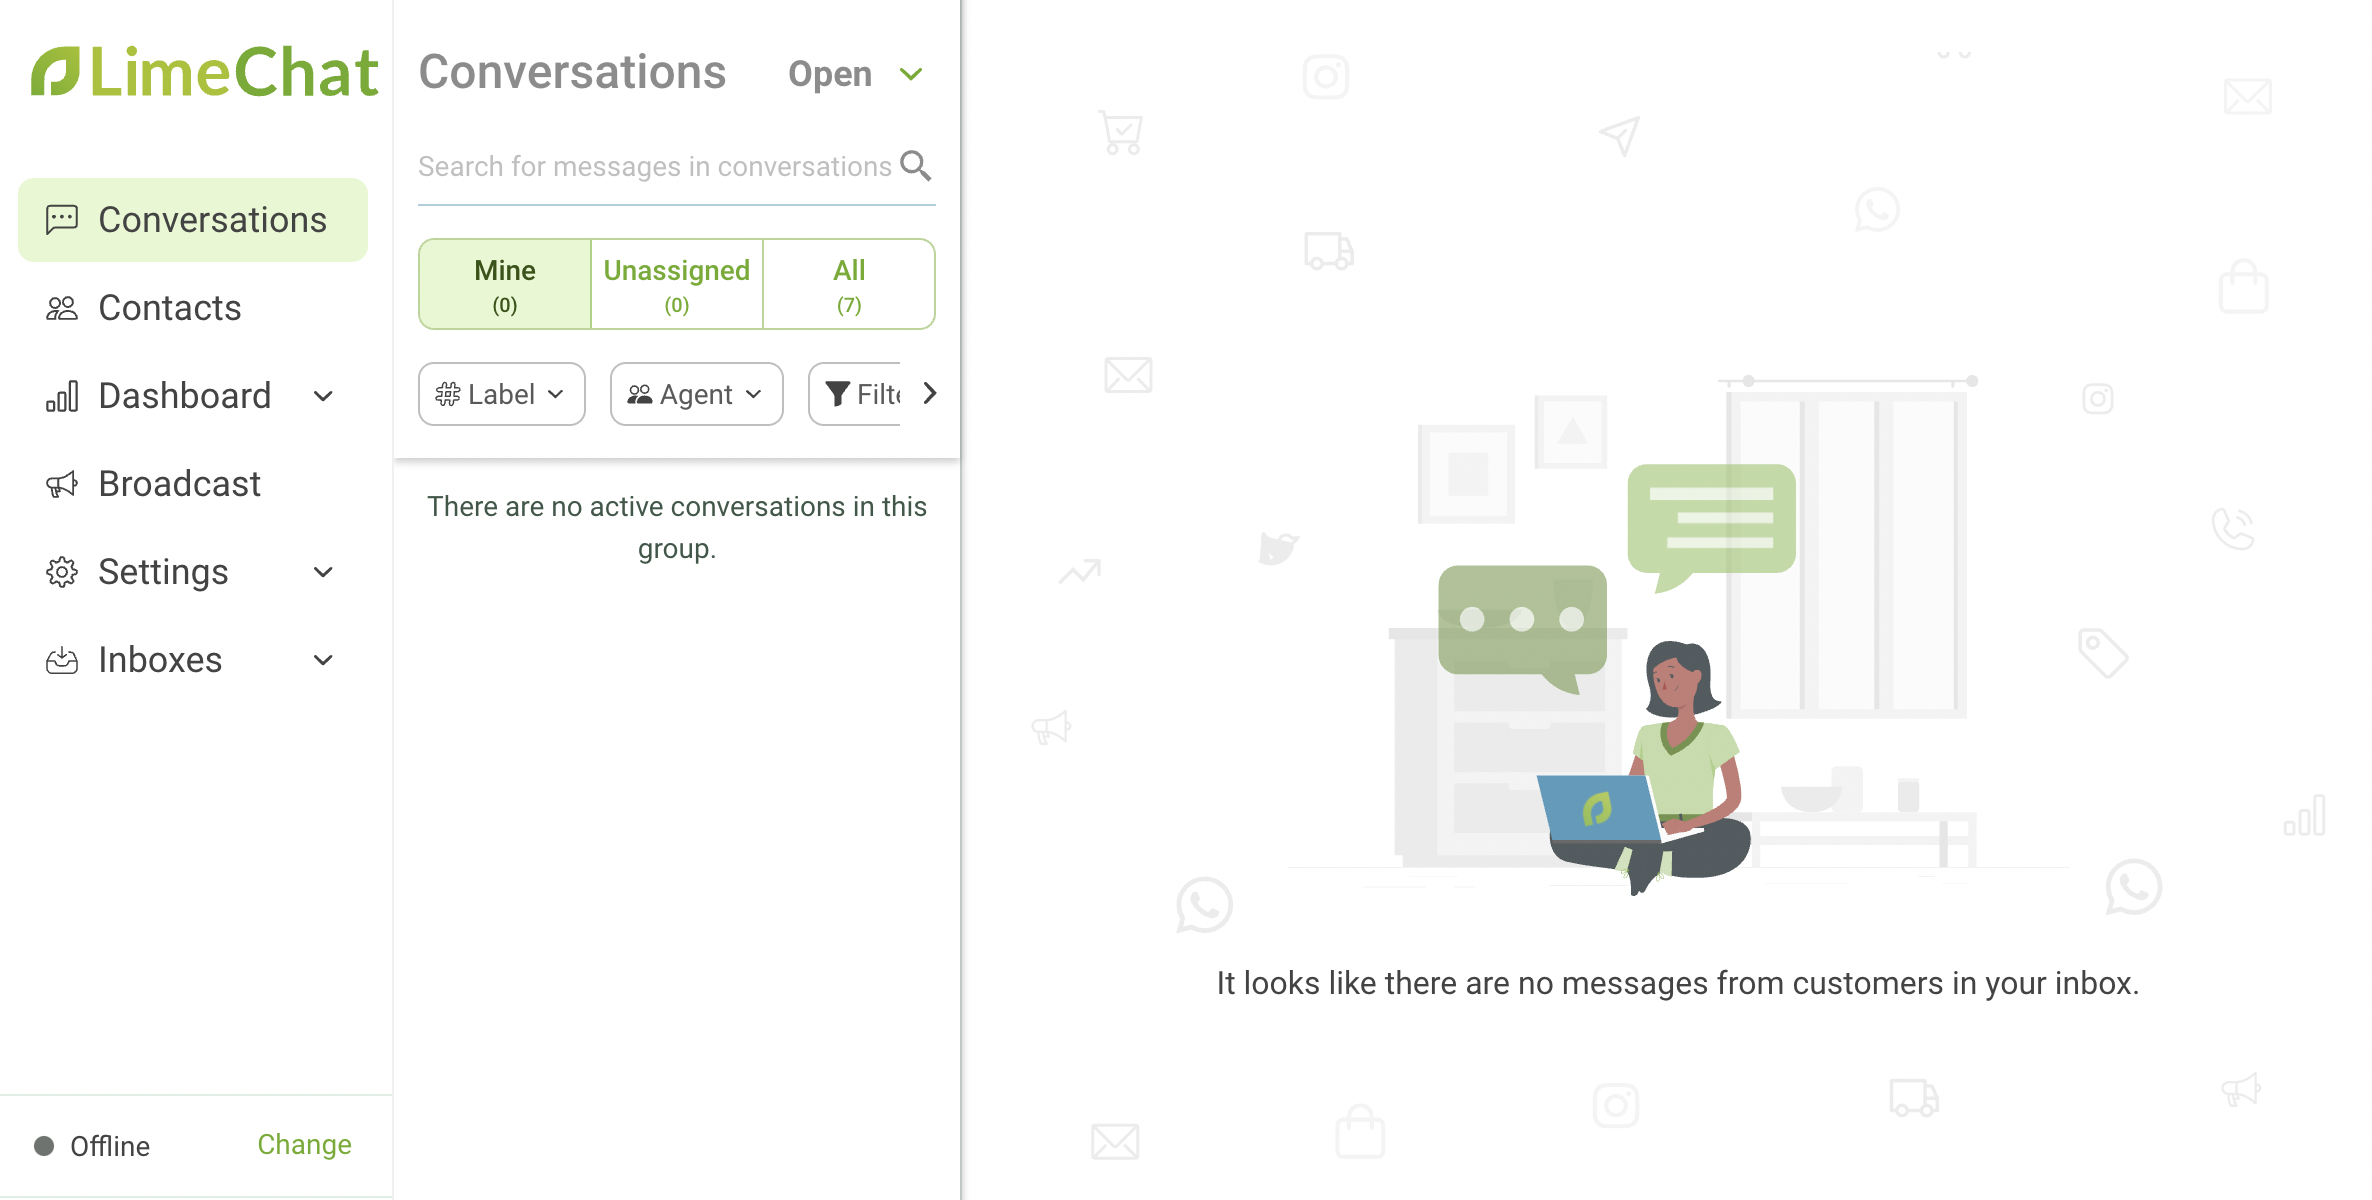
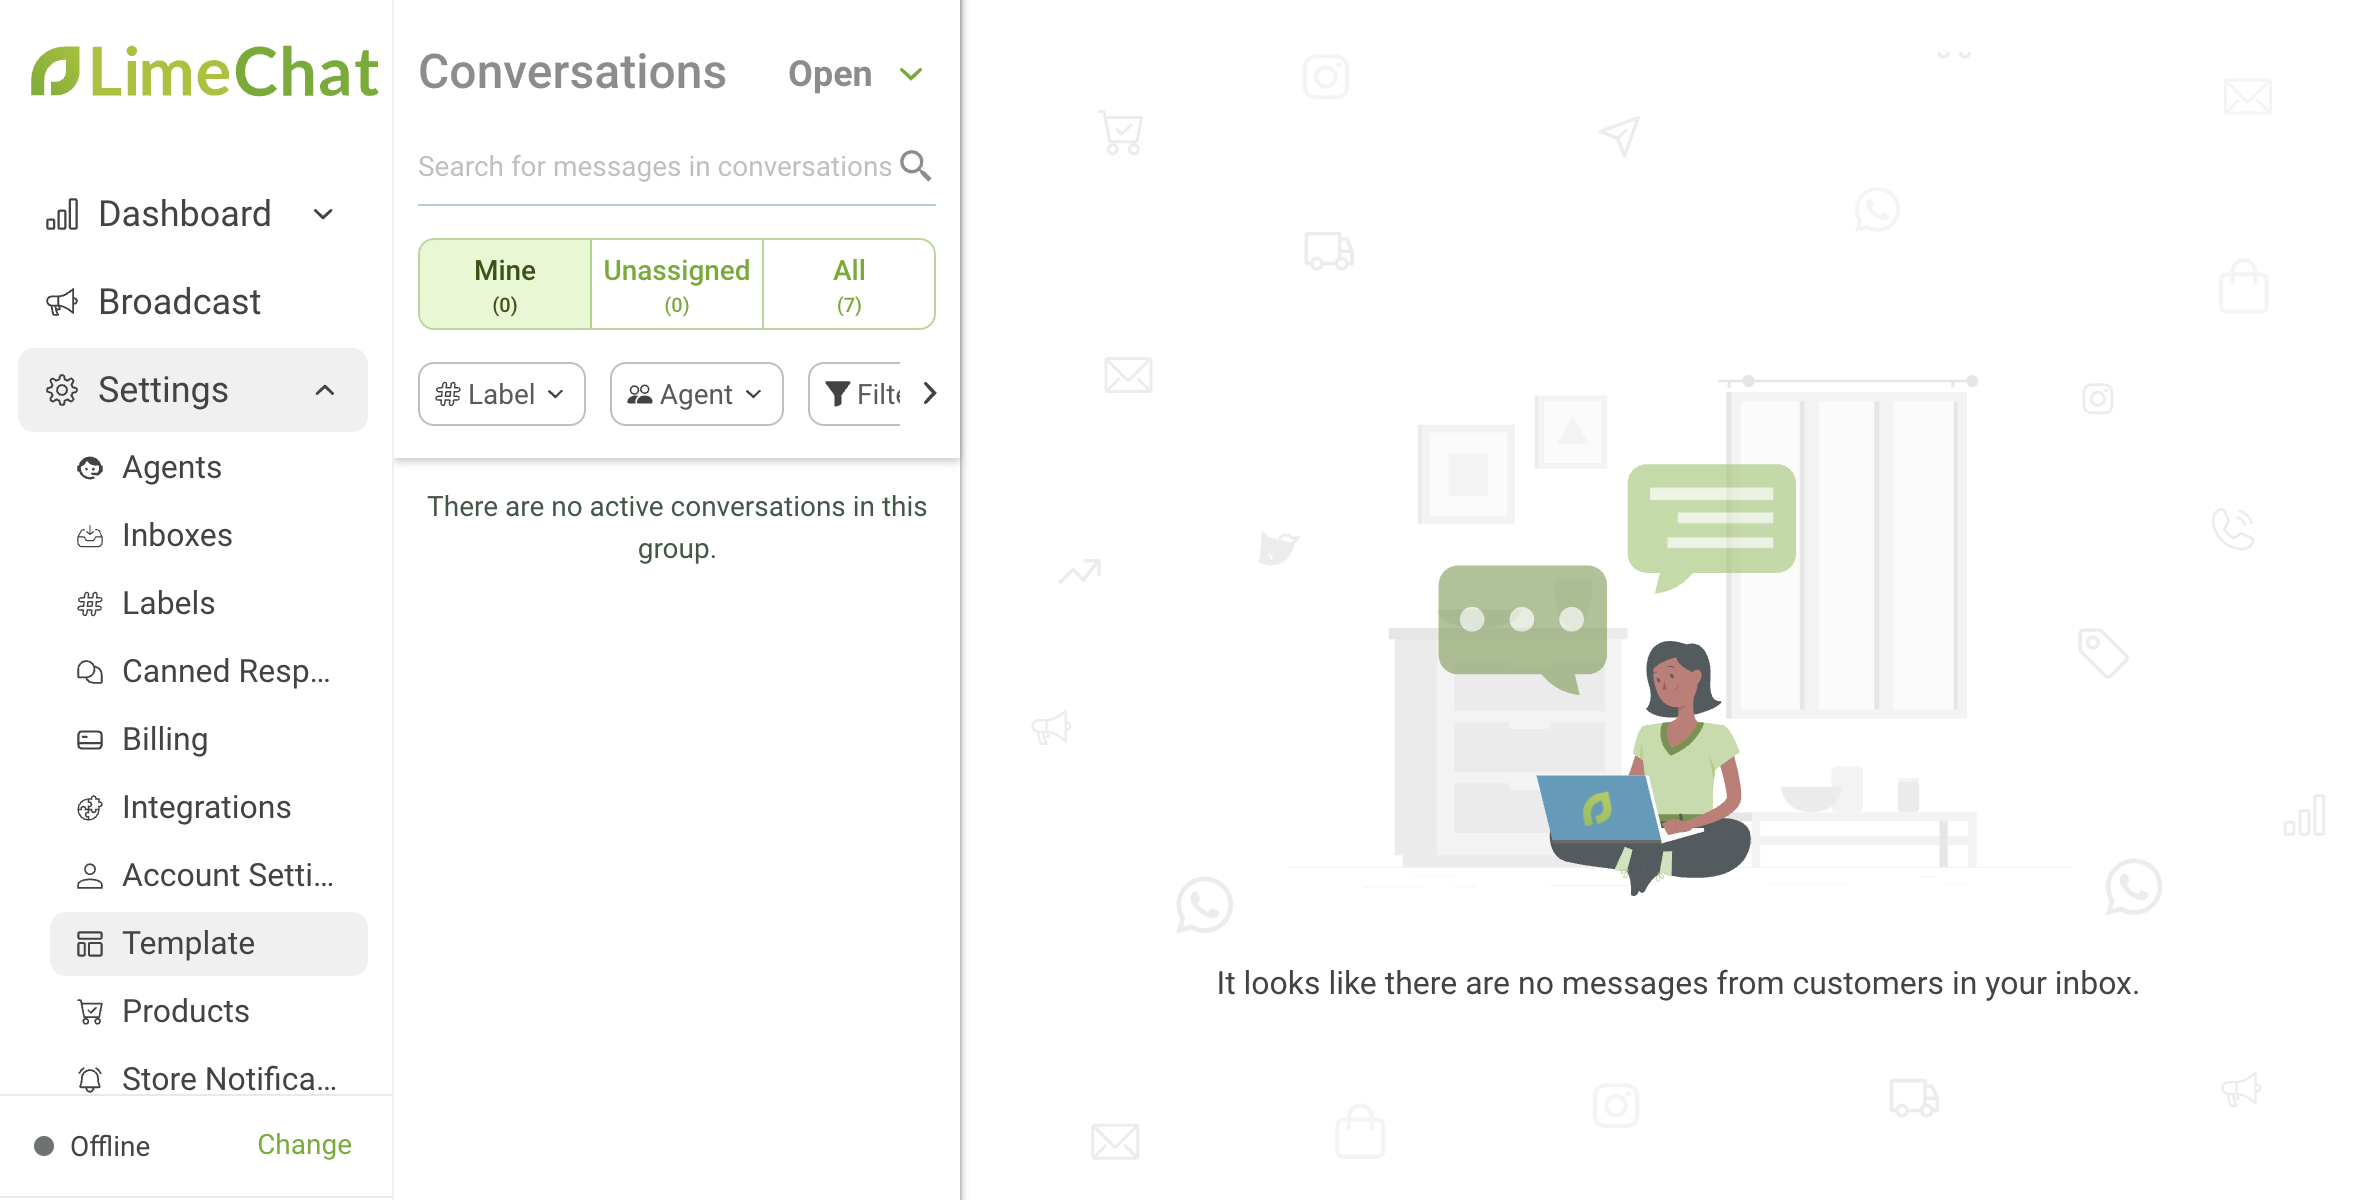
- Go to Settings dropdown in the left pane. Go to Template.
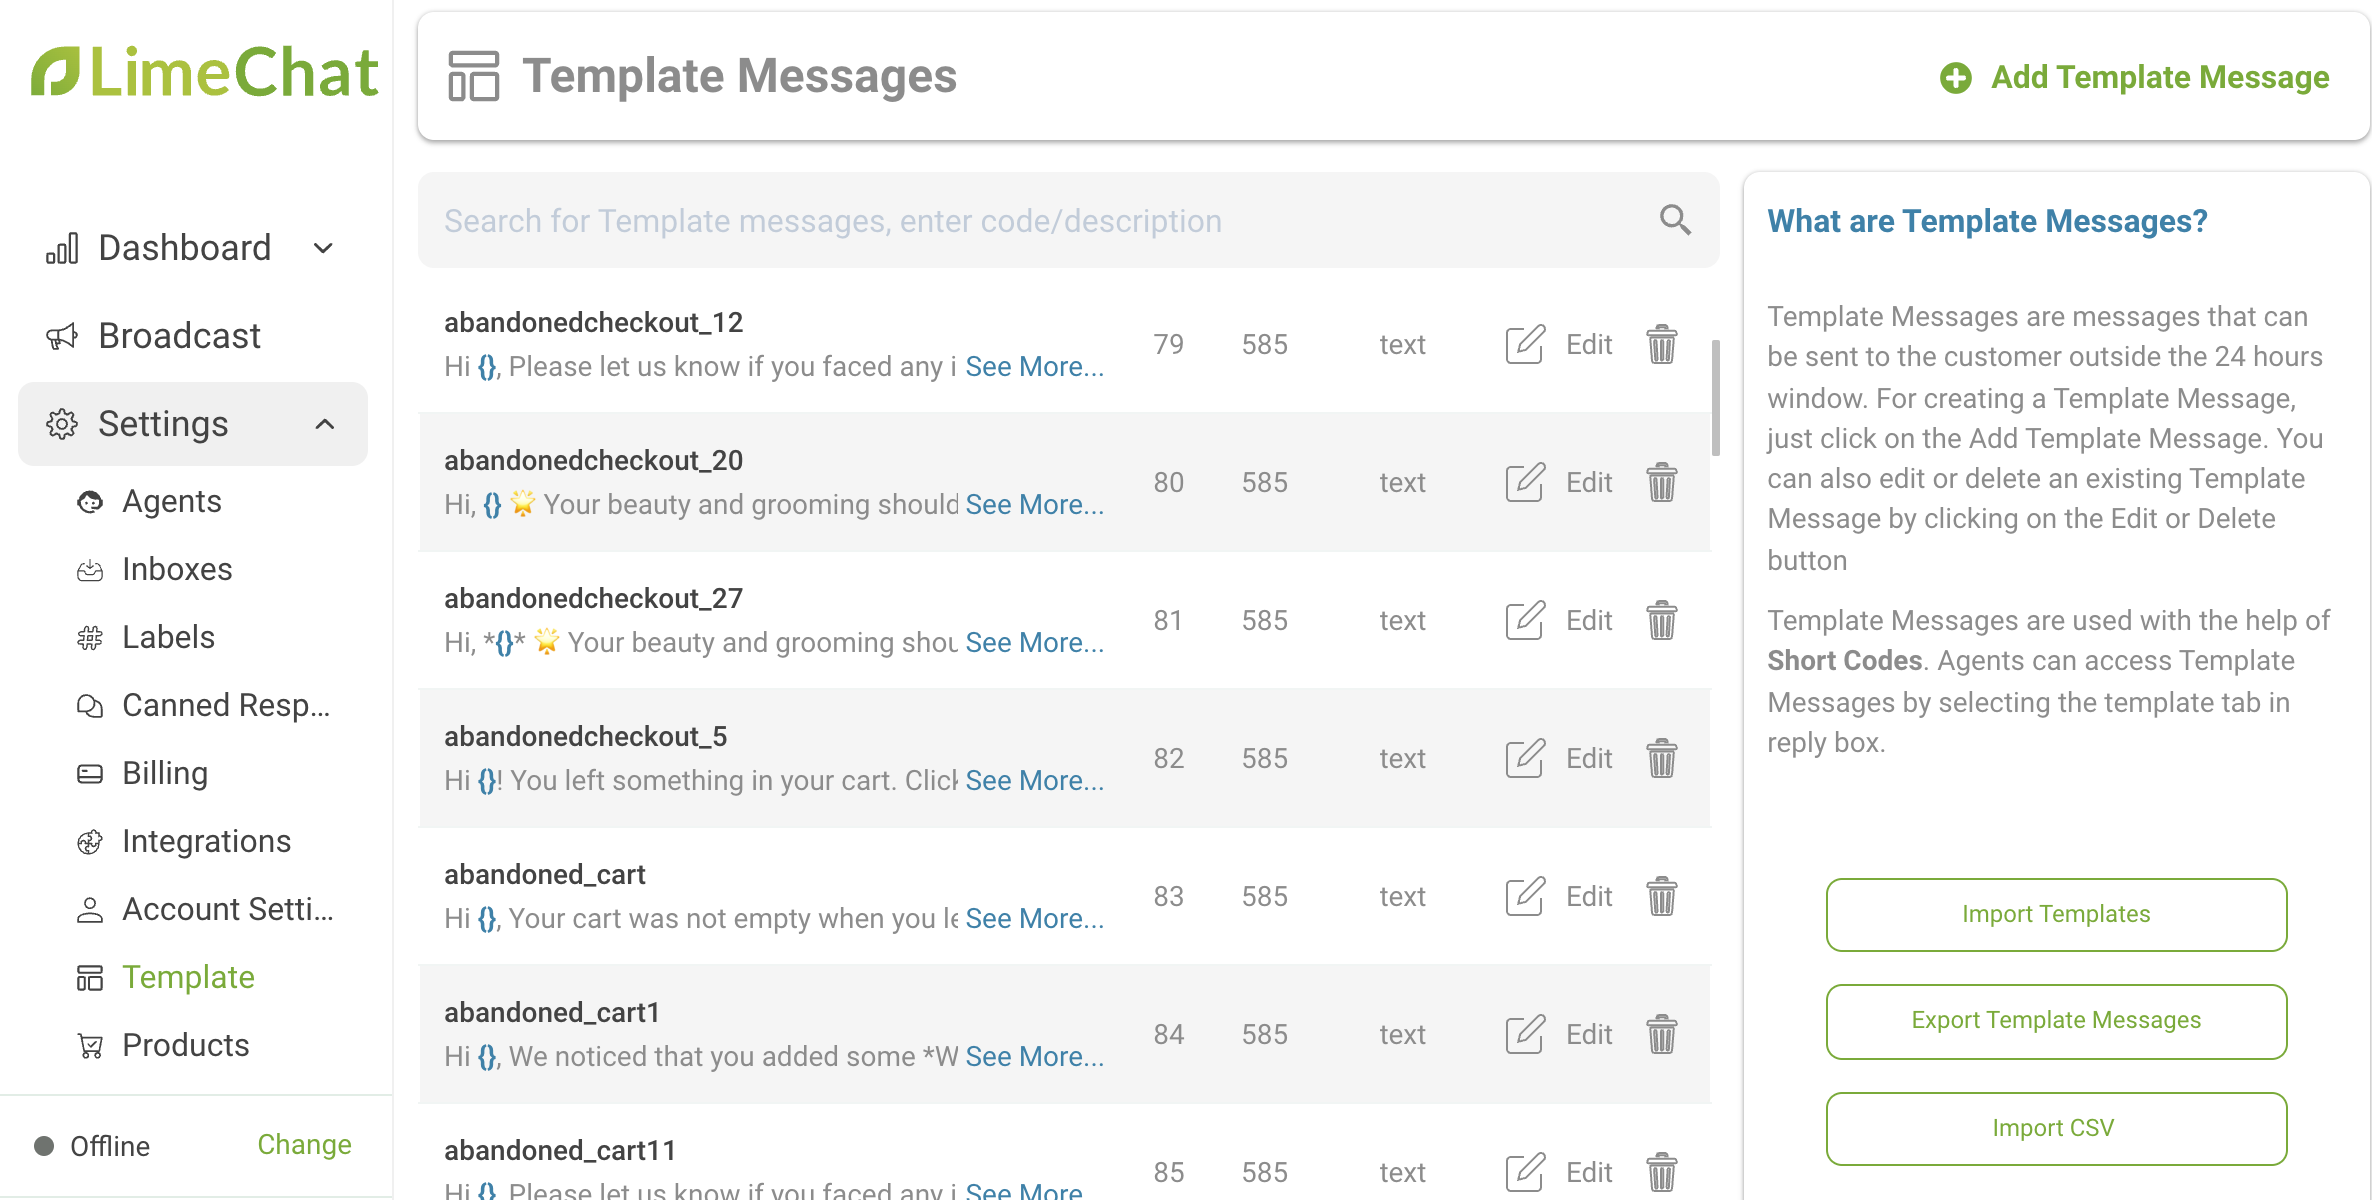
- The Template Messages section shows the list of templates that are already pre-approved. Click Import Templates to load all the approved templates from Gupshup on the LimeChat dashboard.
Note:
- Please do not make any changes in the pre-approved template from the LimeChat dashboard. If you need even a slight change in the template, you directly need to apply for a new template on Gupshup.