Conversation States
A typical Conversation Life Cycle looks like:
Bot > Open > Resolved > Closed
How to check the conversation status?
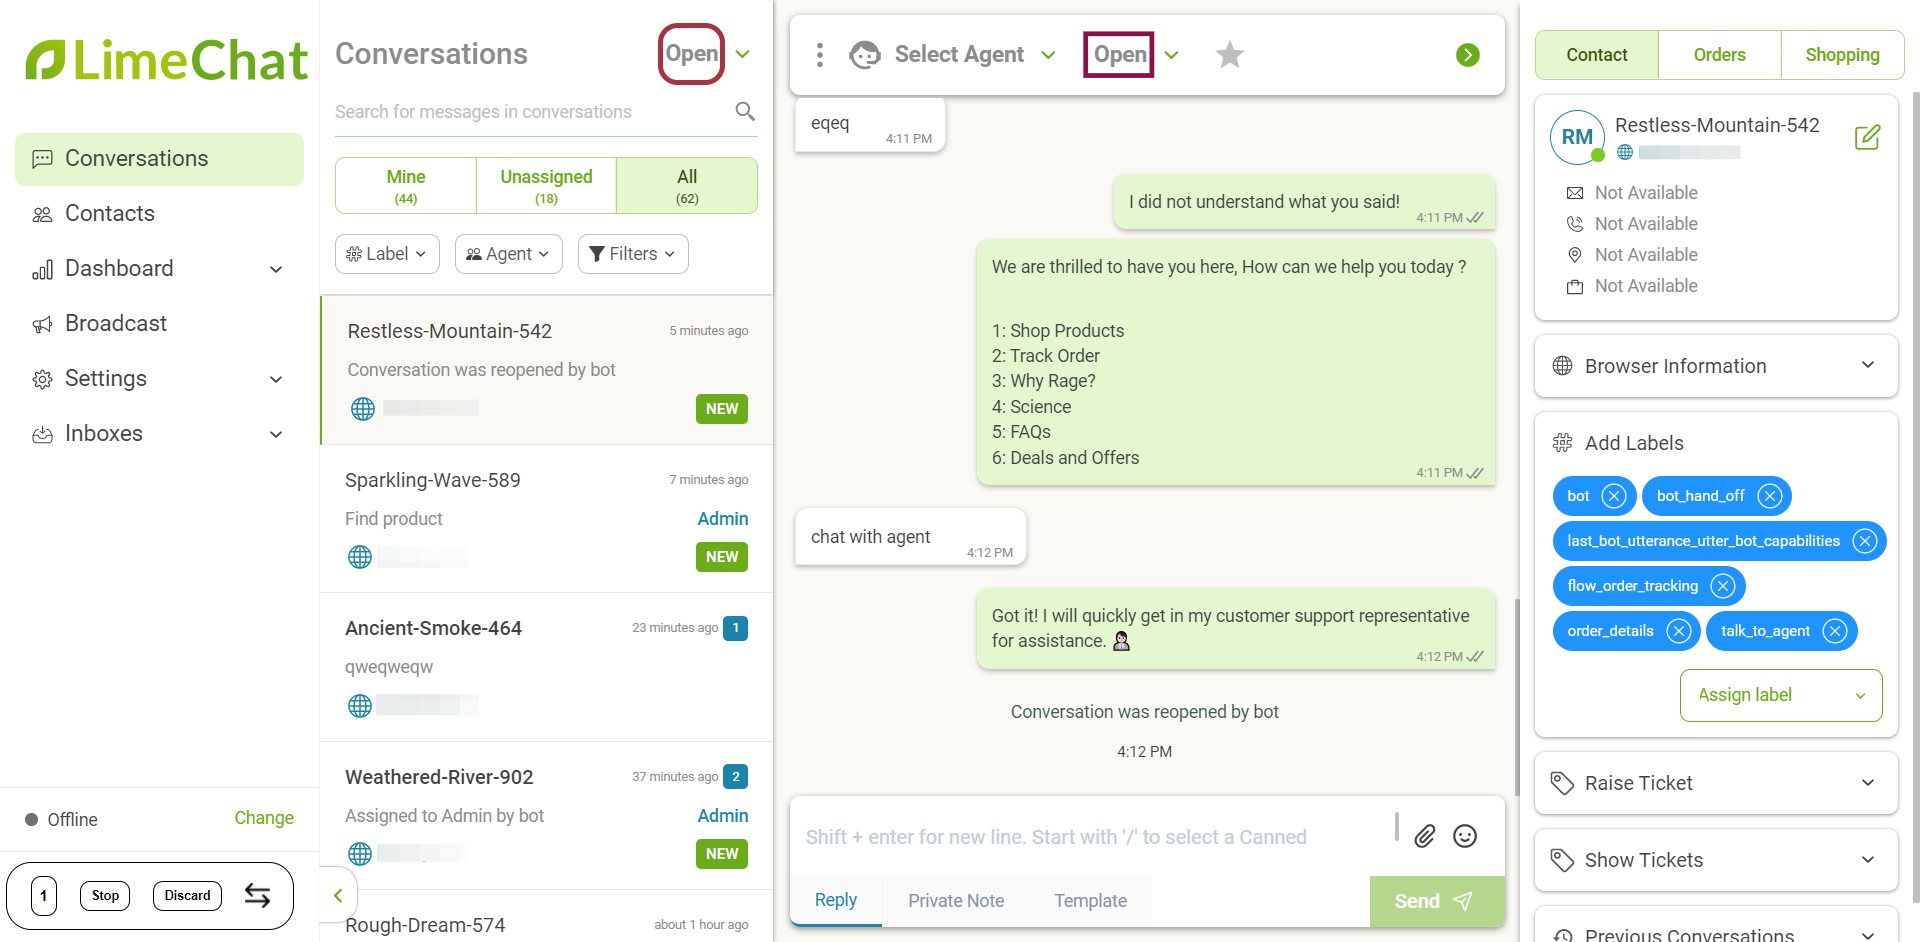
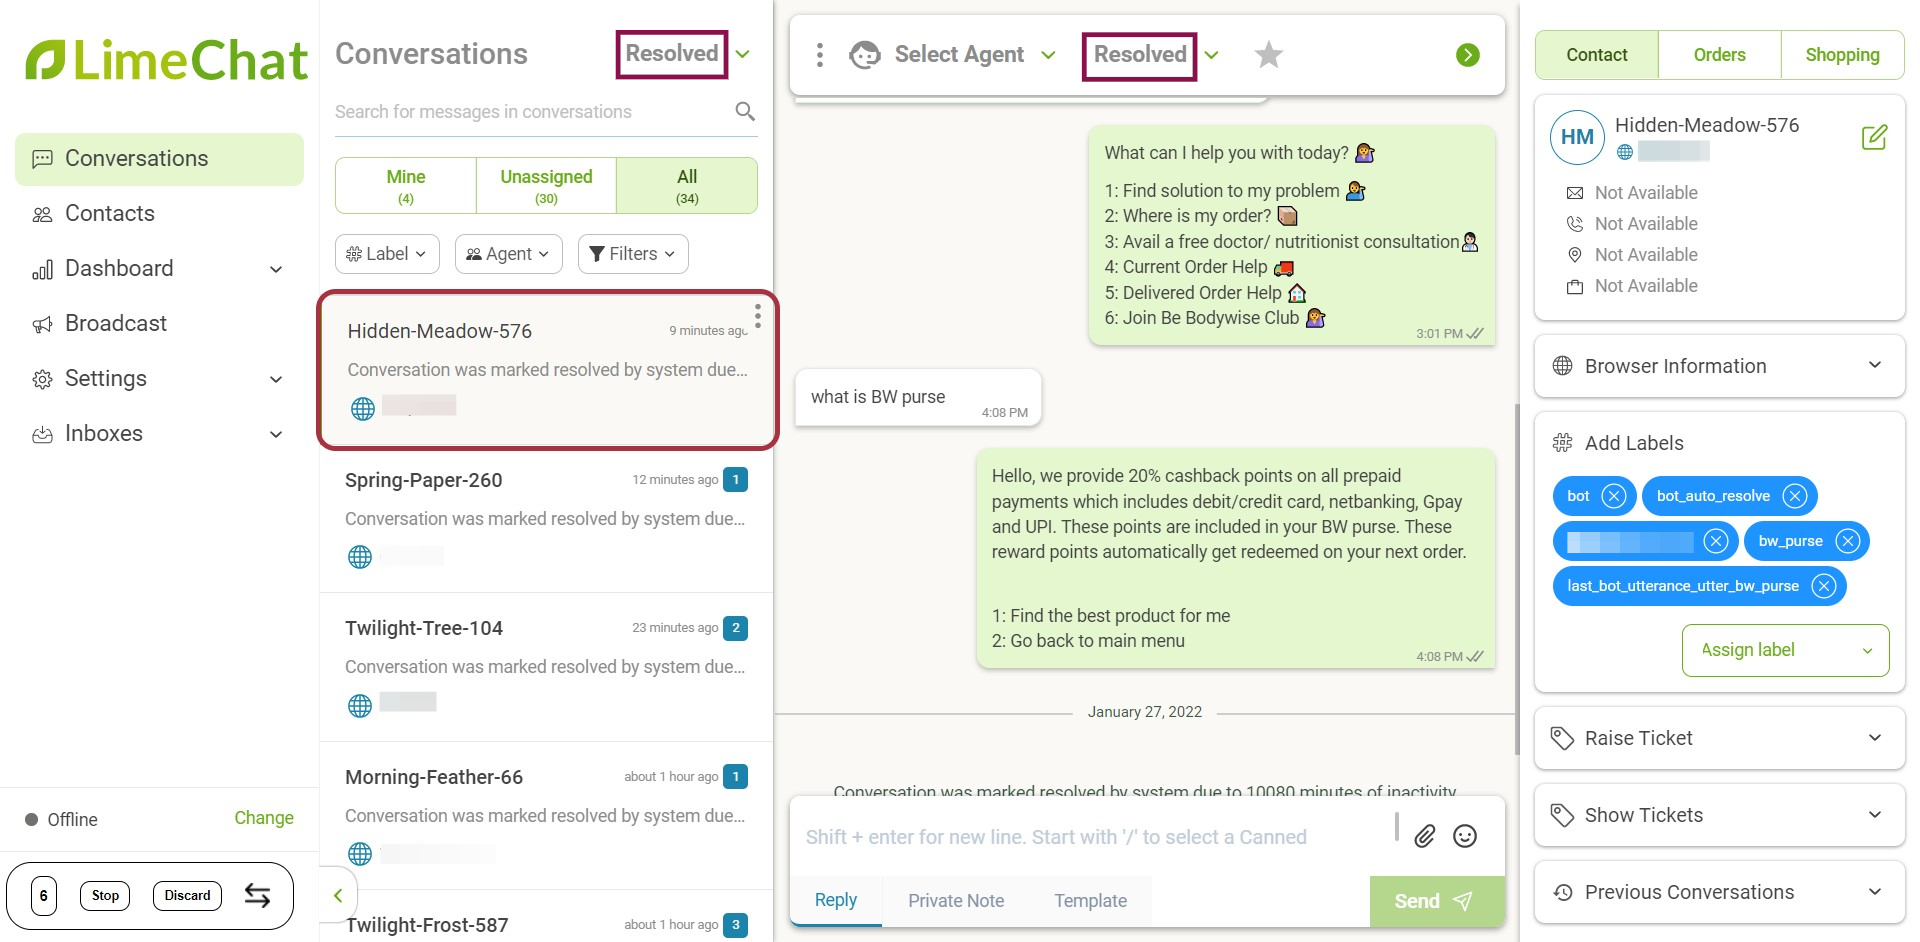
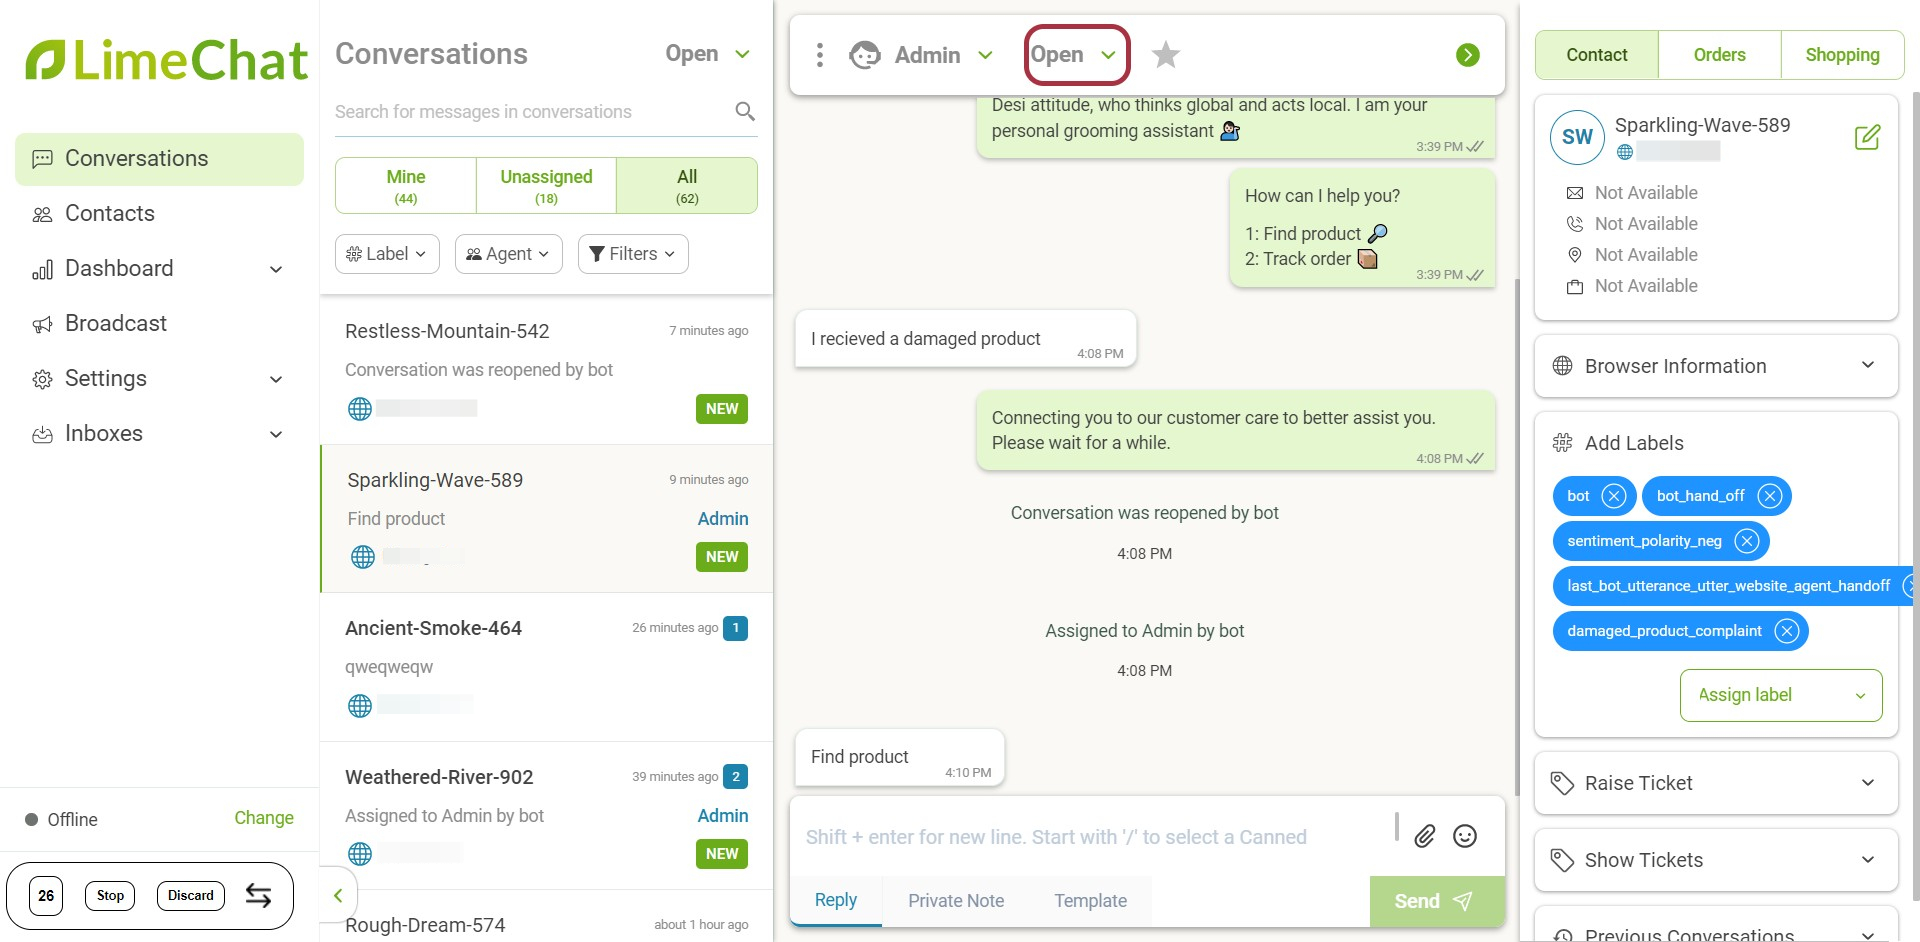
In the Conversations panel, you can select the status from the dropdown to see all the conversations in that state. The screenshot shows Open conversations at the moment. (Left side)
Under the chat window, we can find the status of that particular conversation. In this case, the chat is Open. (Right side)
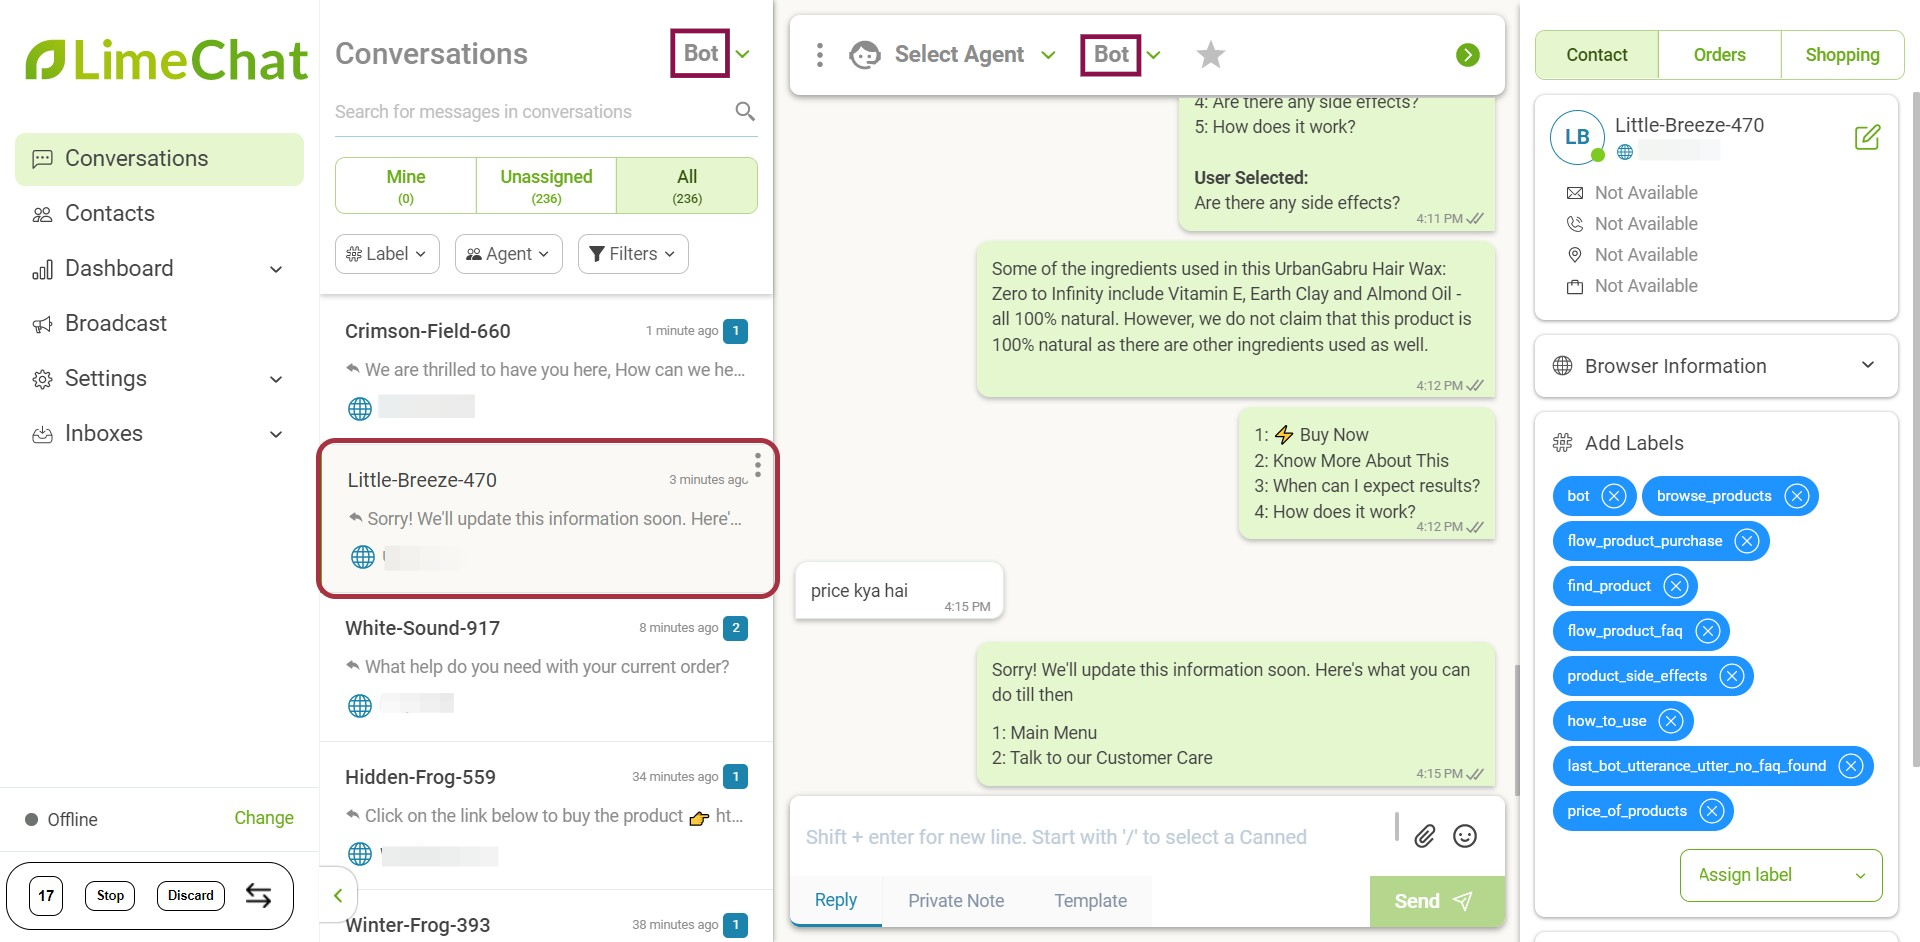
Bot
Whenever the user sends a query (message) to your communication channels, the bot responds to it first and try providing all the relevant solutions.
info
💡 The user query will be handled by a bot only if you have purchased our Level 3 AI Chatbot from LimeChat.
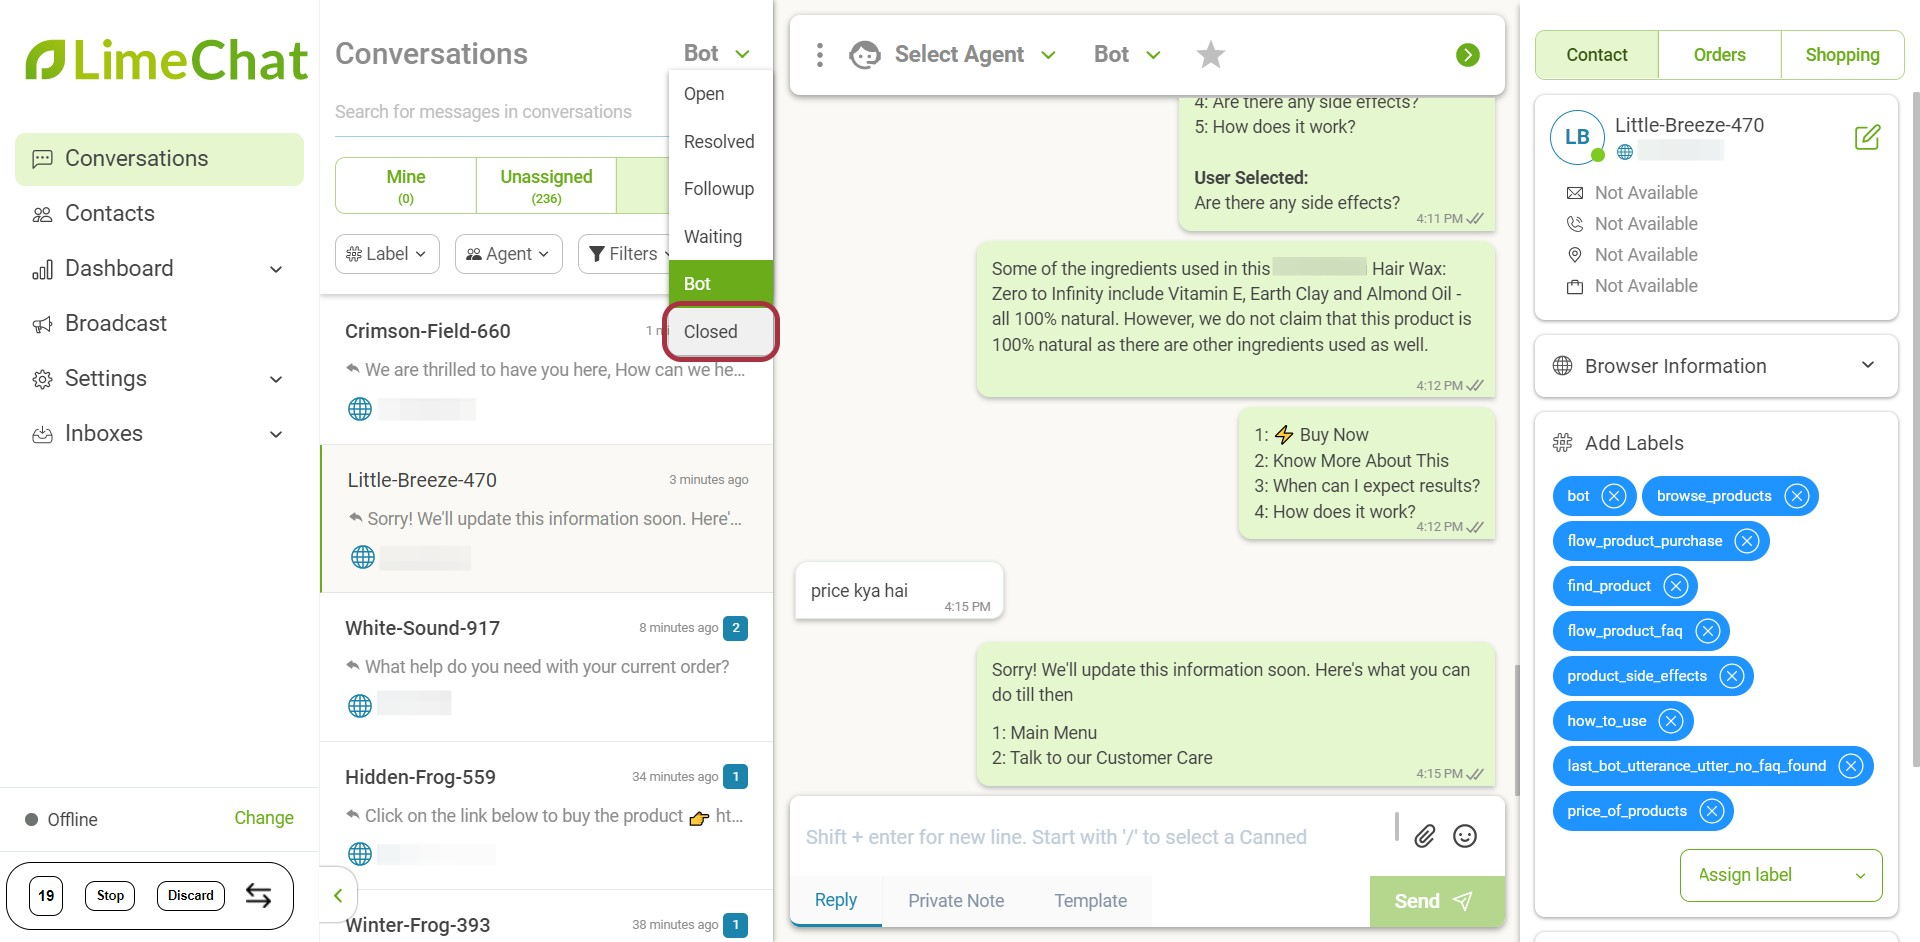
How to check all the Bot Conversations?
- Click on the dropdown.
- Select Bot.
- All the Bot Conversations will get reflected under the Conversations panel.
- Select any chat, and you will find that marked as Bot.
Open
If the bot is unable to understand the users’ intent and handle the query, it falls back. The conversation gets assigned to the agents.
The conversation then moves from Bot > Open state.
Read: How does the conversation gets assigned to the agents?
How to check all the Open Conversations?
- Click on the dropdown > Open.
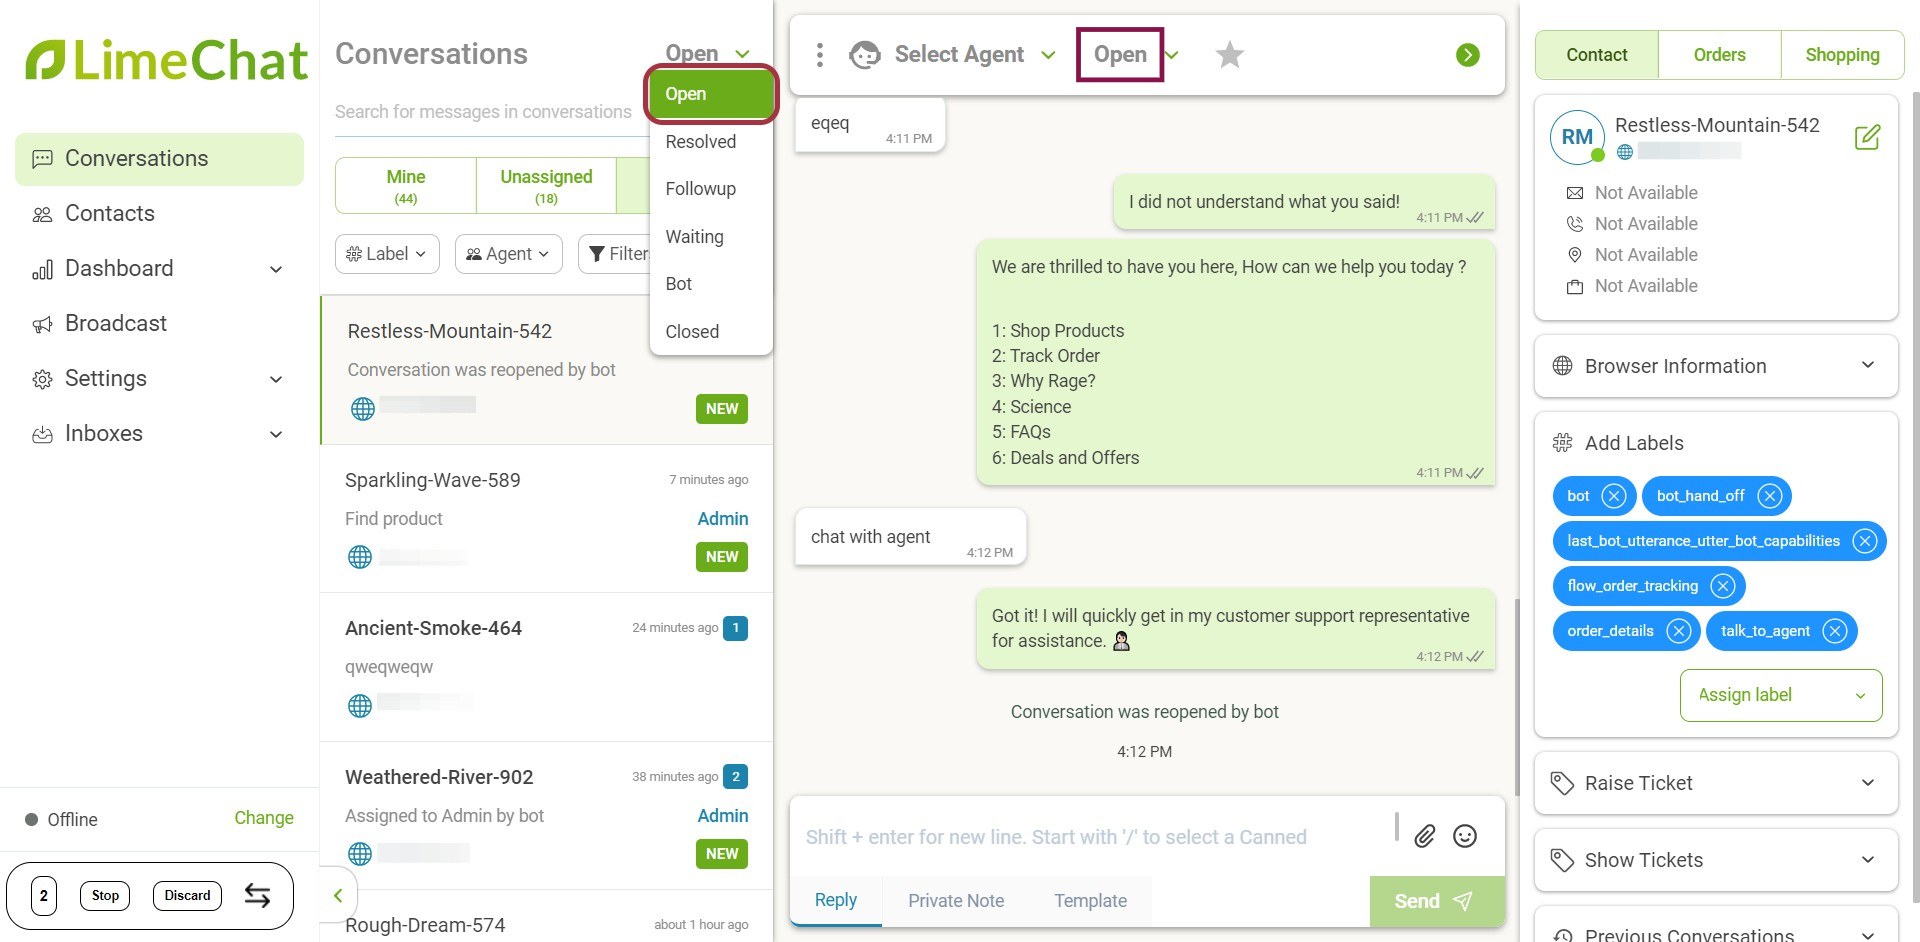
- All the Open conversations will be displayed under the Conversations panel.
- Select any chat and find that marked as Open.
Resolved
The open conversation can be moved to Resolved state only in two ways:
- The agent assures that the query is resolved and the user is satisfied with the solutions.
- If there is inactivity on the chat from the user end, the conversation automatically moves to the resolved state after X minutes.
Read: Learn how to set the Auto Resolution Duration (X minutes) for the chat.
info
💡 Auto resolution time is different for agents and bots.
How to check all the Resolved Conversations?
- Click on the dropdown > Resolved.
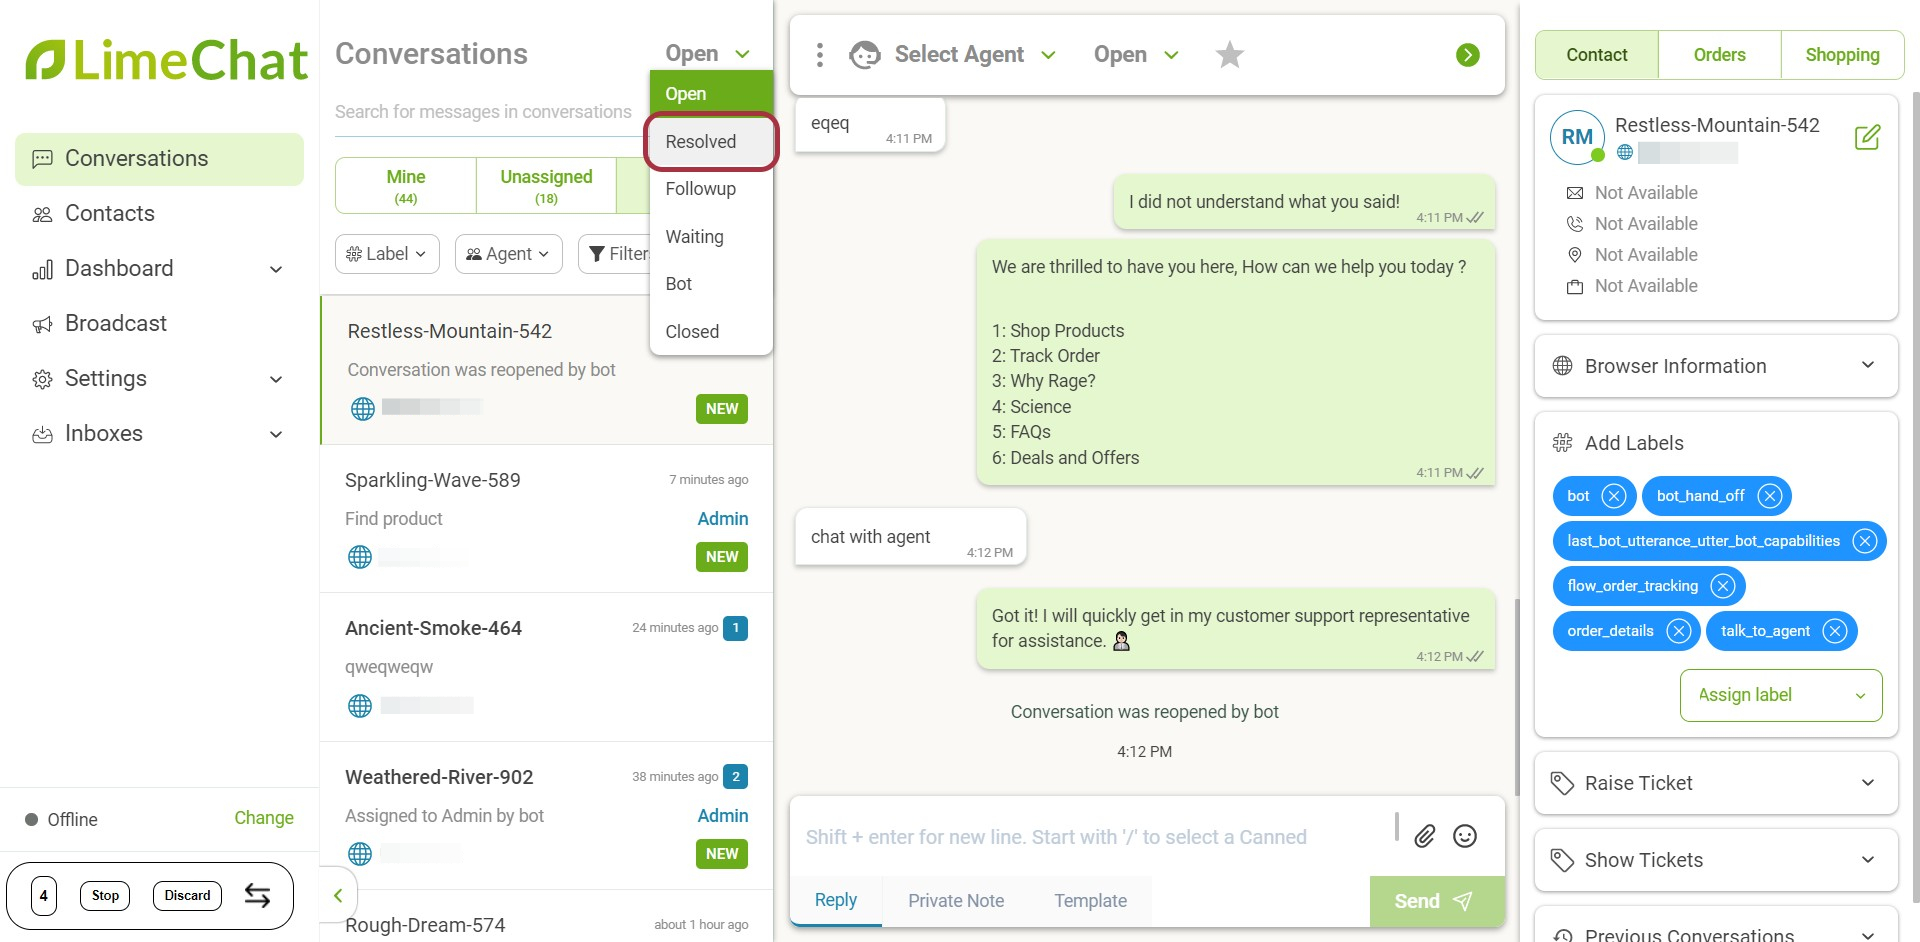
- All the Resolved conversations will get displayed under the Conversations Panel.
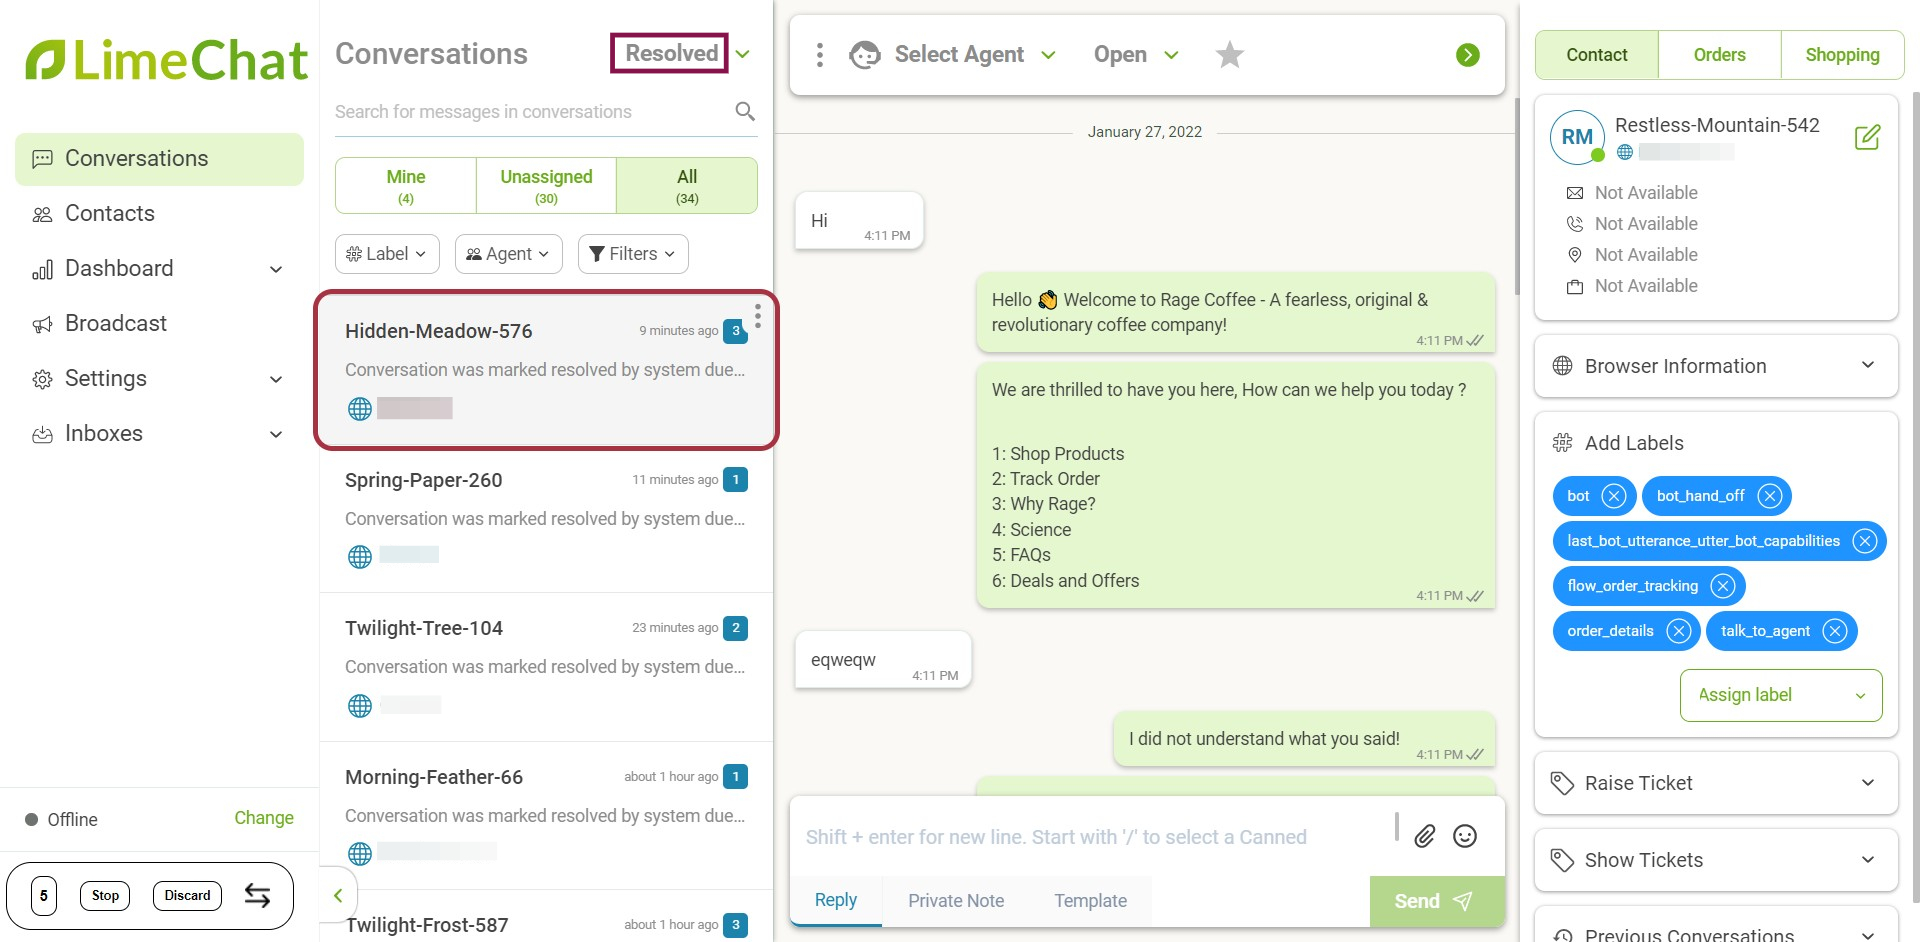
- Select any chat and find it marked as Resolved.
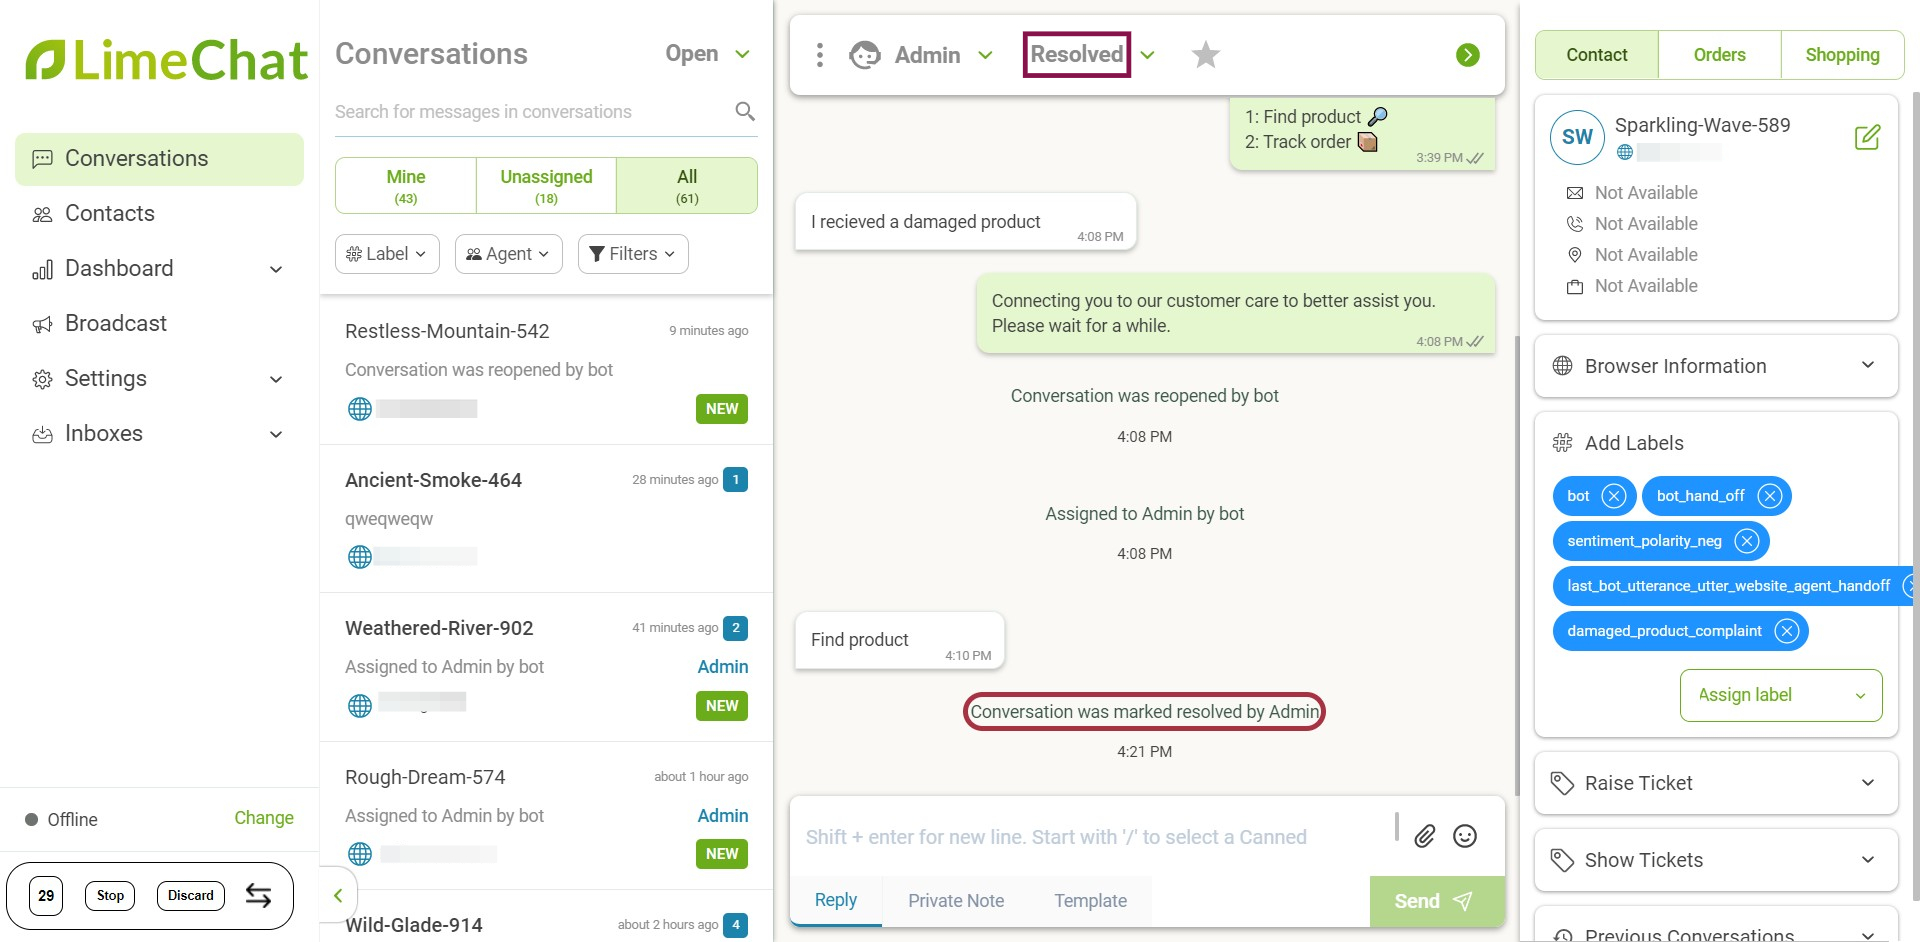
How to resolve a query?
If the query is currently open and you think that the user is satisfied with your solution, you can now mark the query as Resolved.
- Select the chat status option on the top (in this case, the chat is currently in open state).
- Click on the dropdown.
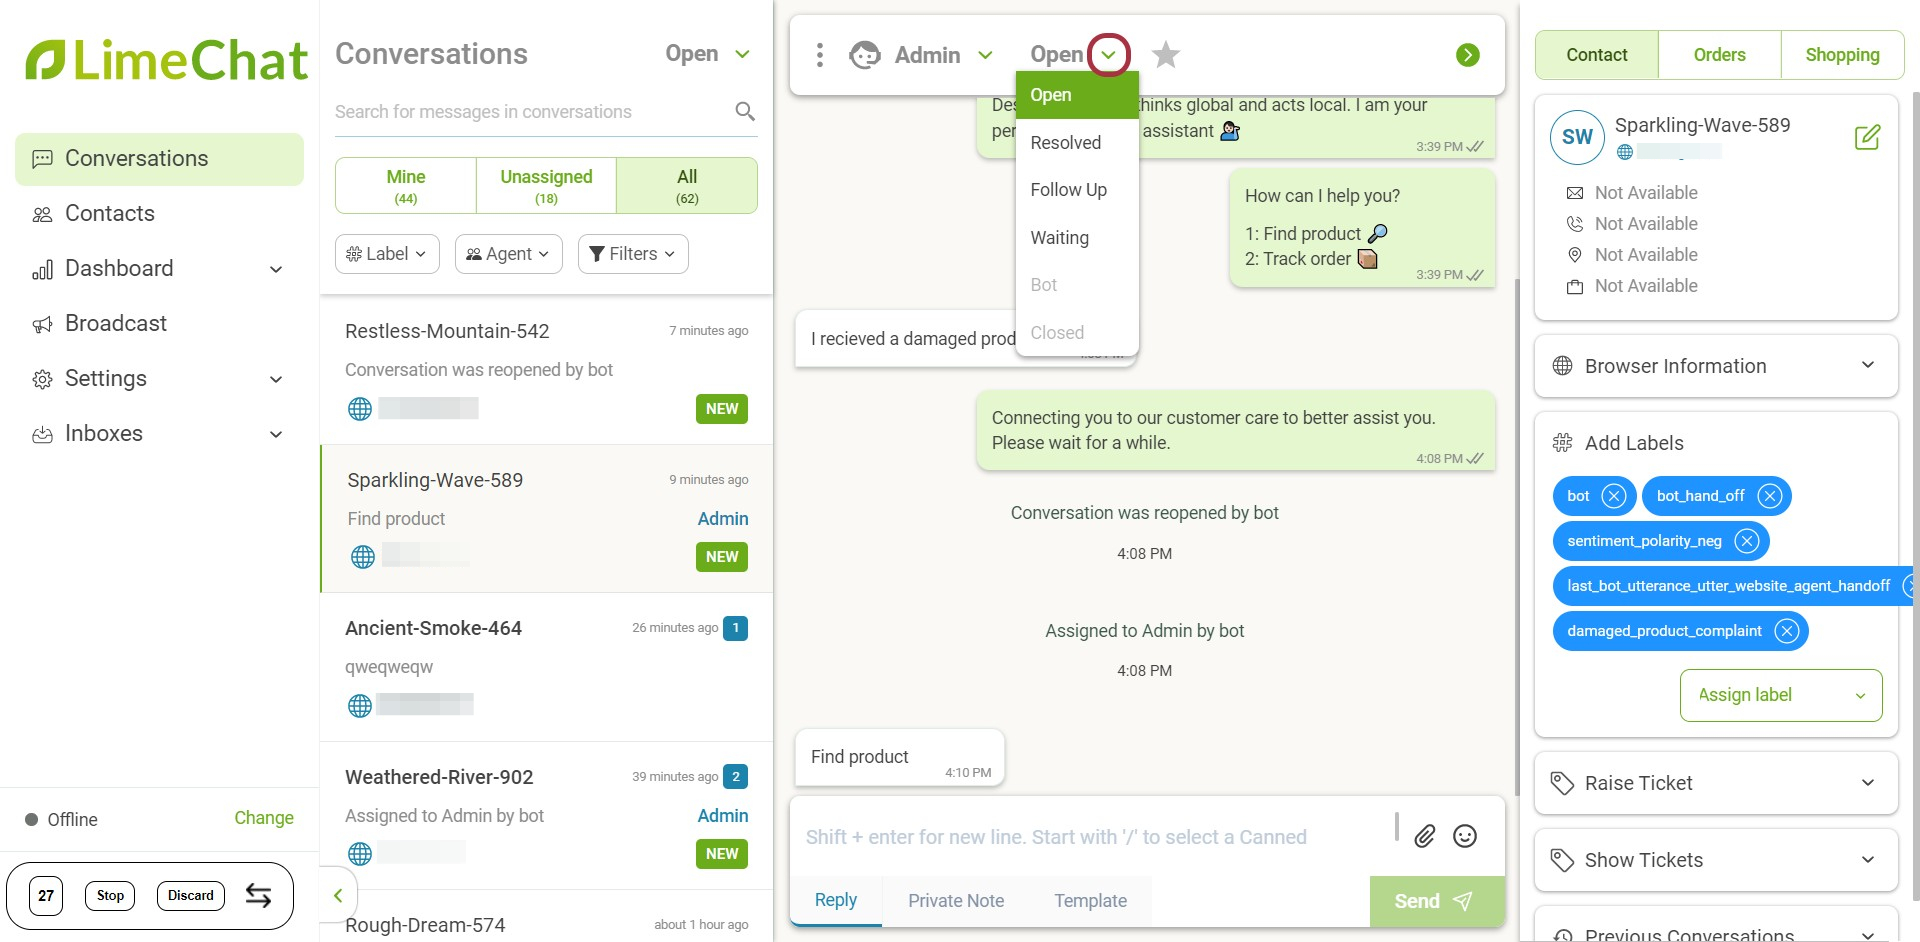
- Click on Resolved.
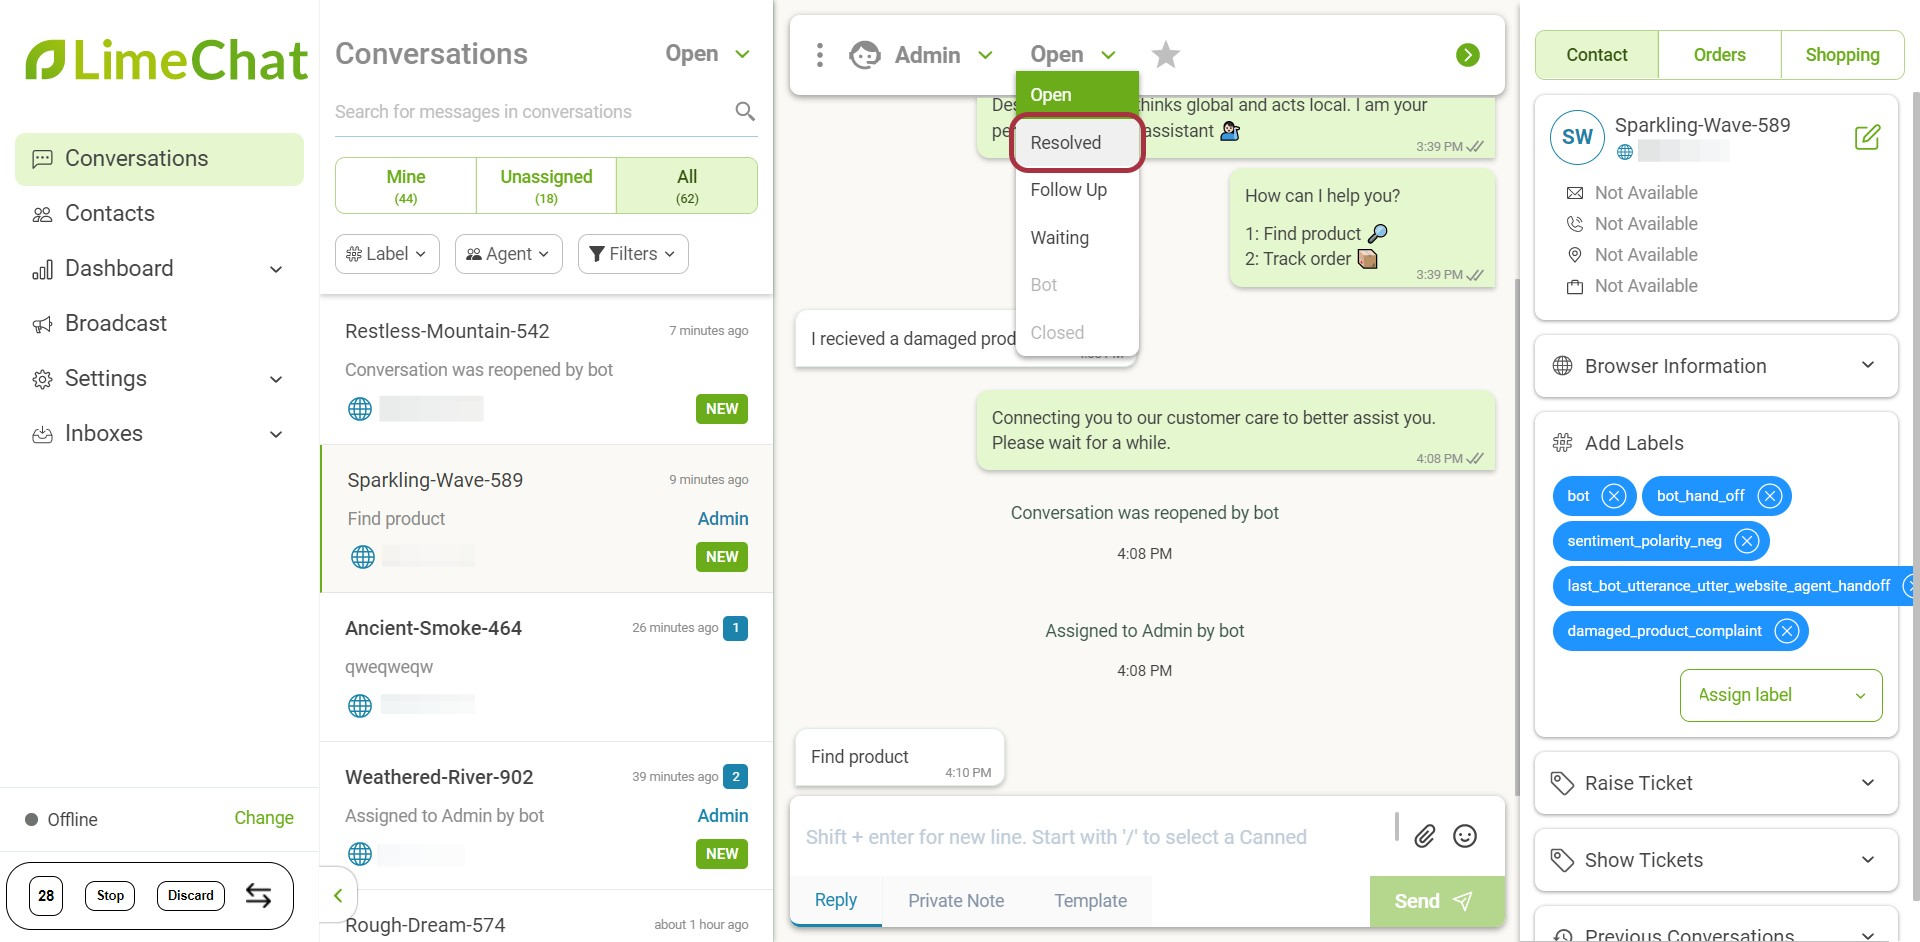
- Your chat is successfully moved to the Resolved state.
info
💡 If the same user again sends a message when the conversation is in the Resolved state, the query will automatically assign to the same agent who was handling that query earlier.
info
💡 The conversation can also move to the Resolved state automatically if there is inactivity for some time.
Read: What is the Auto Resolution of an open chat?
Closed
The conversation automatically moves from resolved state to the Closed state after Y minutes.
Read: Learn how to set the Auto Close Duration (Y minutes) for the chat.
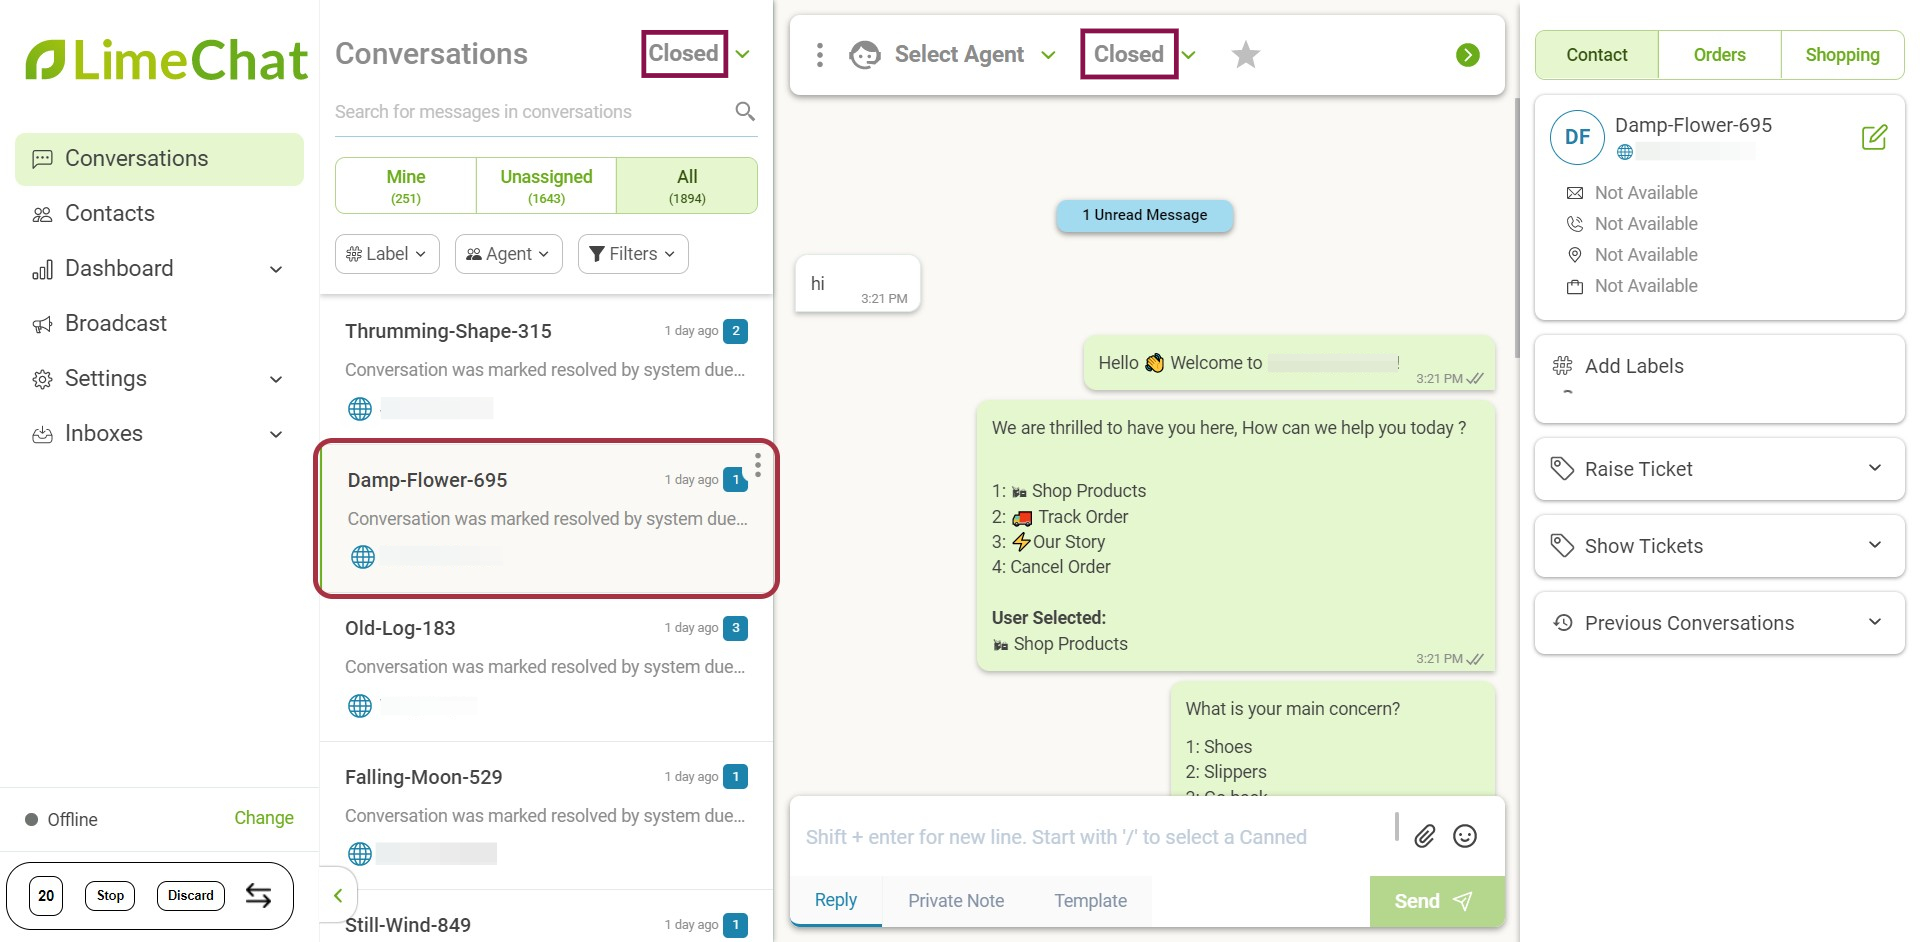
How to check all the Closed Conversations?
- Select Closed from the dropdown.
- All the closed conversations will be displayed under the Conversations Panel.
- Click on any chat and find that marked as Closed.
How to close a query?
info
💡 Agents cannot close a conversation manually. The chat will automatically move from the Resolved state to the Closed state after Y minutes.
Read: What is the Auto Close of a resolved chat?
info
💡 If the same user again sends a message when the conversation is in the Closed state, the query will get assigned to a new agent.
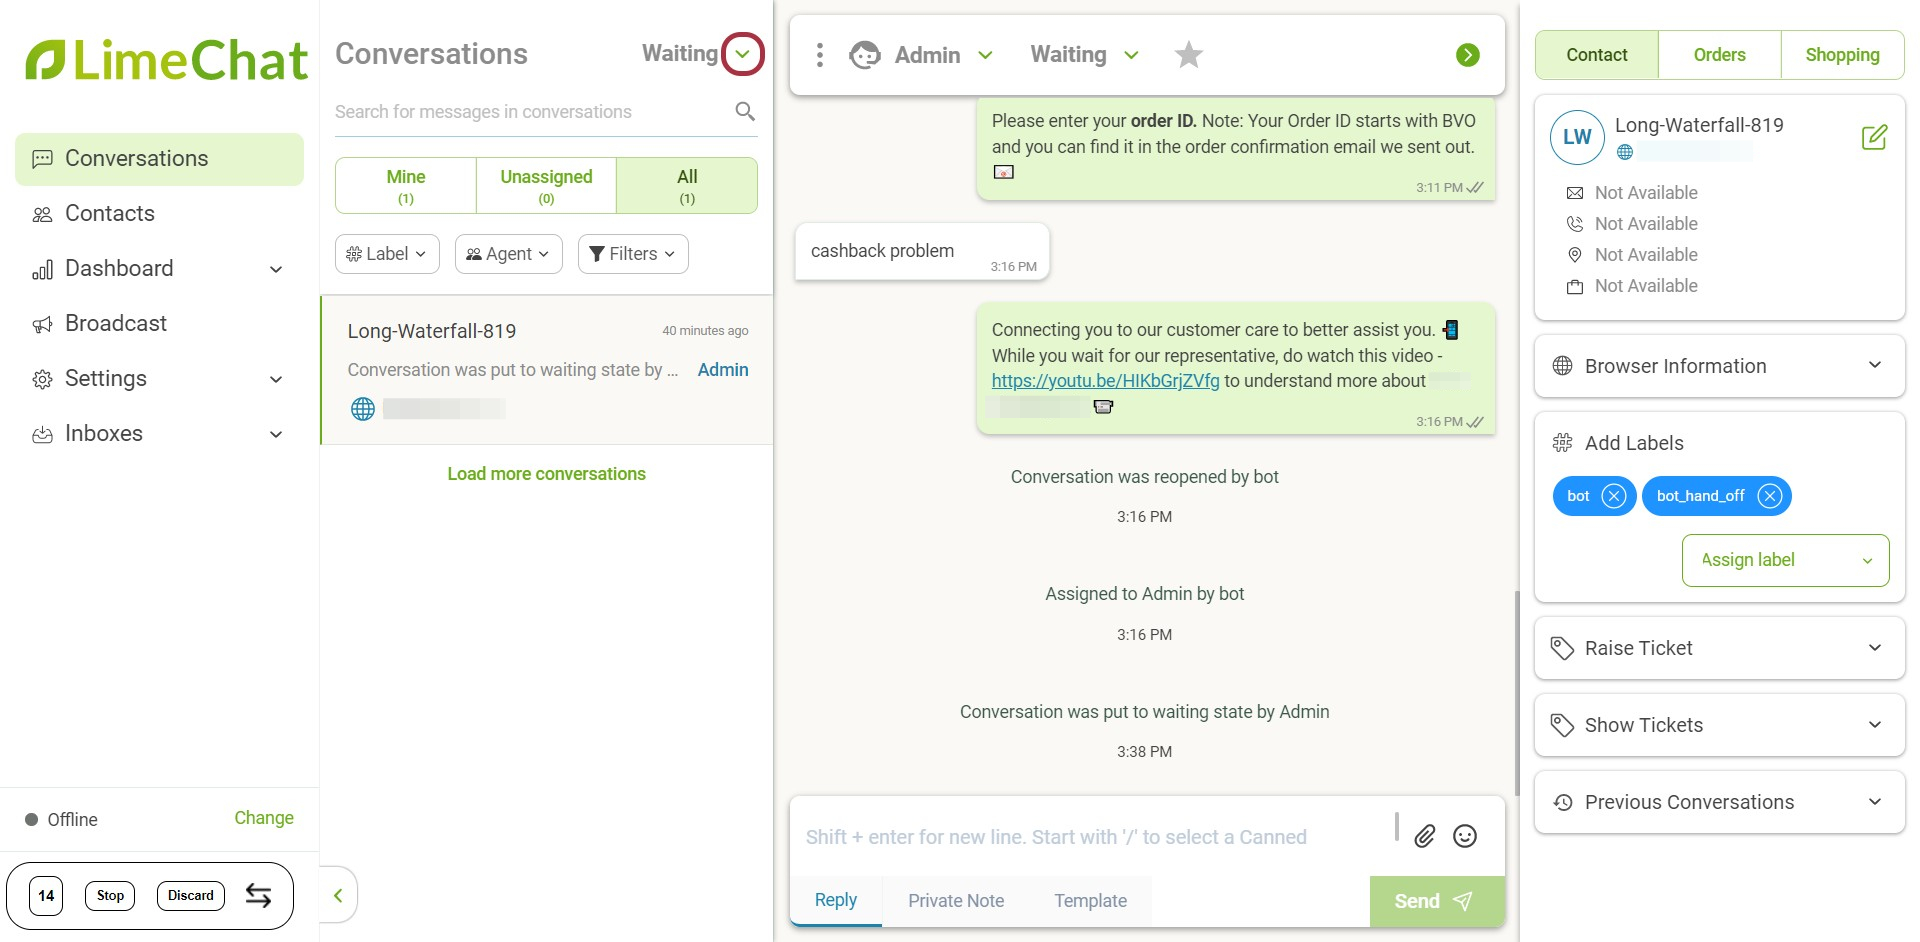
Follow Up
You can put any conversation under Follow Up.
Use Case:
If an agent thinks that the query is not solved completely and he/she needs to get back to the user in some time, the conversation can be switched to a Follow Up.
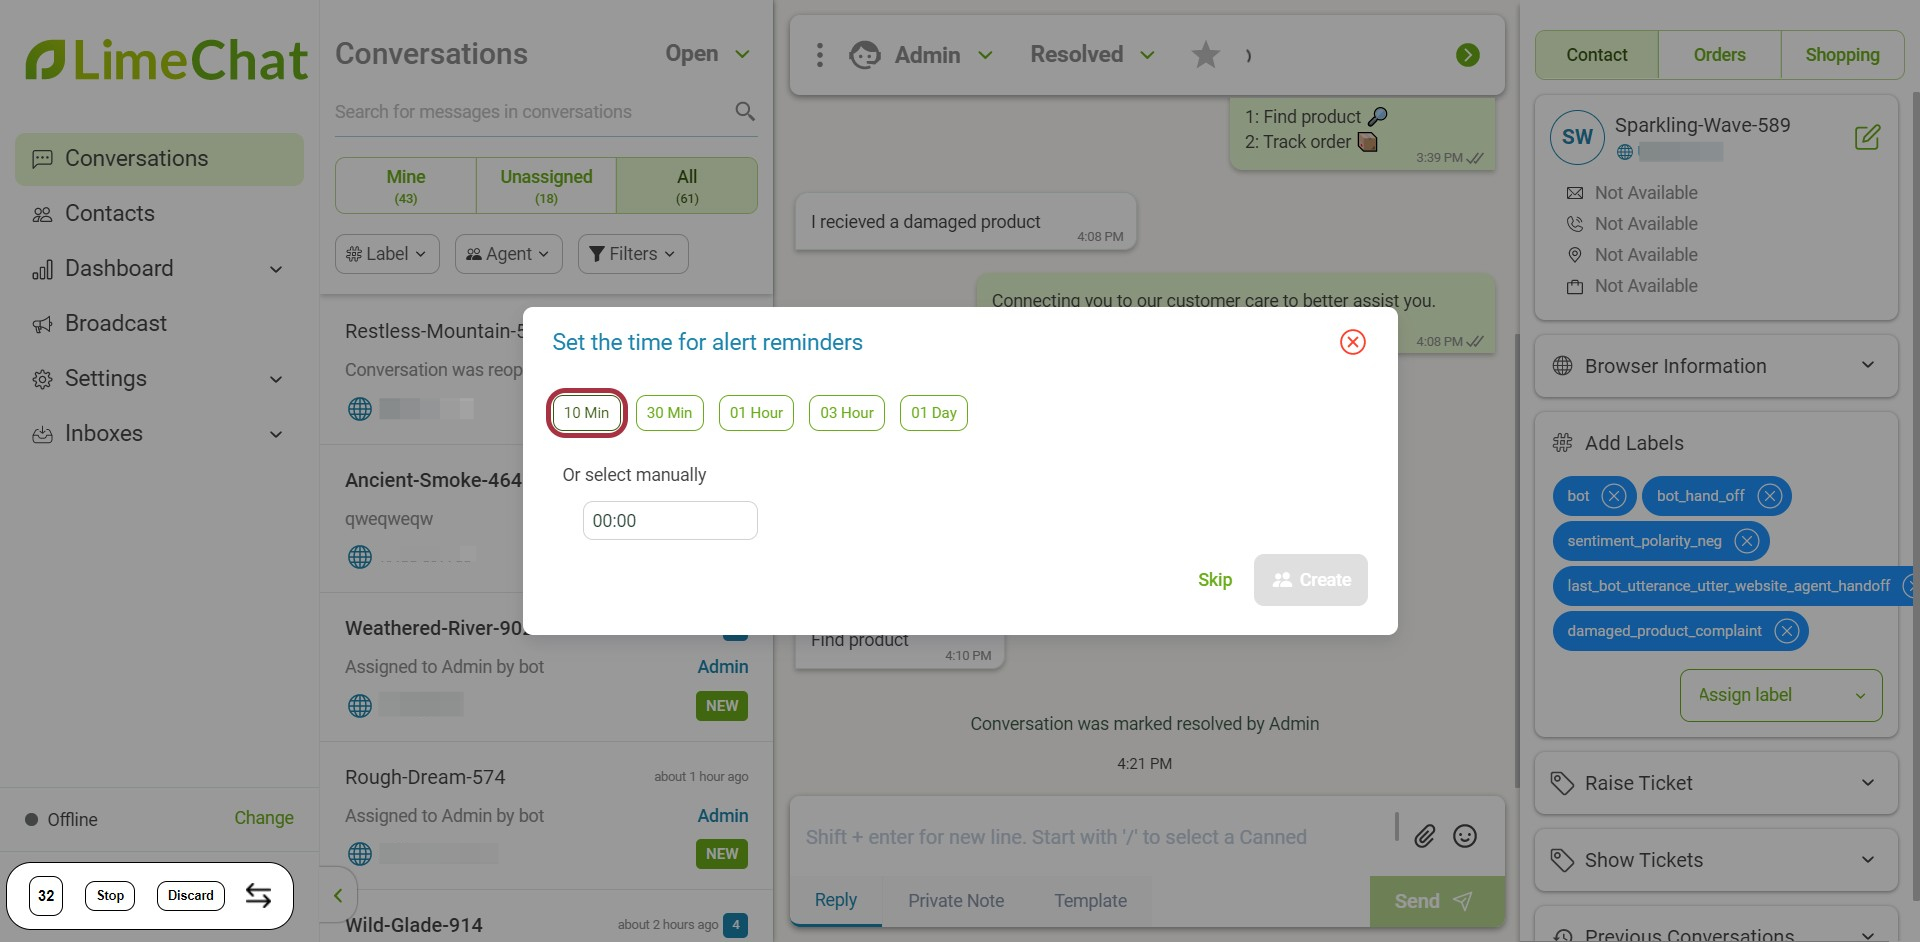
How to set any conversation to a Follow Up state?
- Click on the dropdown beside the current chat status. Here the current status is resolved.
- Select Follow Up from the drop-down menu.
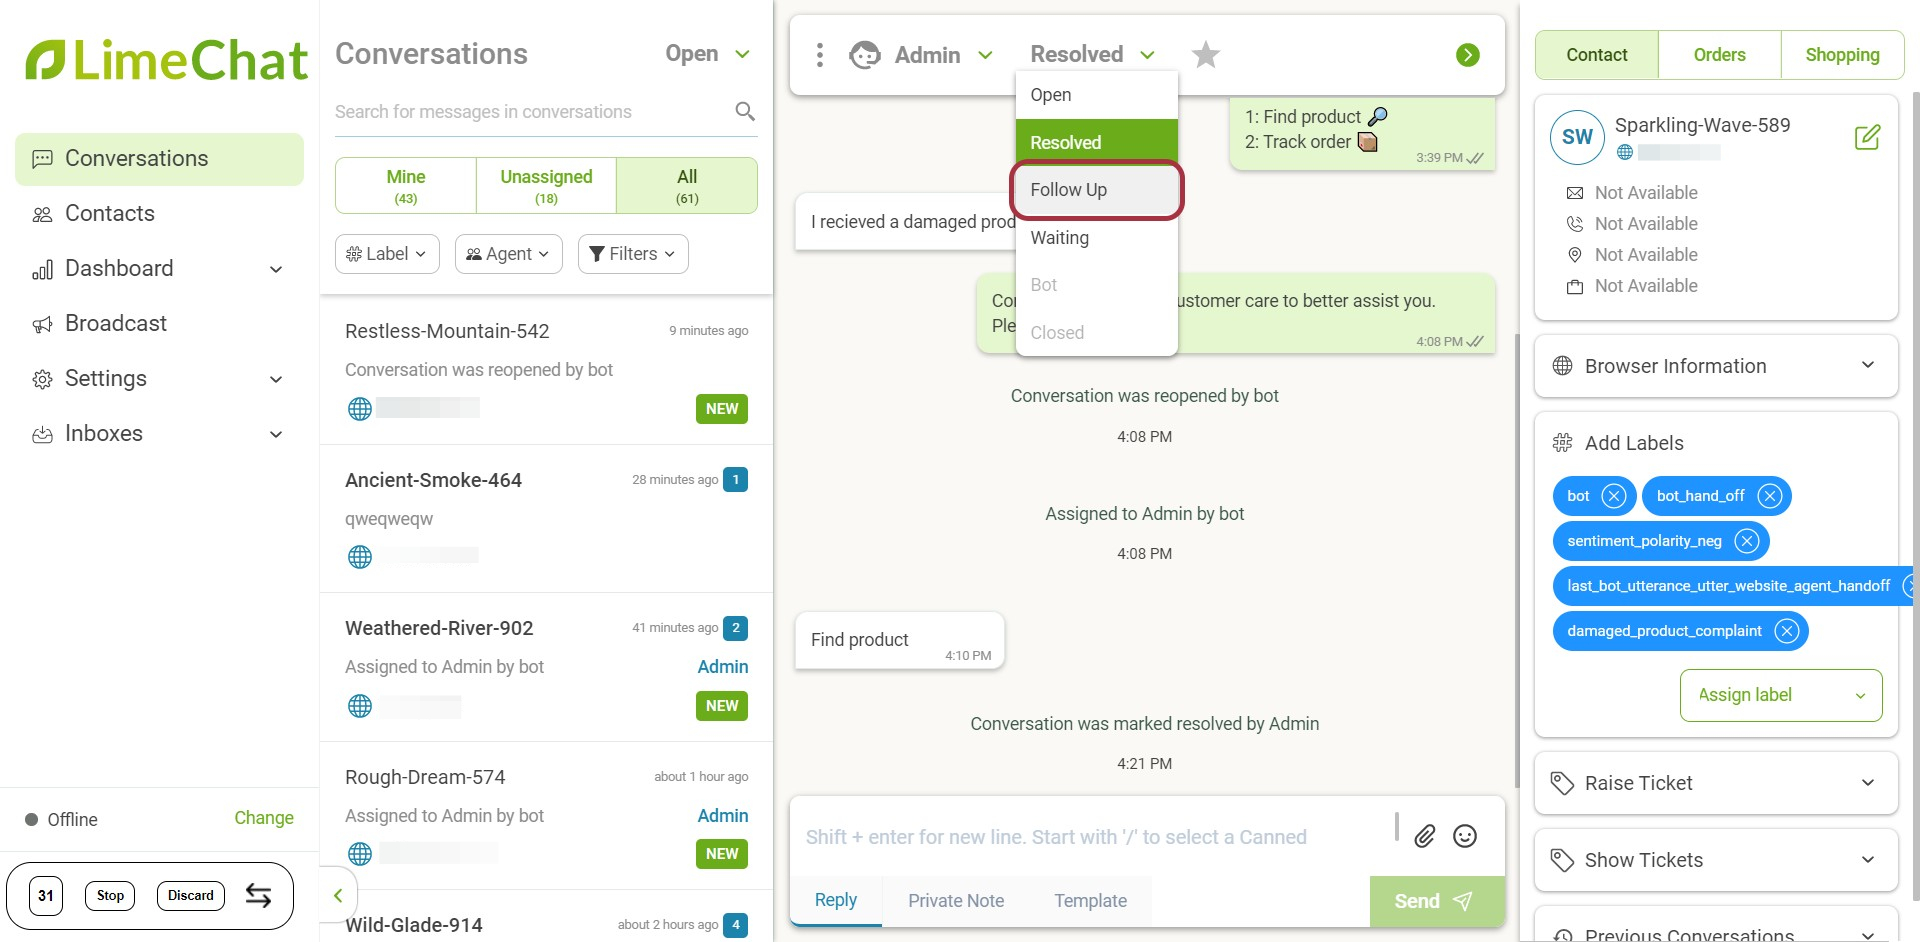
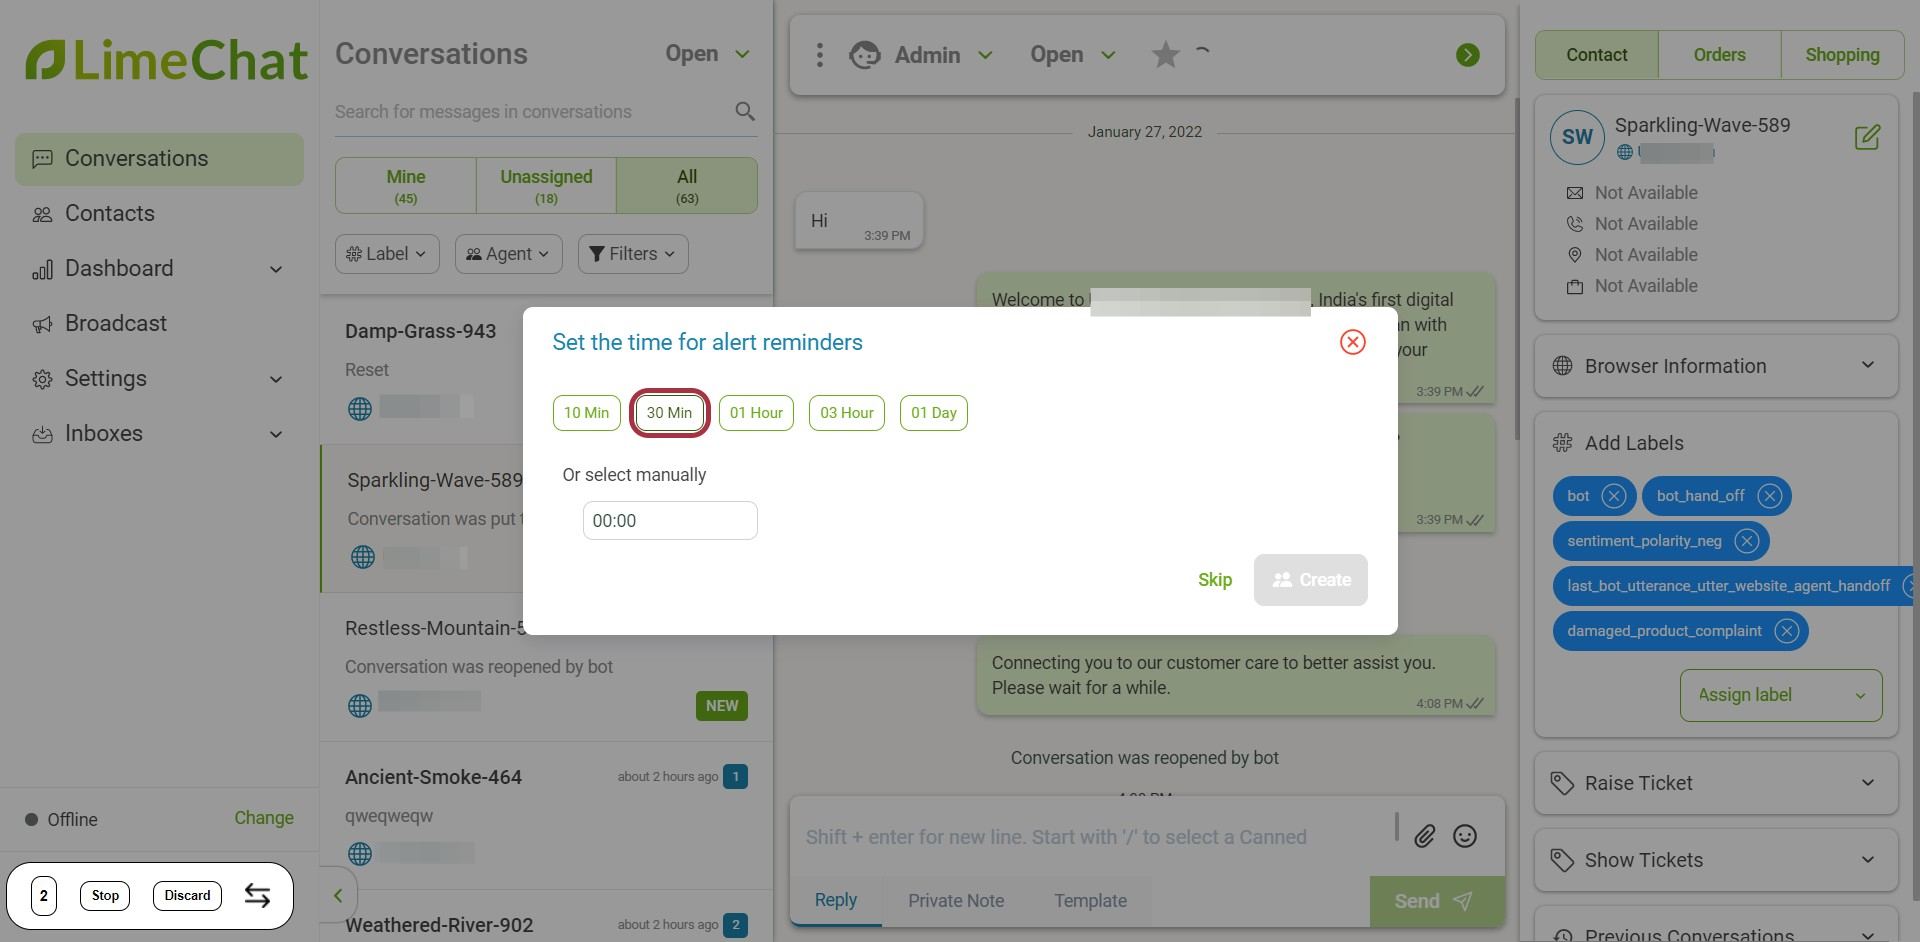
- You can set after how much time you want to follow up with that user.
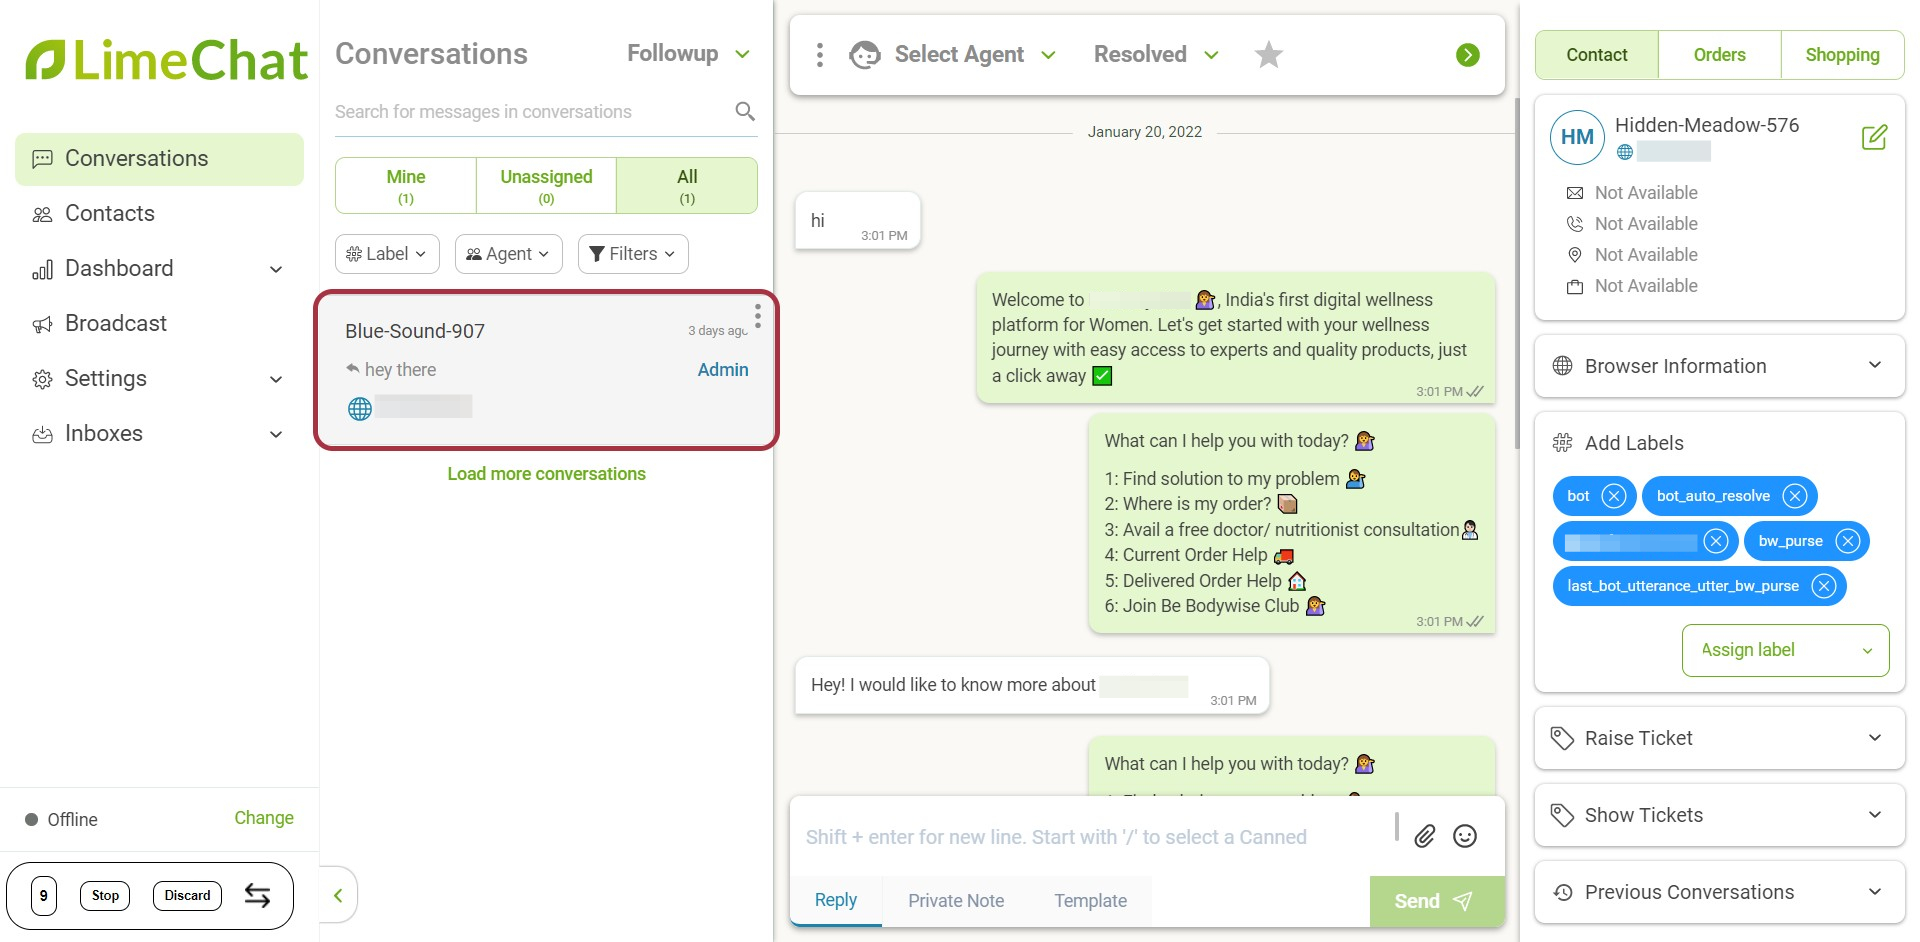
How to check all the Conversations that need to be followed up later?
- Select the Follow Up option from the dropdown menu.
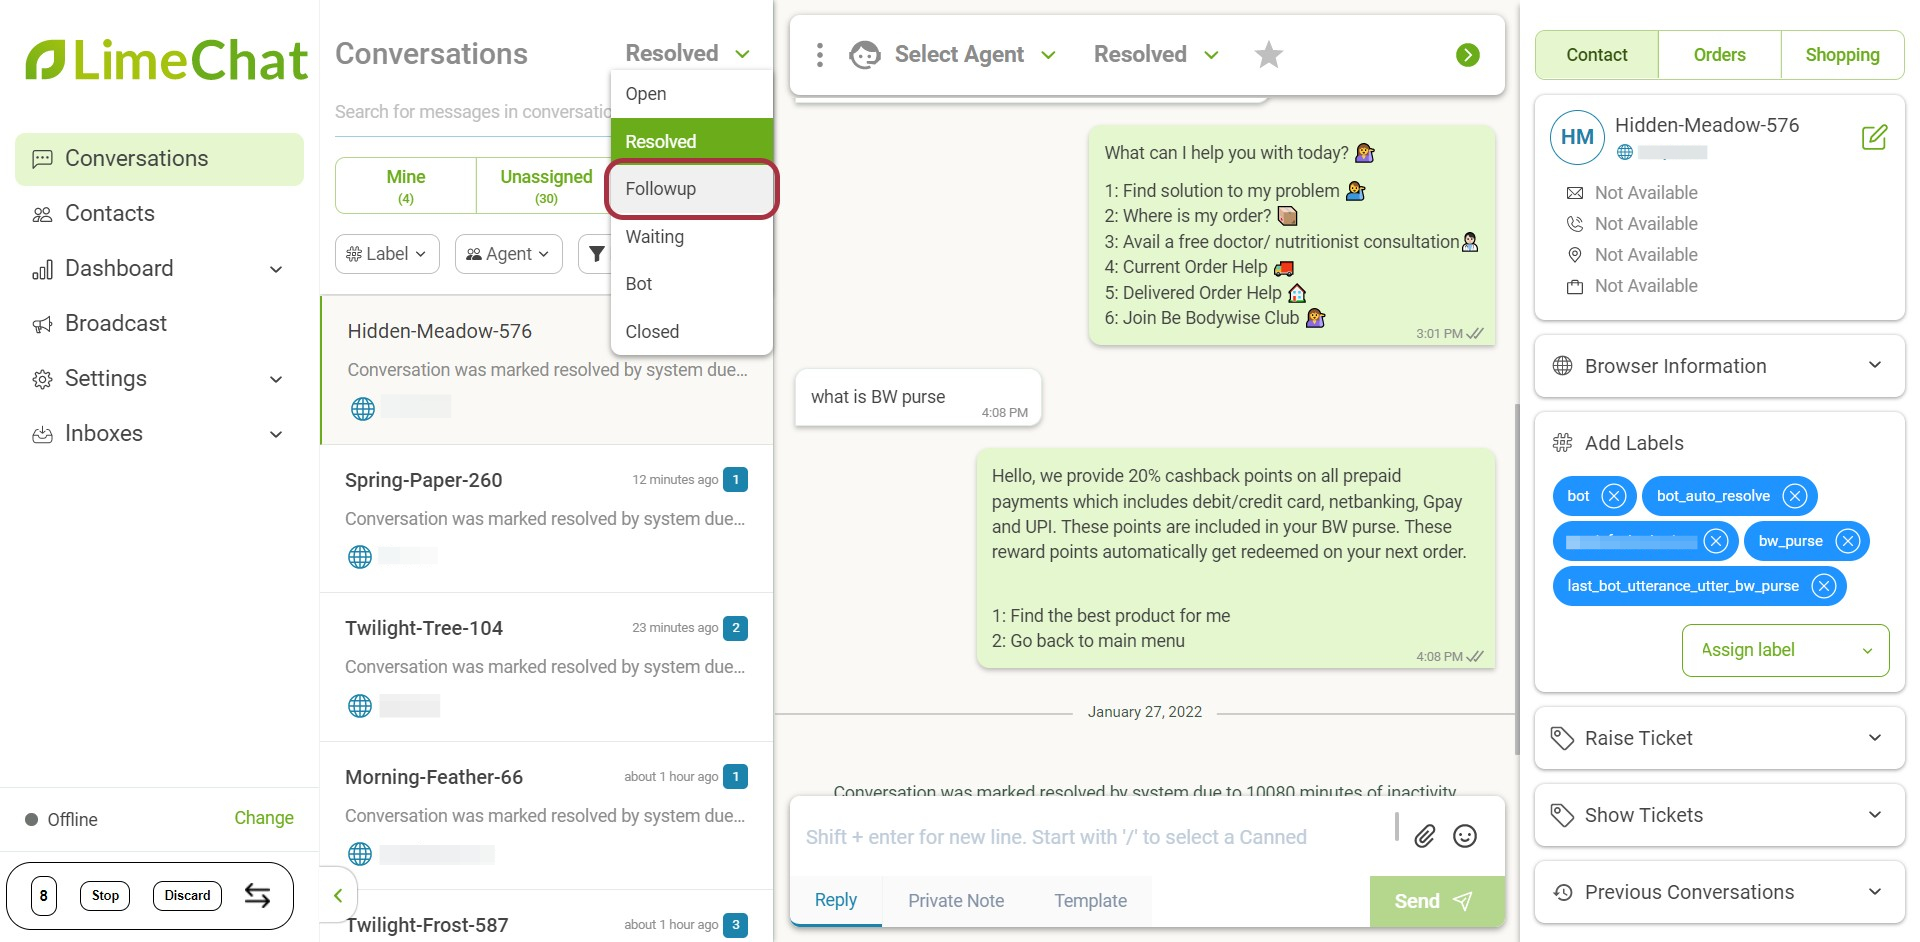
- All the conversations that need to follow up will get displayed under the Conversations panel.
In this case, only one conversation needs a follow up from the agent.
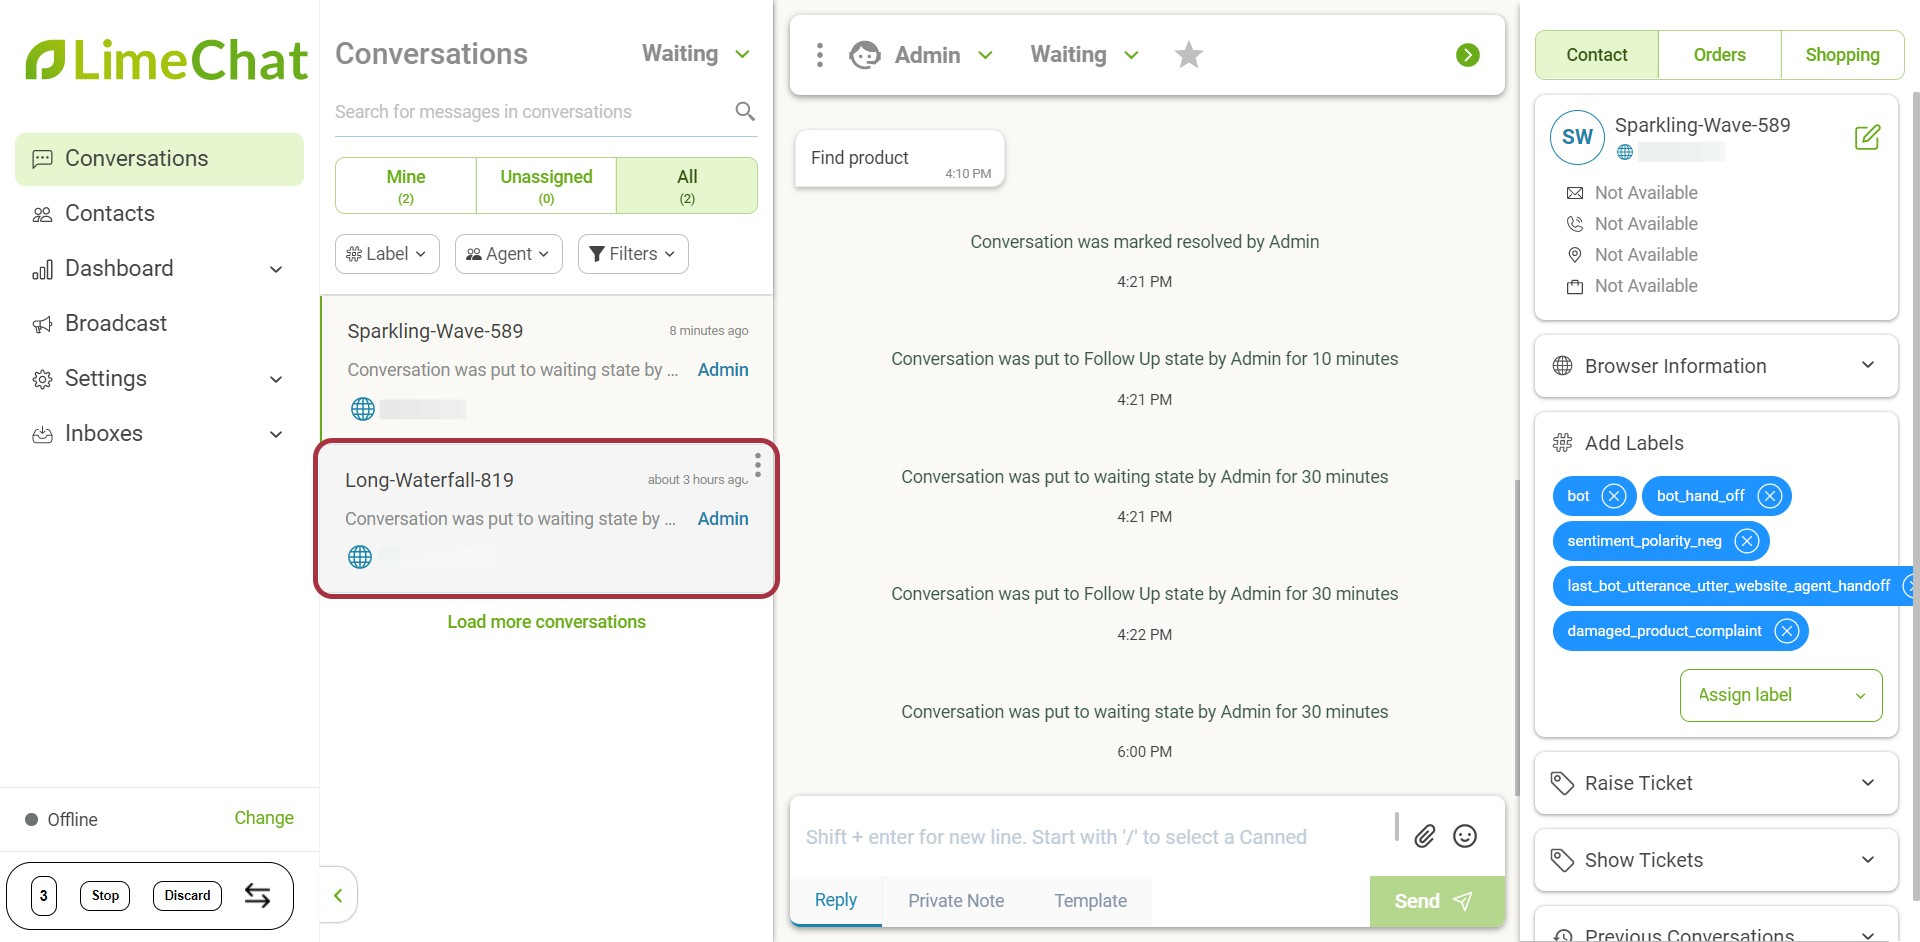
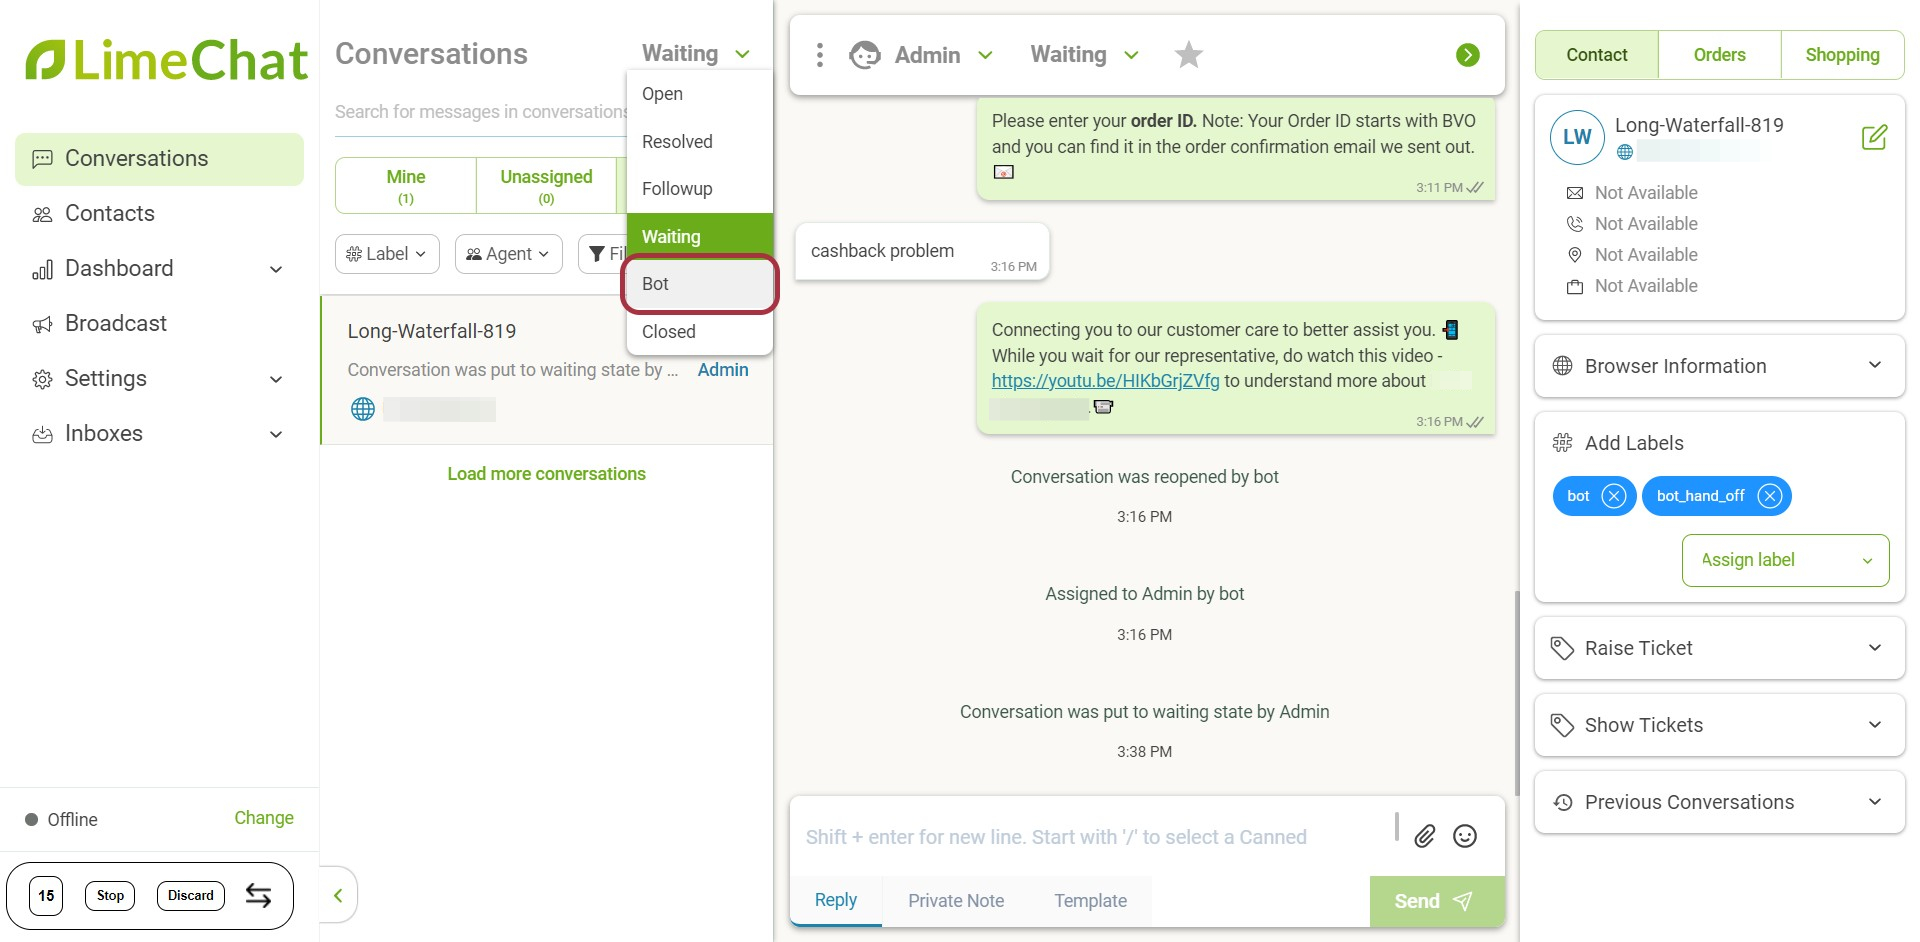
Waiting
You can put any conversation under Waiting.
Use Case:
If an agent thinks that the query is not solved completely and he/she needs to wait for the user response, the conversation can be switched to Waiting.
How to switch a conversation to Waiting state?
Currently, the chat is in an open state. If you are expecting a response from the user end, you can move it to a Waiting state.
- Click on dropdown > Waiting.

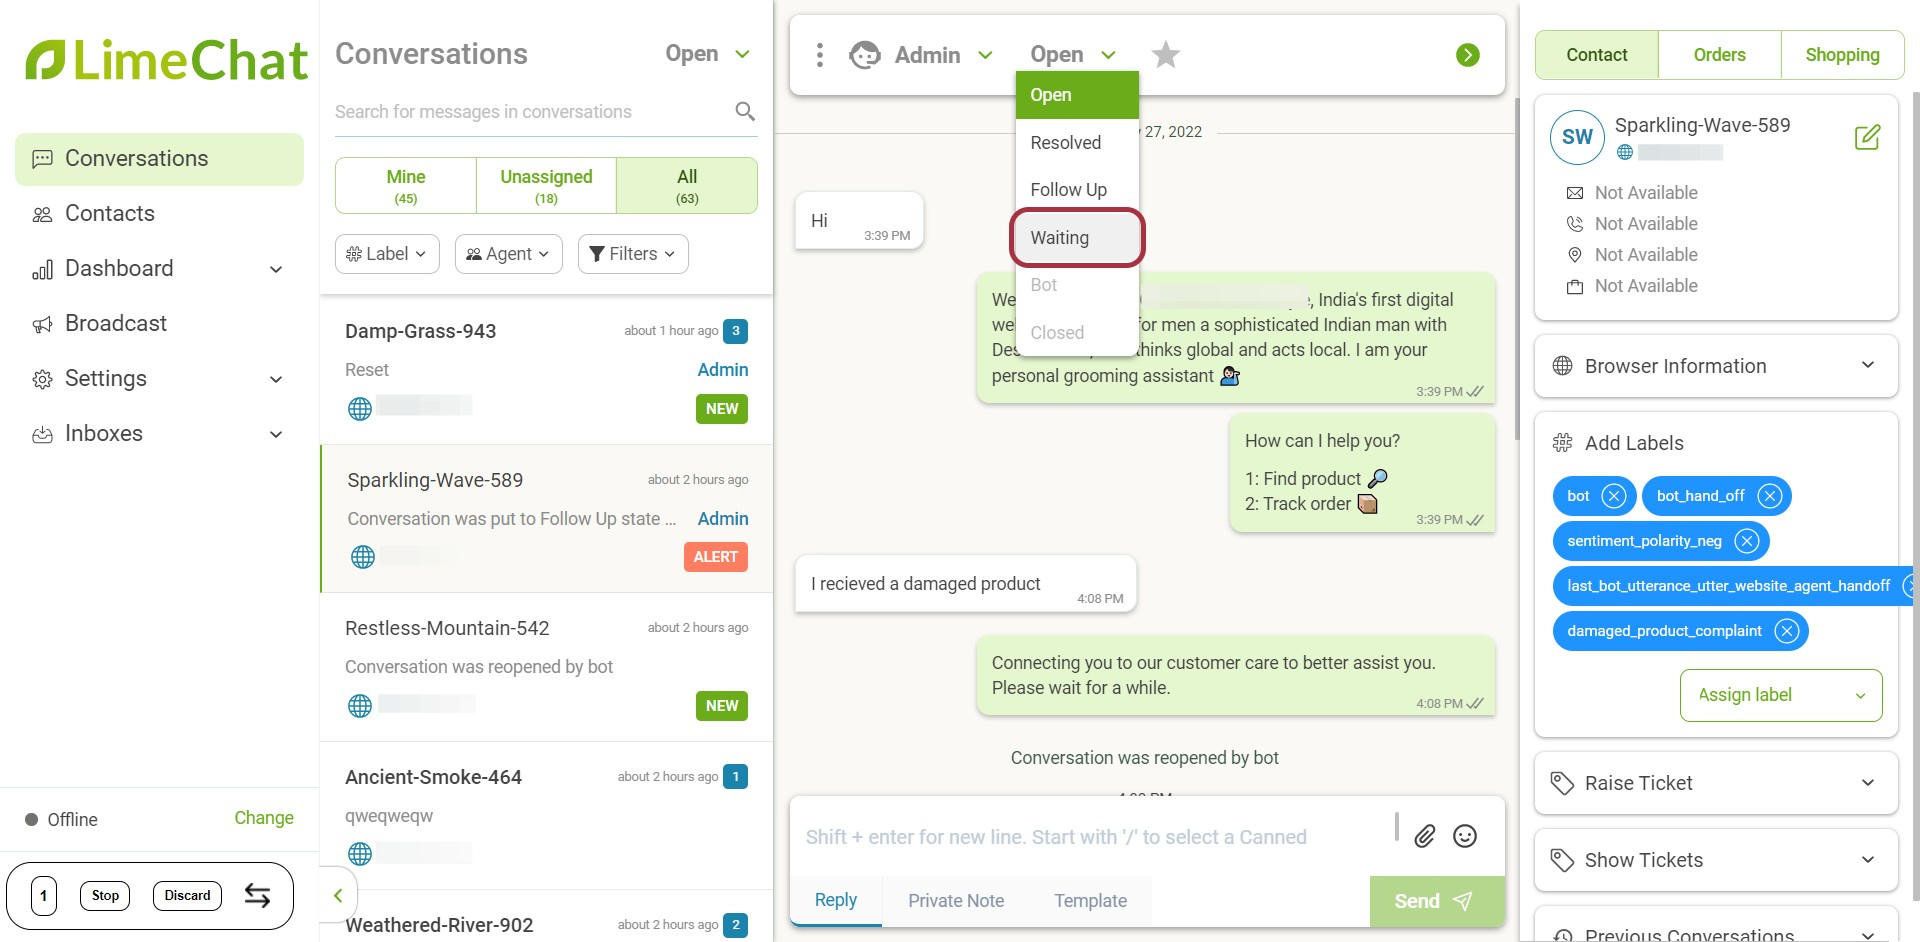
- You can set the time duration for which the conversation will move to a waiting state.
How to check all the Conversations under a Waiting state?
- Click on dropdown > Waiting.
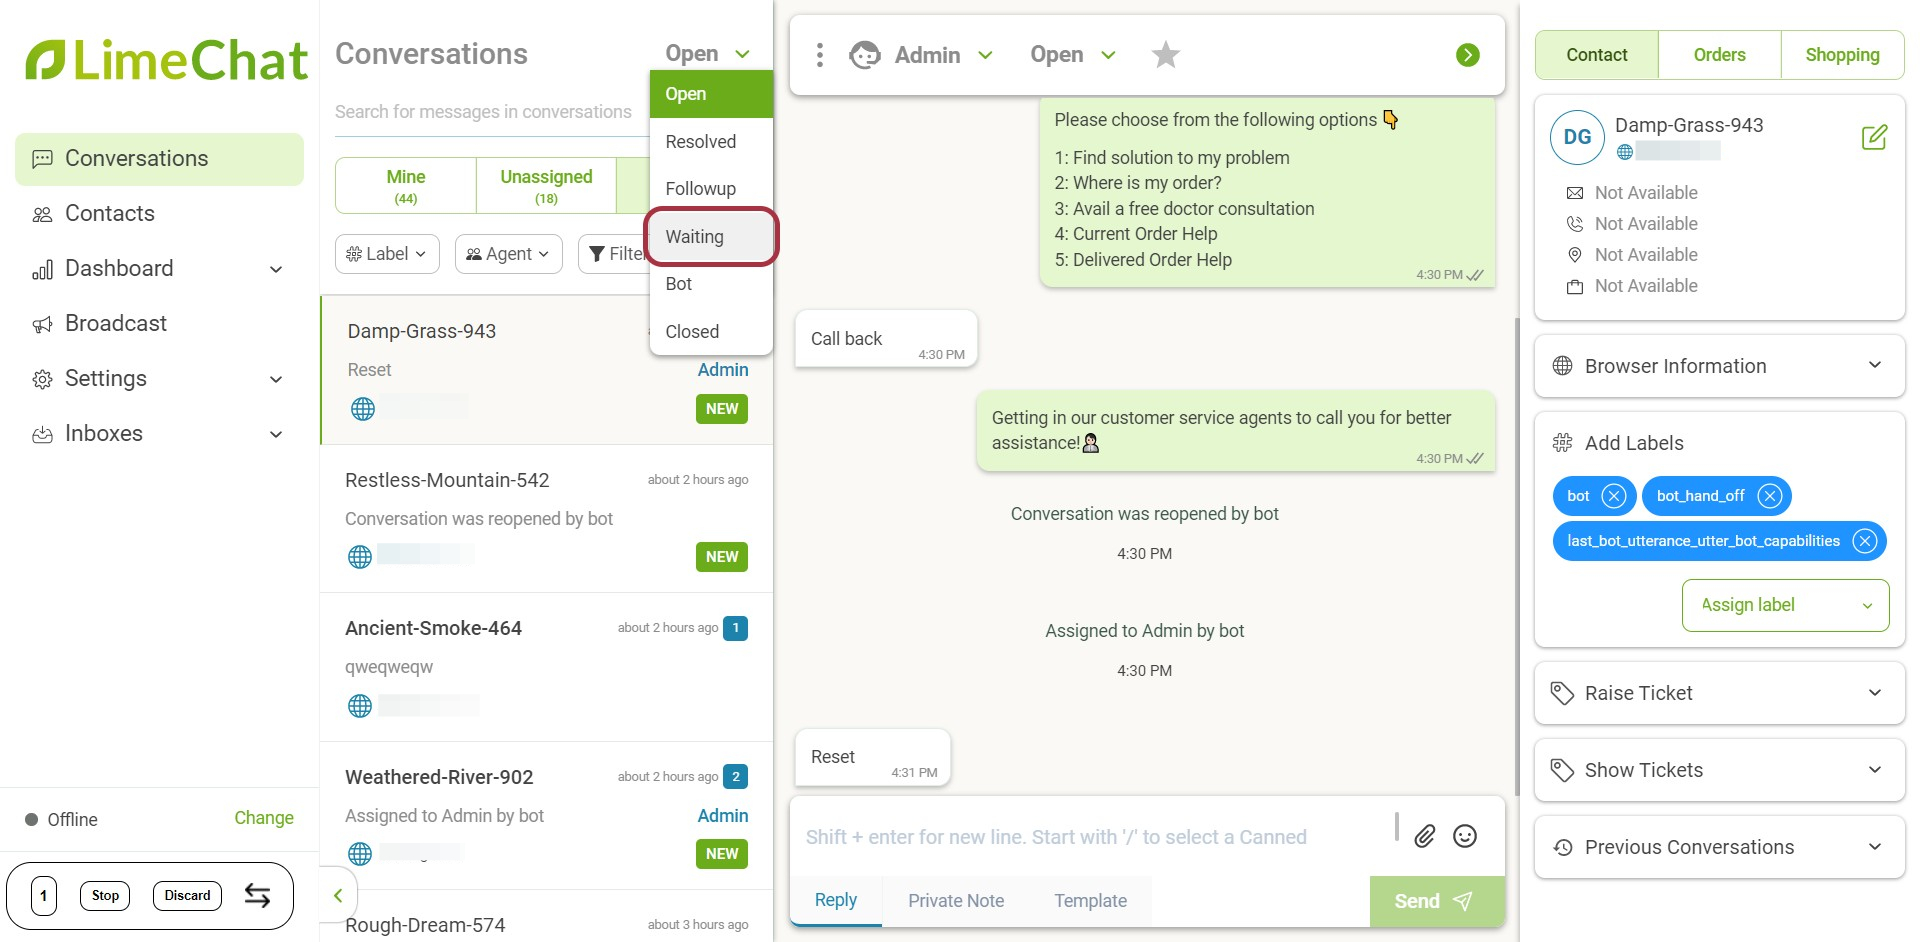
- All the conversations under Waiting state get displayed. Select any conversation, and you could see it marked as Waiting.