Broadcast
The broadcasting feature enables you to send messages to your customers in bulk.
Currently, the LimeChat Helpdesk supports Broadcasting features only for WhatsApp.
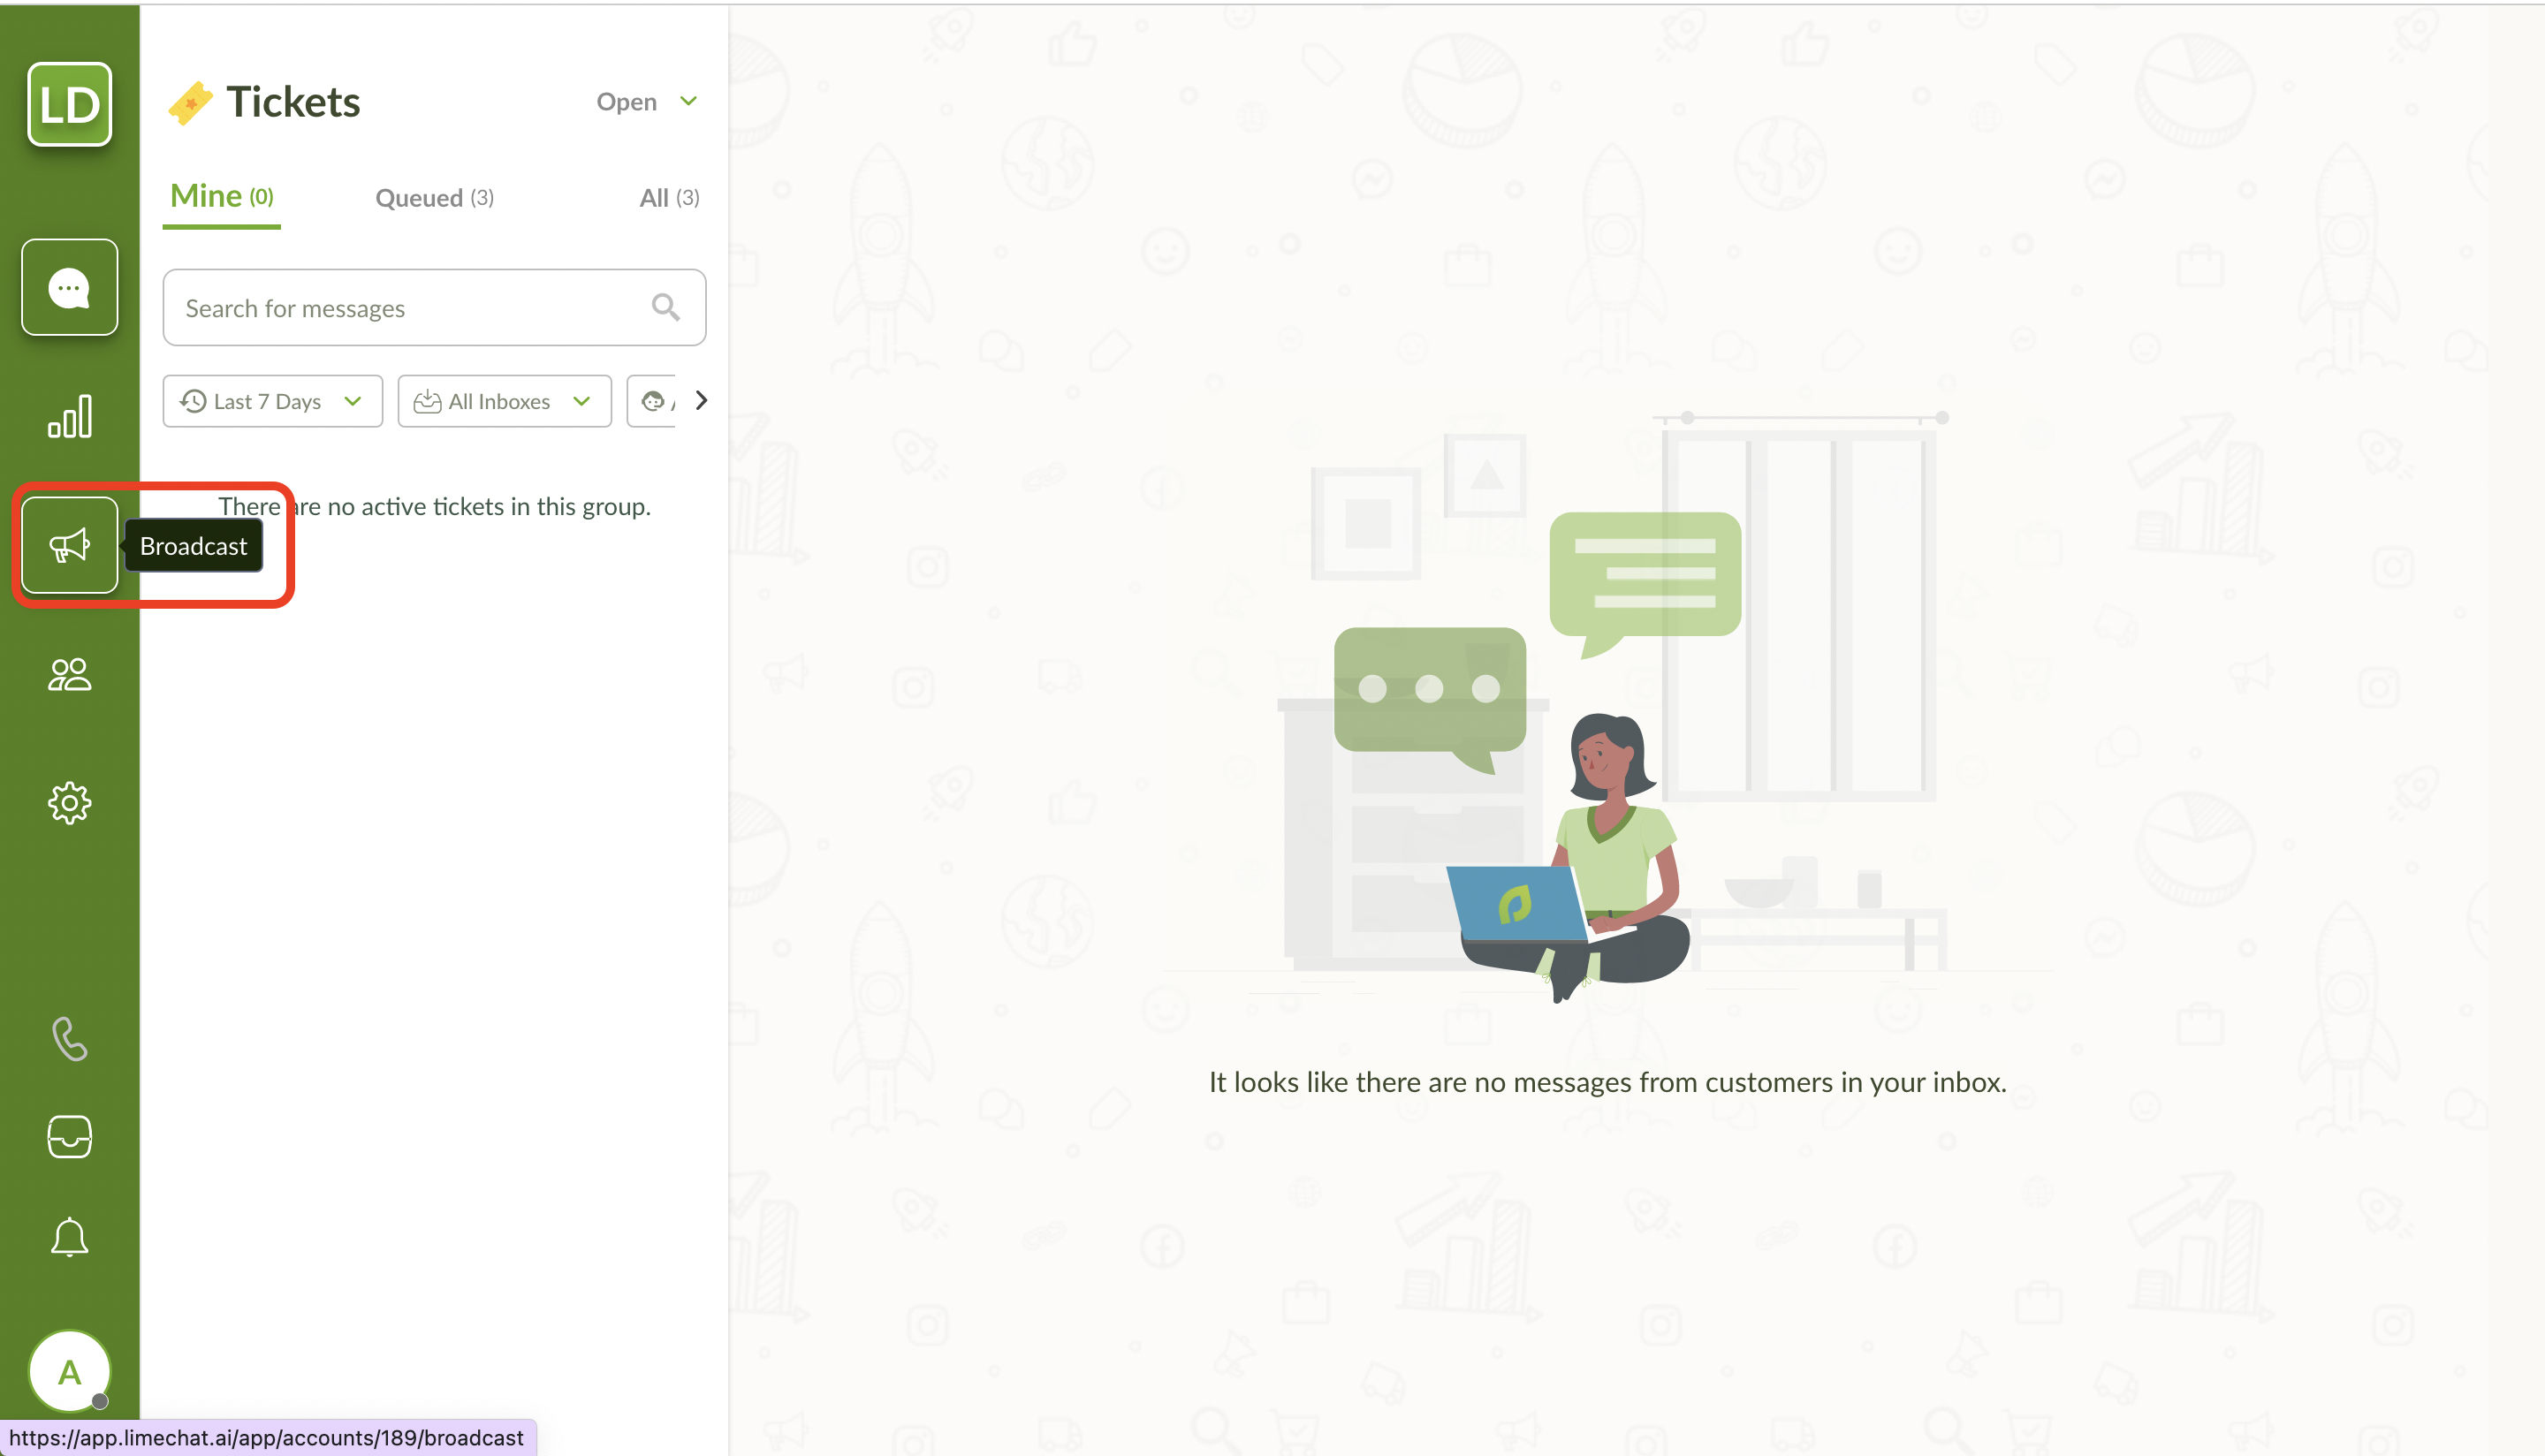
Select Broadcast icon on the left panel of the dashboard.
This is the Broadcast Homepage.

You can perform the following actions from this page.
- Create broadcast campaigns
- Manage the customers which have opted-out to your broadcast msgs.
- View the list of all such customers with their phone numbers
- Add customers manually to this list
- Download the list of such customers
- Create Customer Segments - This is possible only for Shopify Clients
How to broadcast messages from the LimeChat Helpdesk?
To create broadcast campaigns, select CREATE NEW BROADCAST button from the Broadcast homepage.

Enter the name of the campaign
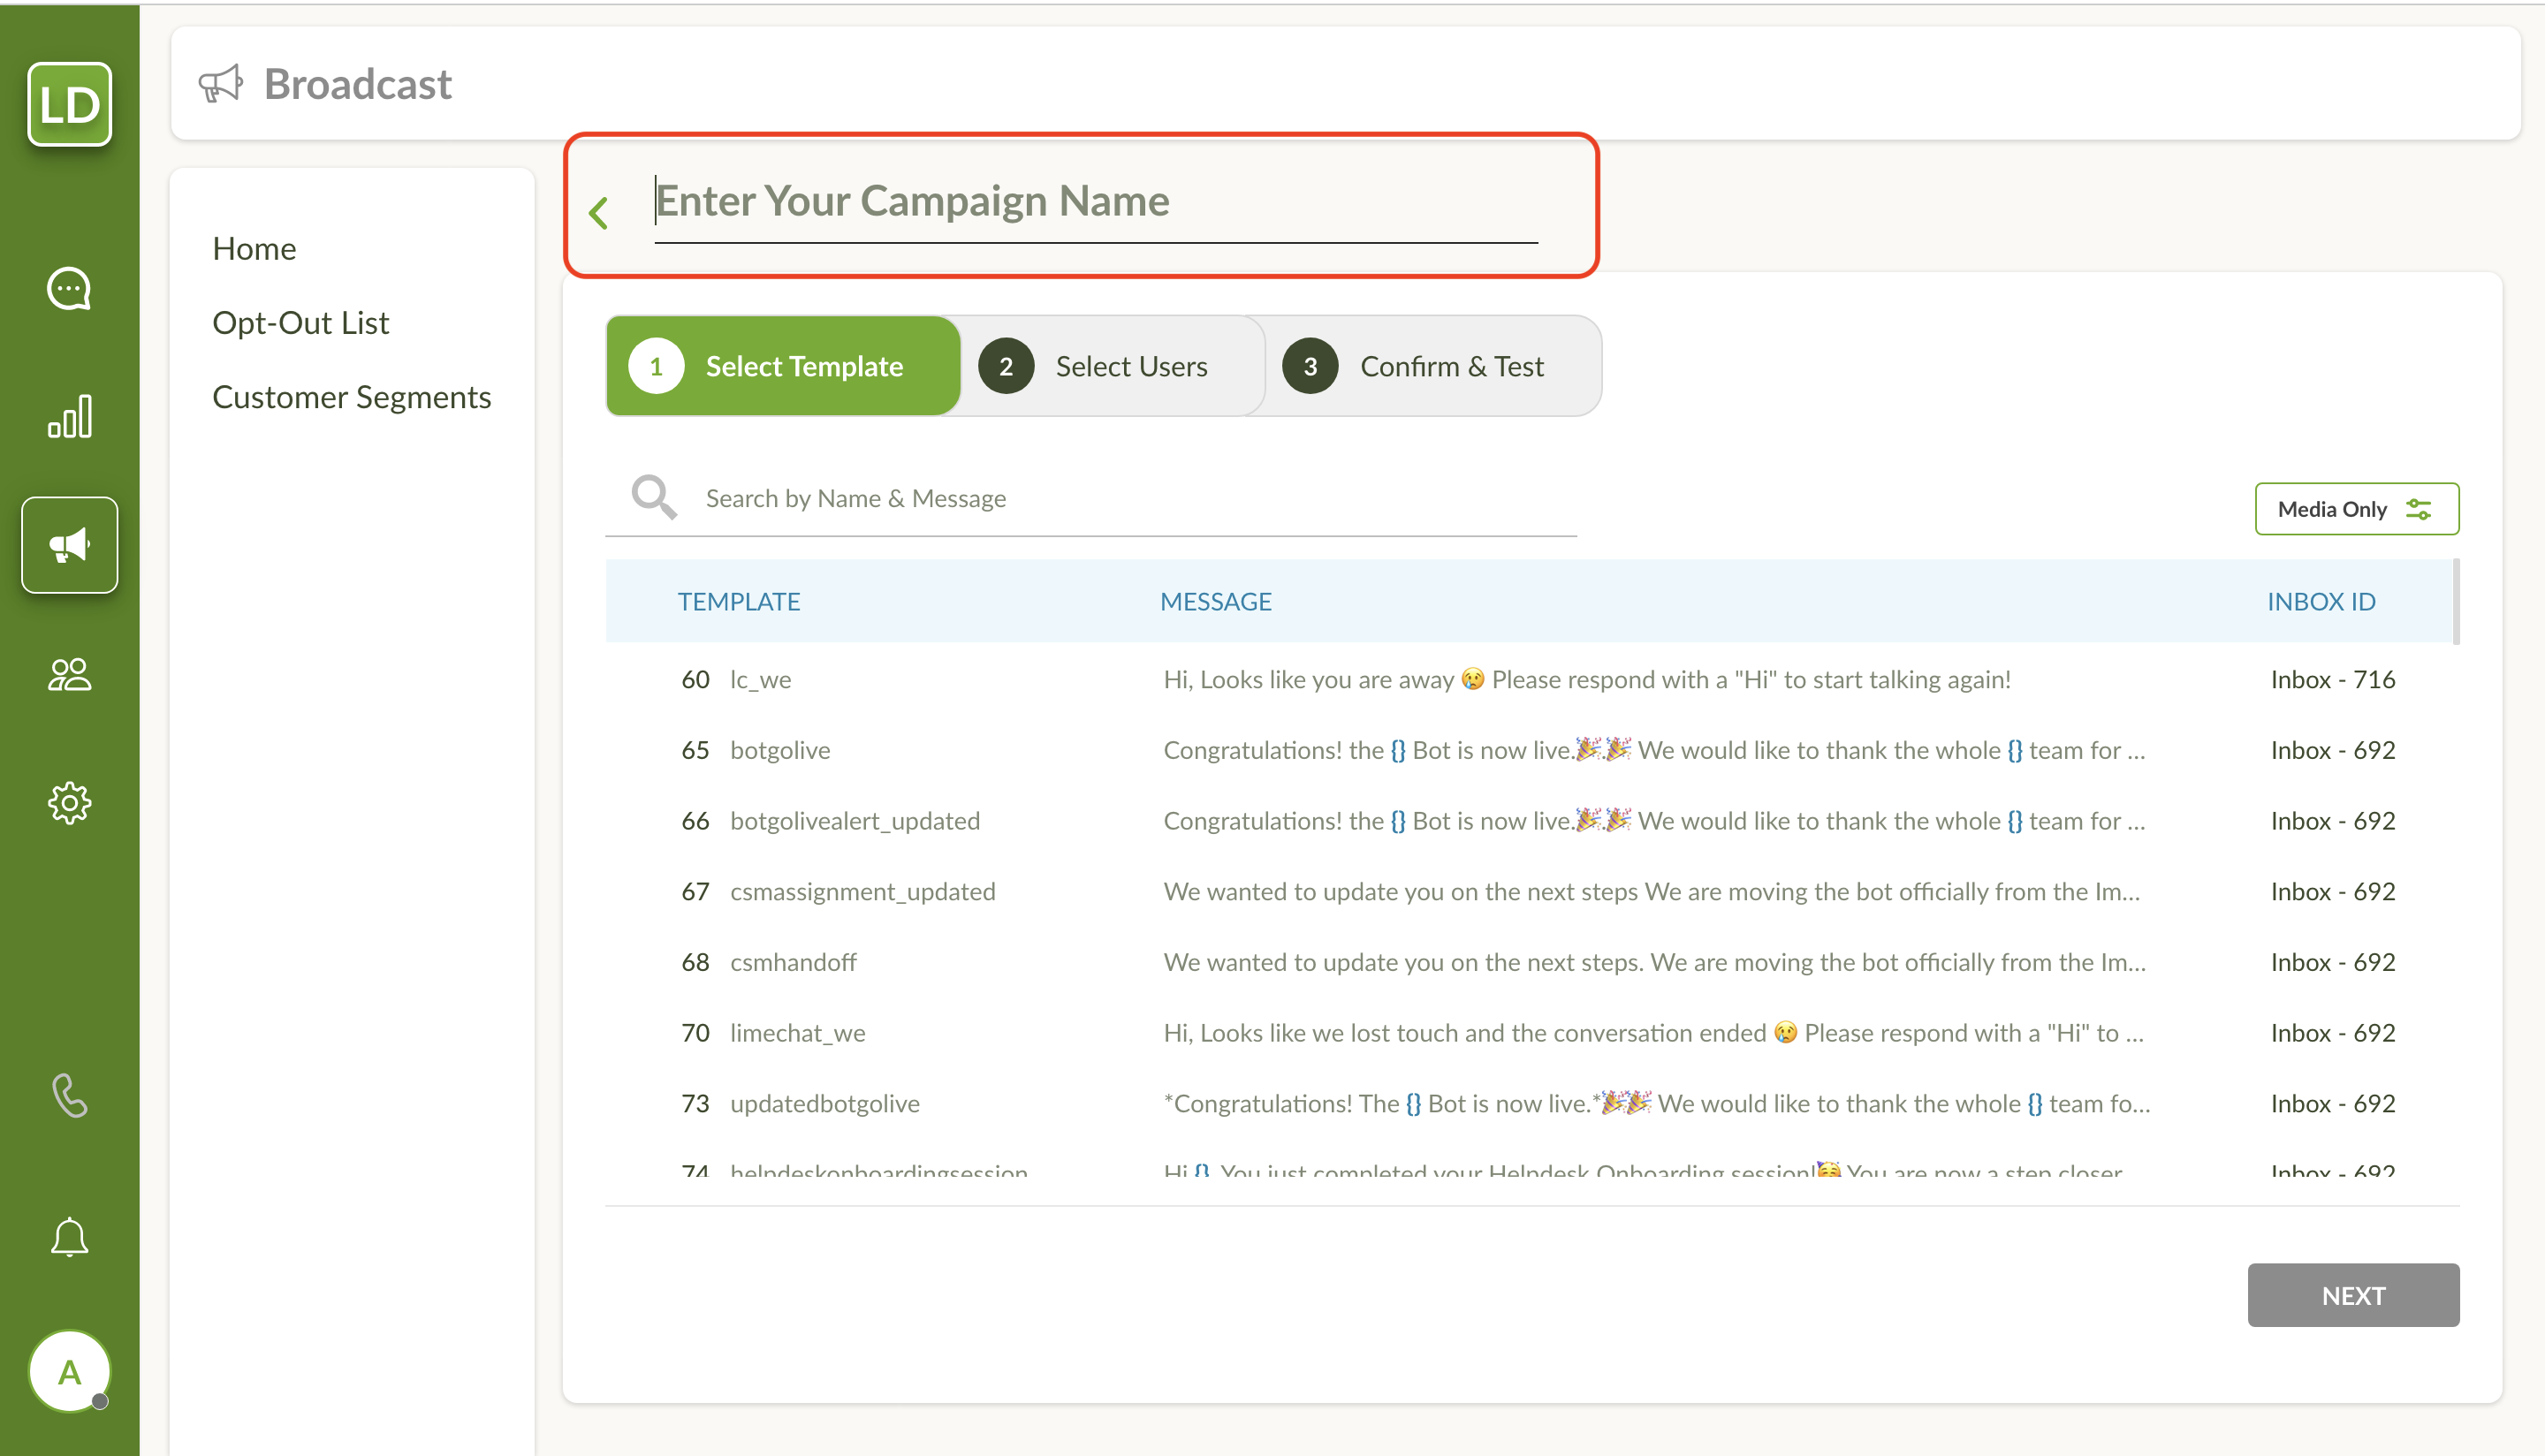
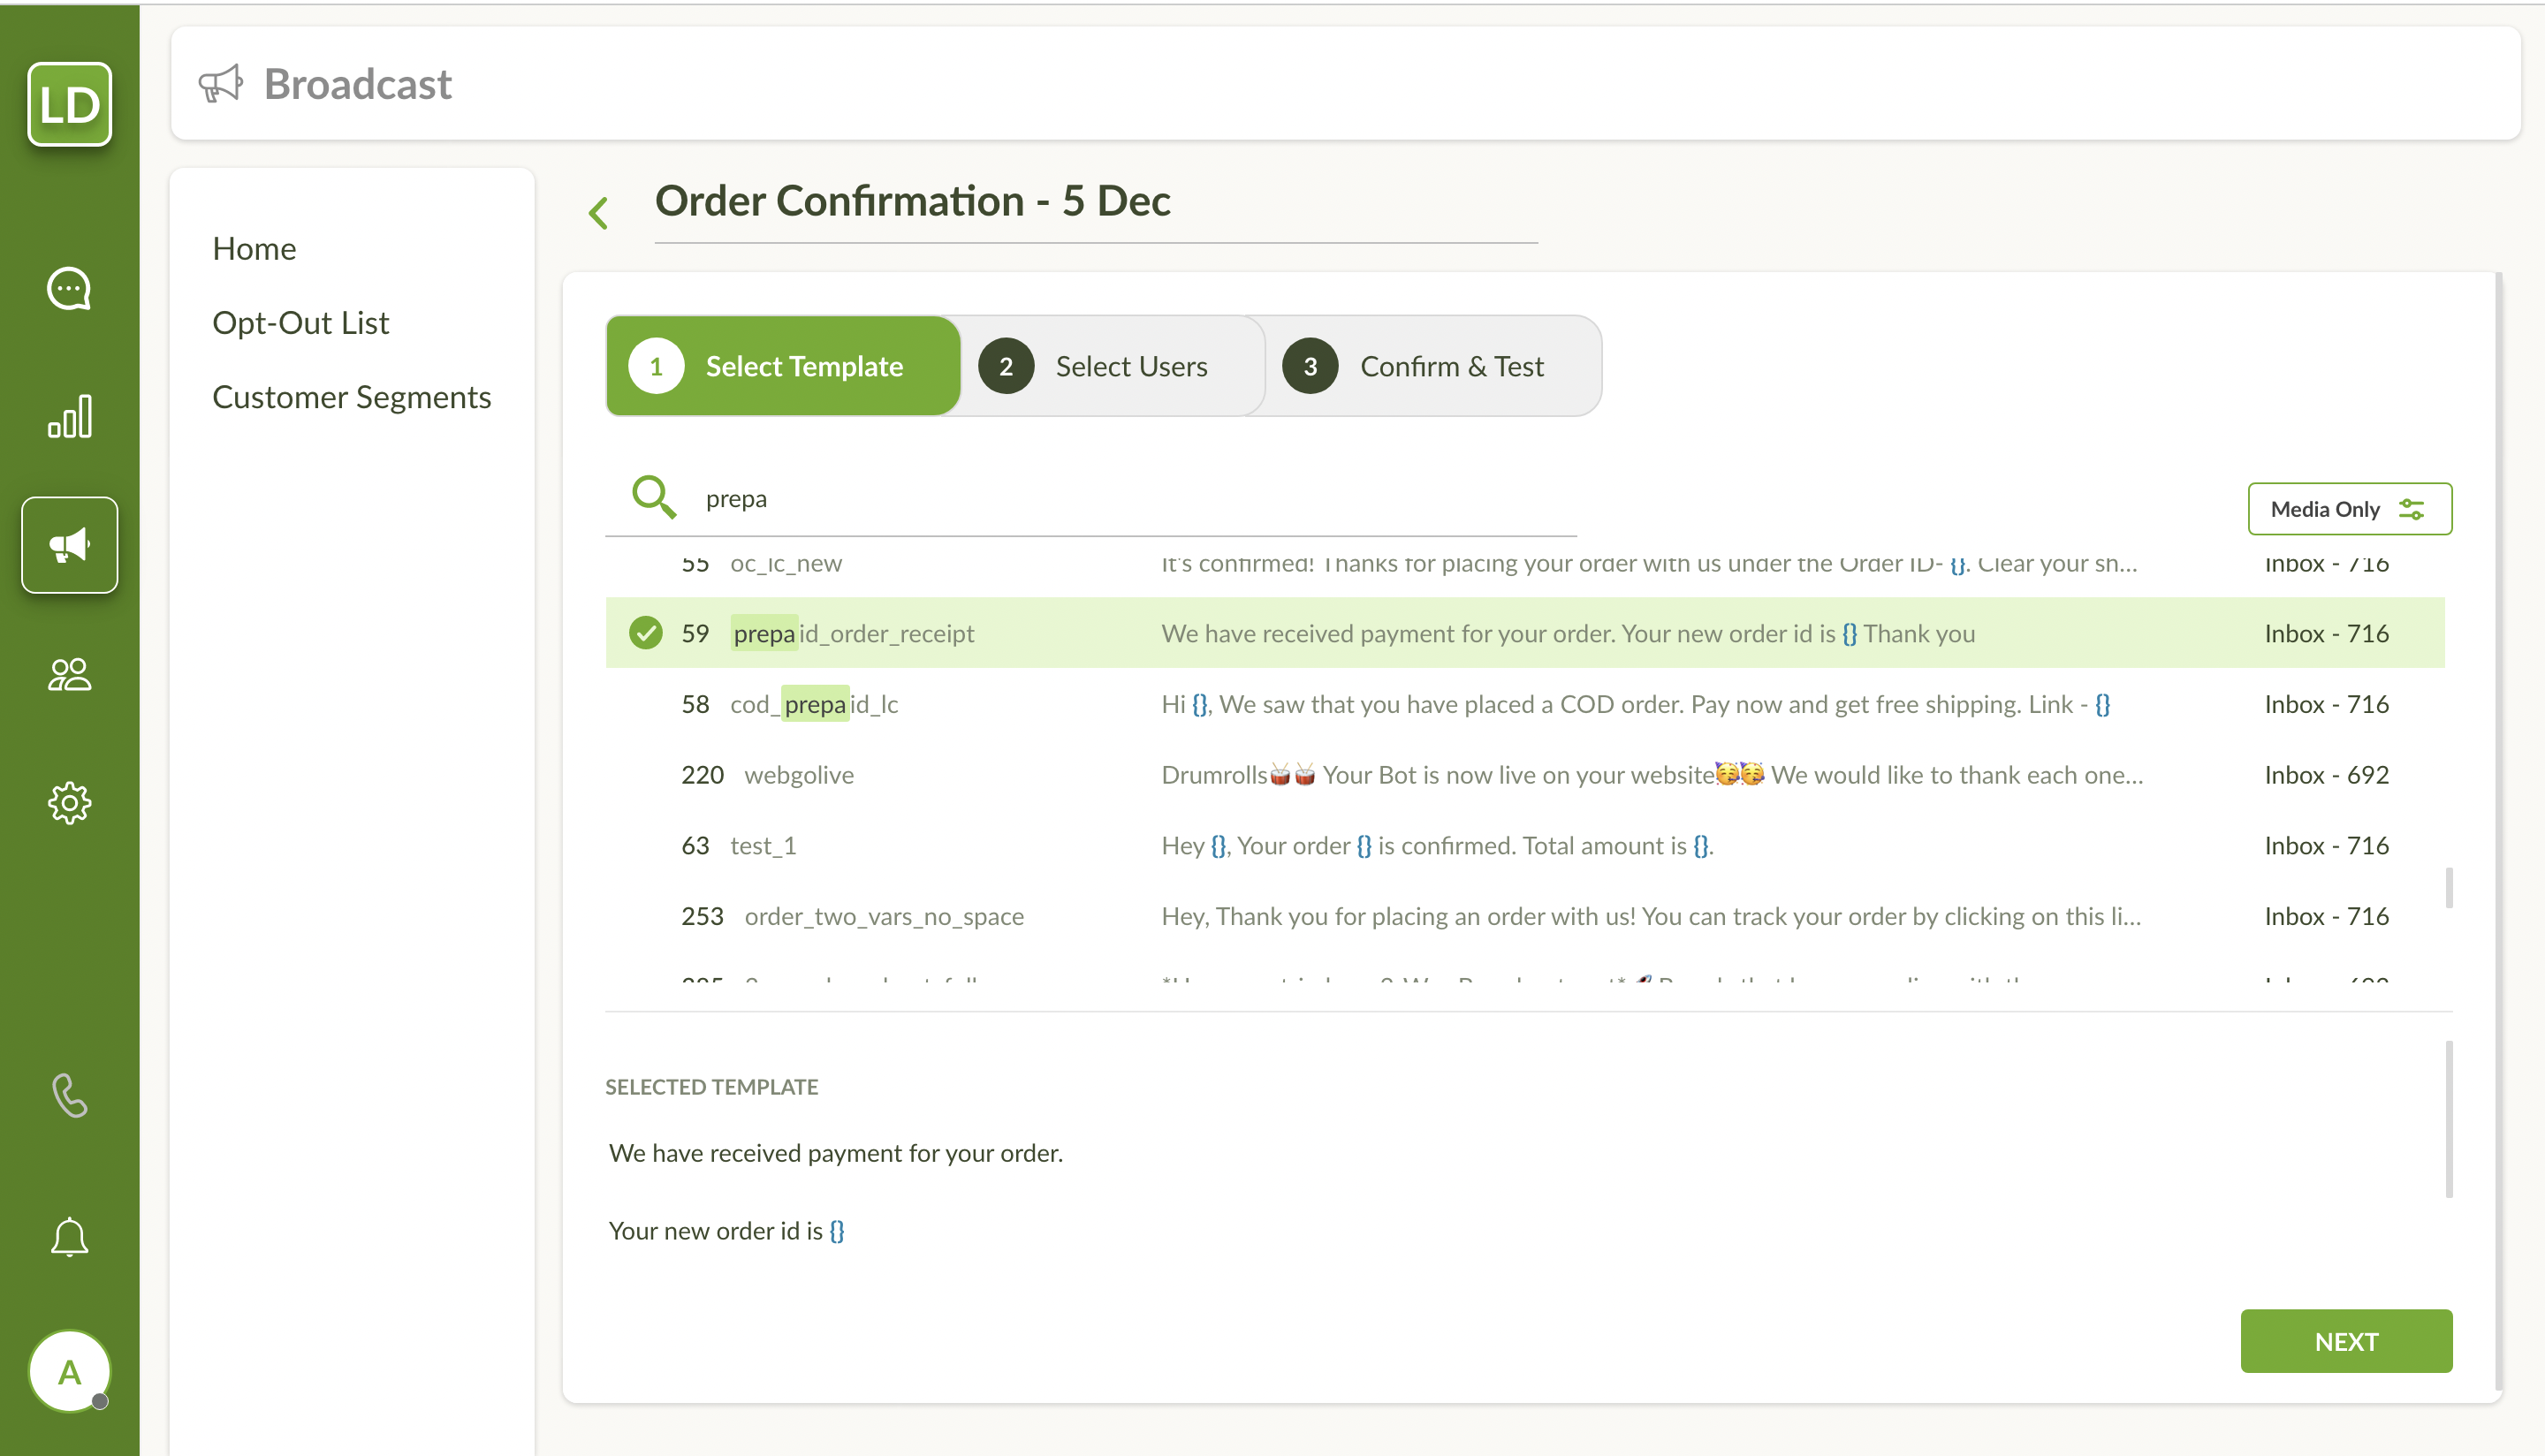
Next, you need to select the message Template. All the Templates linked to WhatsApp inboxes in your account will be displayed in the list along with their corresponding Inbox IDs. The selected template preview will be shown at the bottom of the screen. Click on NEXT button to continue.
info
💡 A template is a pre-defined message (with or without dynamic fields) that is approved by your WhatsApp API providers before sending it to all your users.
Read: How to get templates approved from your WhatsApp API providers?
info
💡 WhatsApp follows a very strict policy and does not want the brands to send spam messages to its users. Hence, to ensure this, a Template message first needs to be verified from your WhatsApp API providers and then used for broadcasting.
Once you have selected the template, you have to Upload a CSV consisting of customer phone Numbers and Template Parameters. If you are broadcasting for the first time, it is recommended to Download CSV Template.
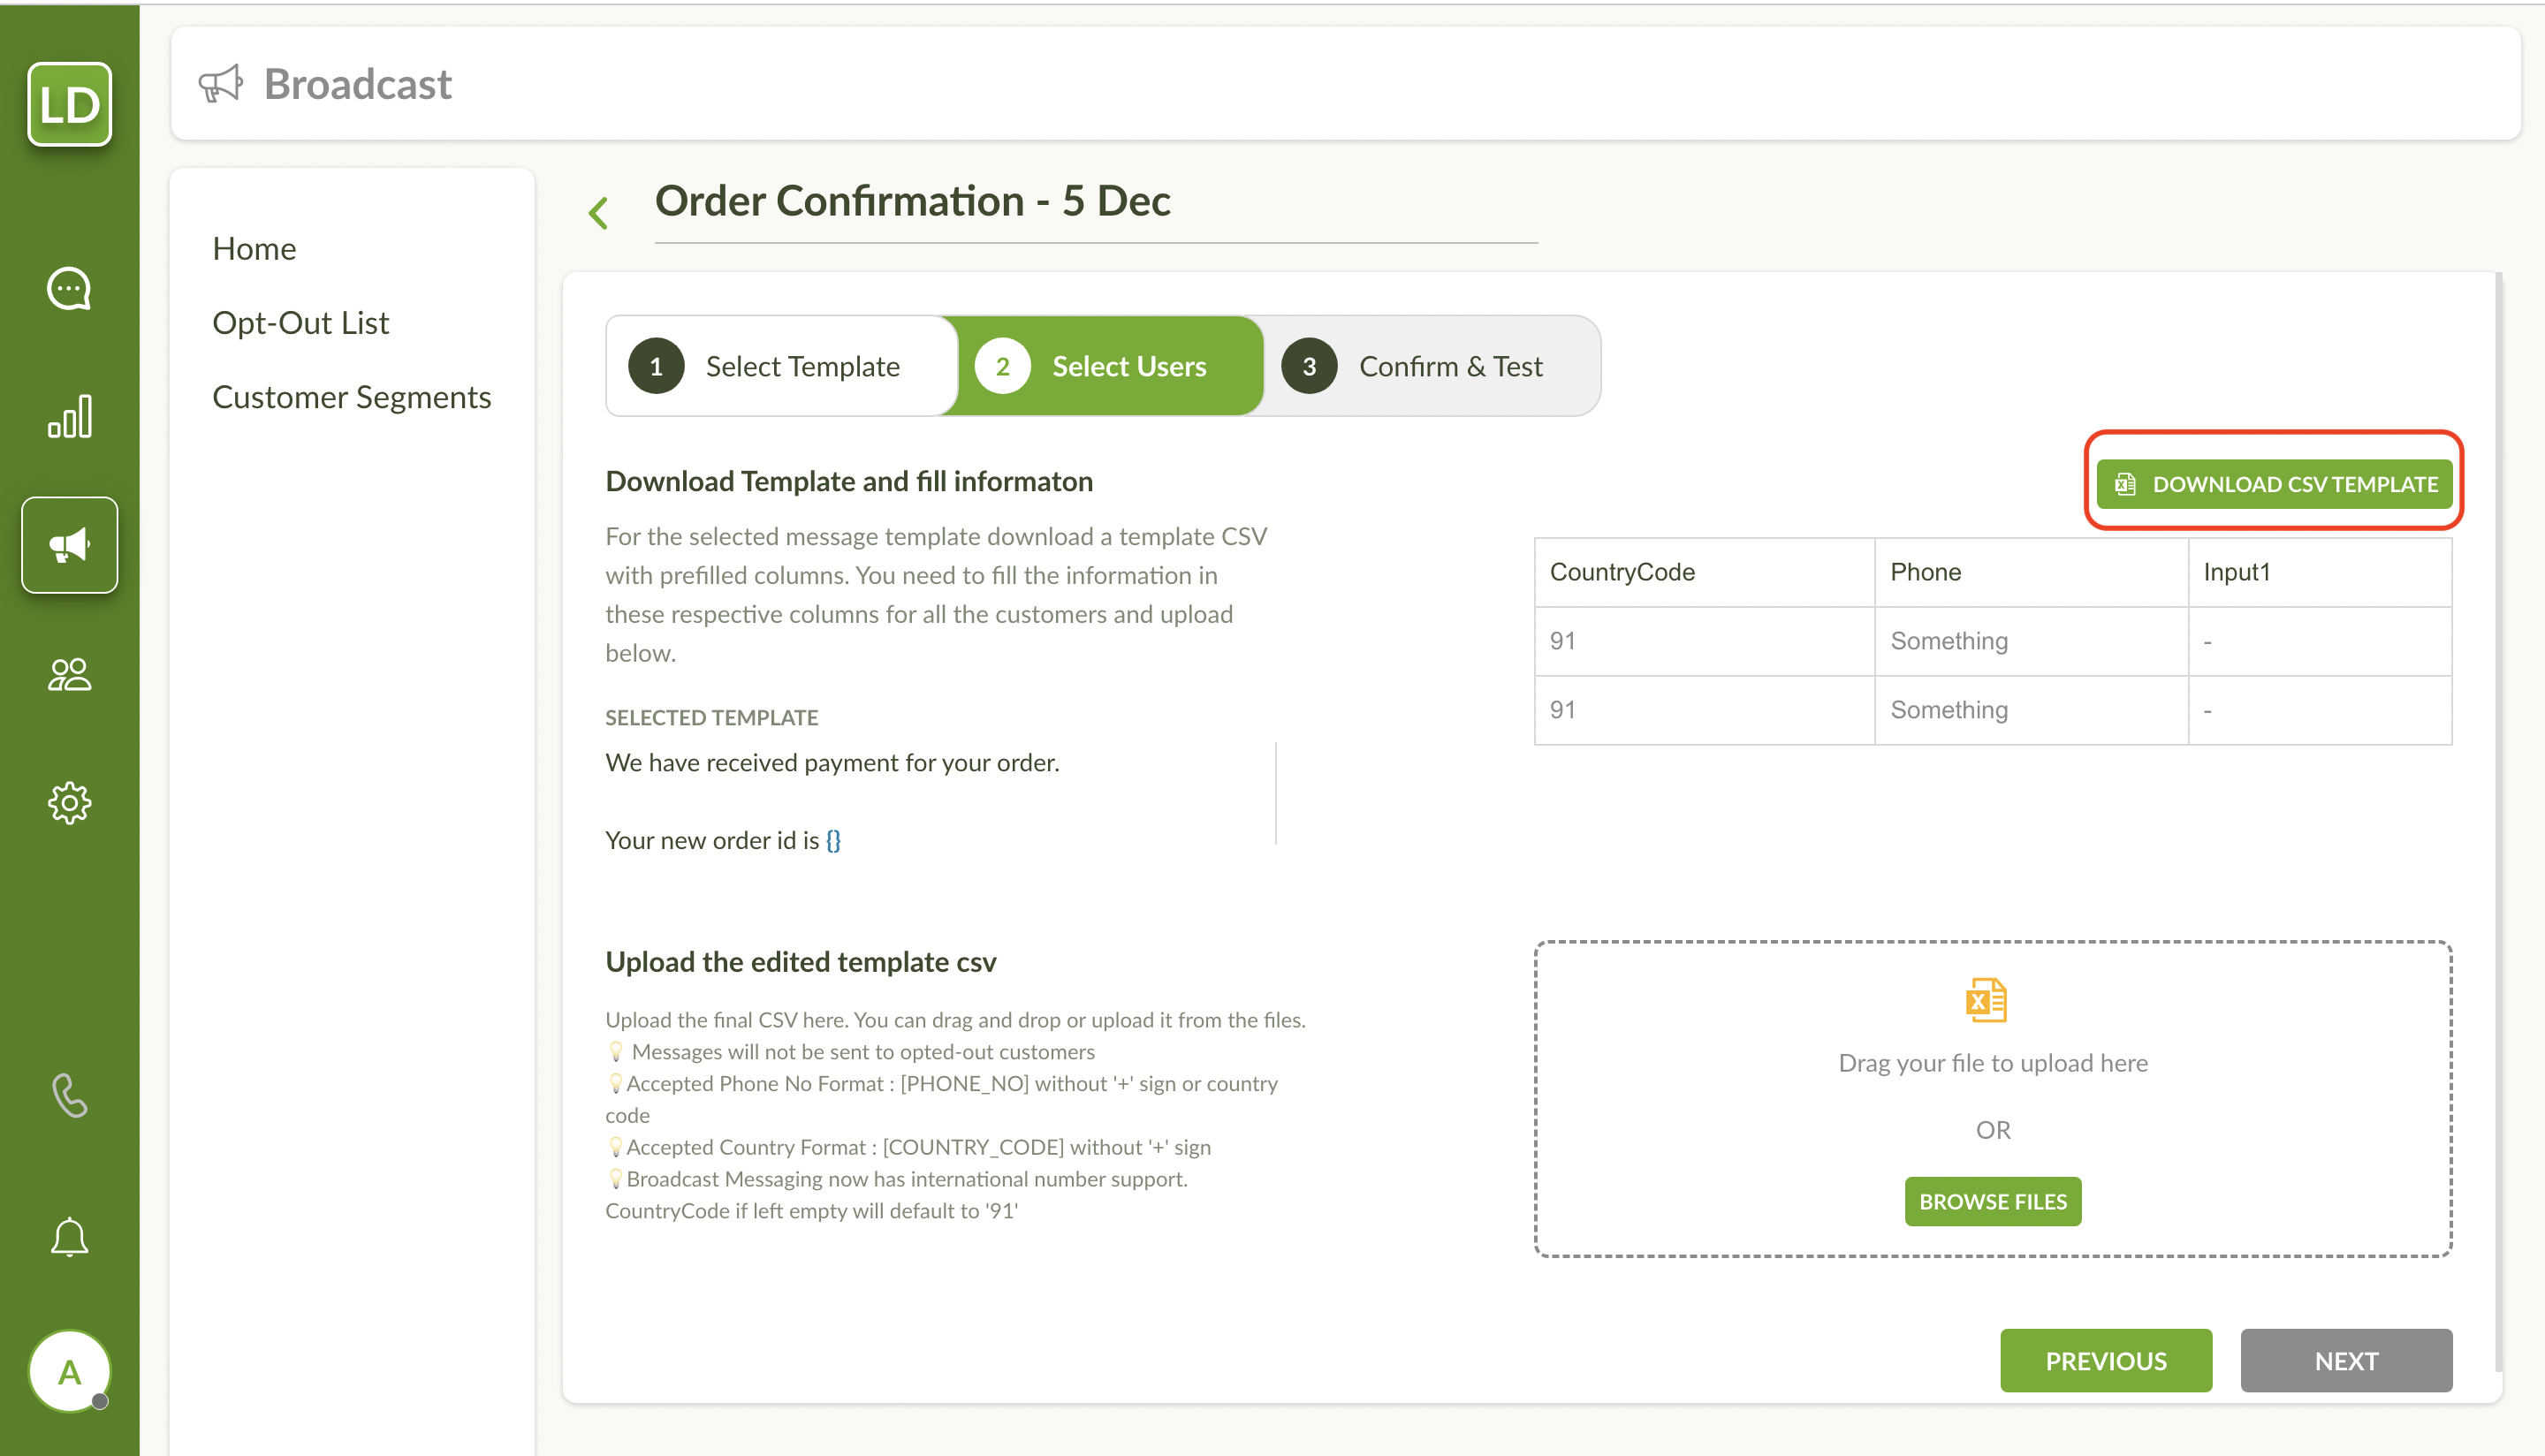
While creating the CSV, follow the guidelines mentioned.
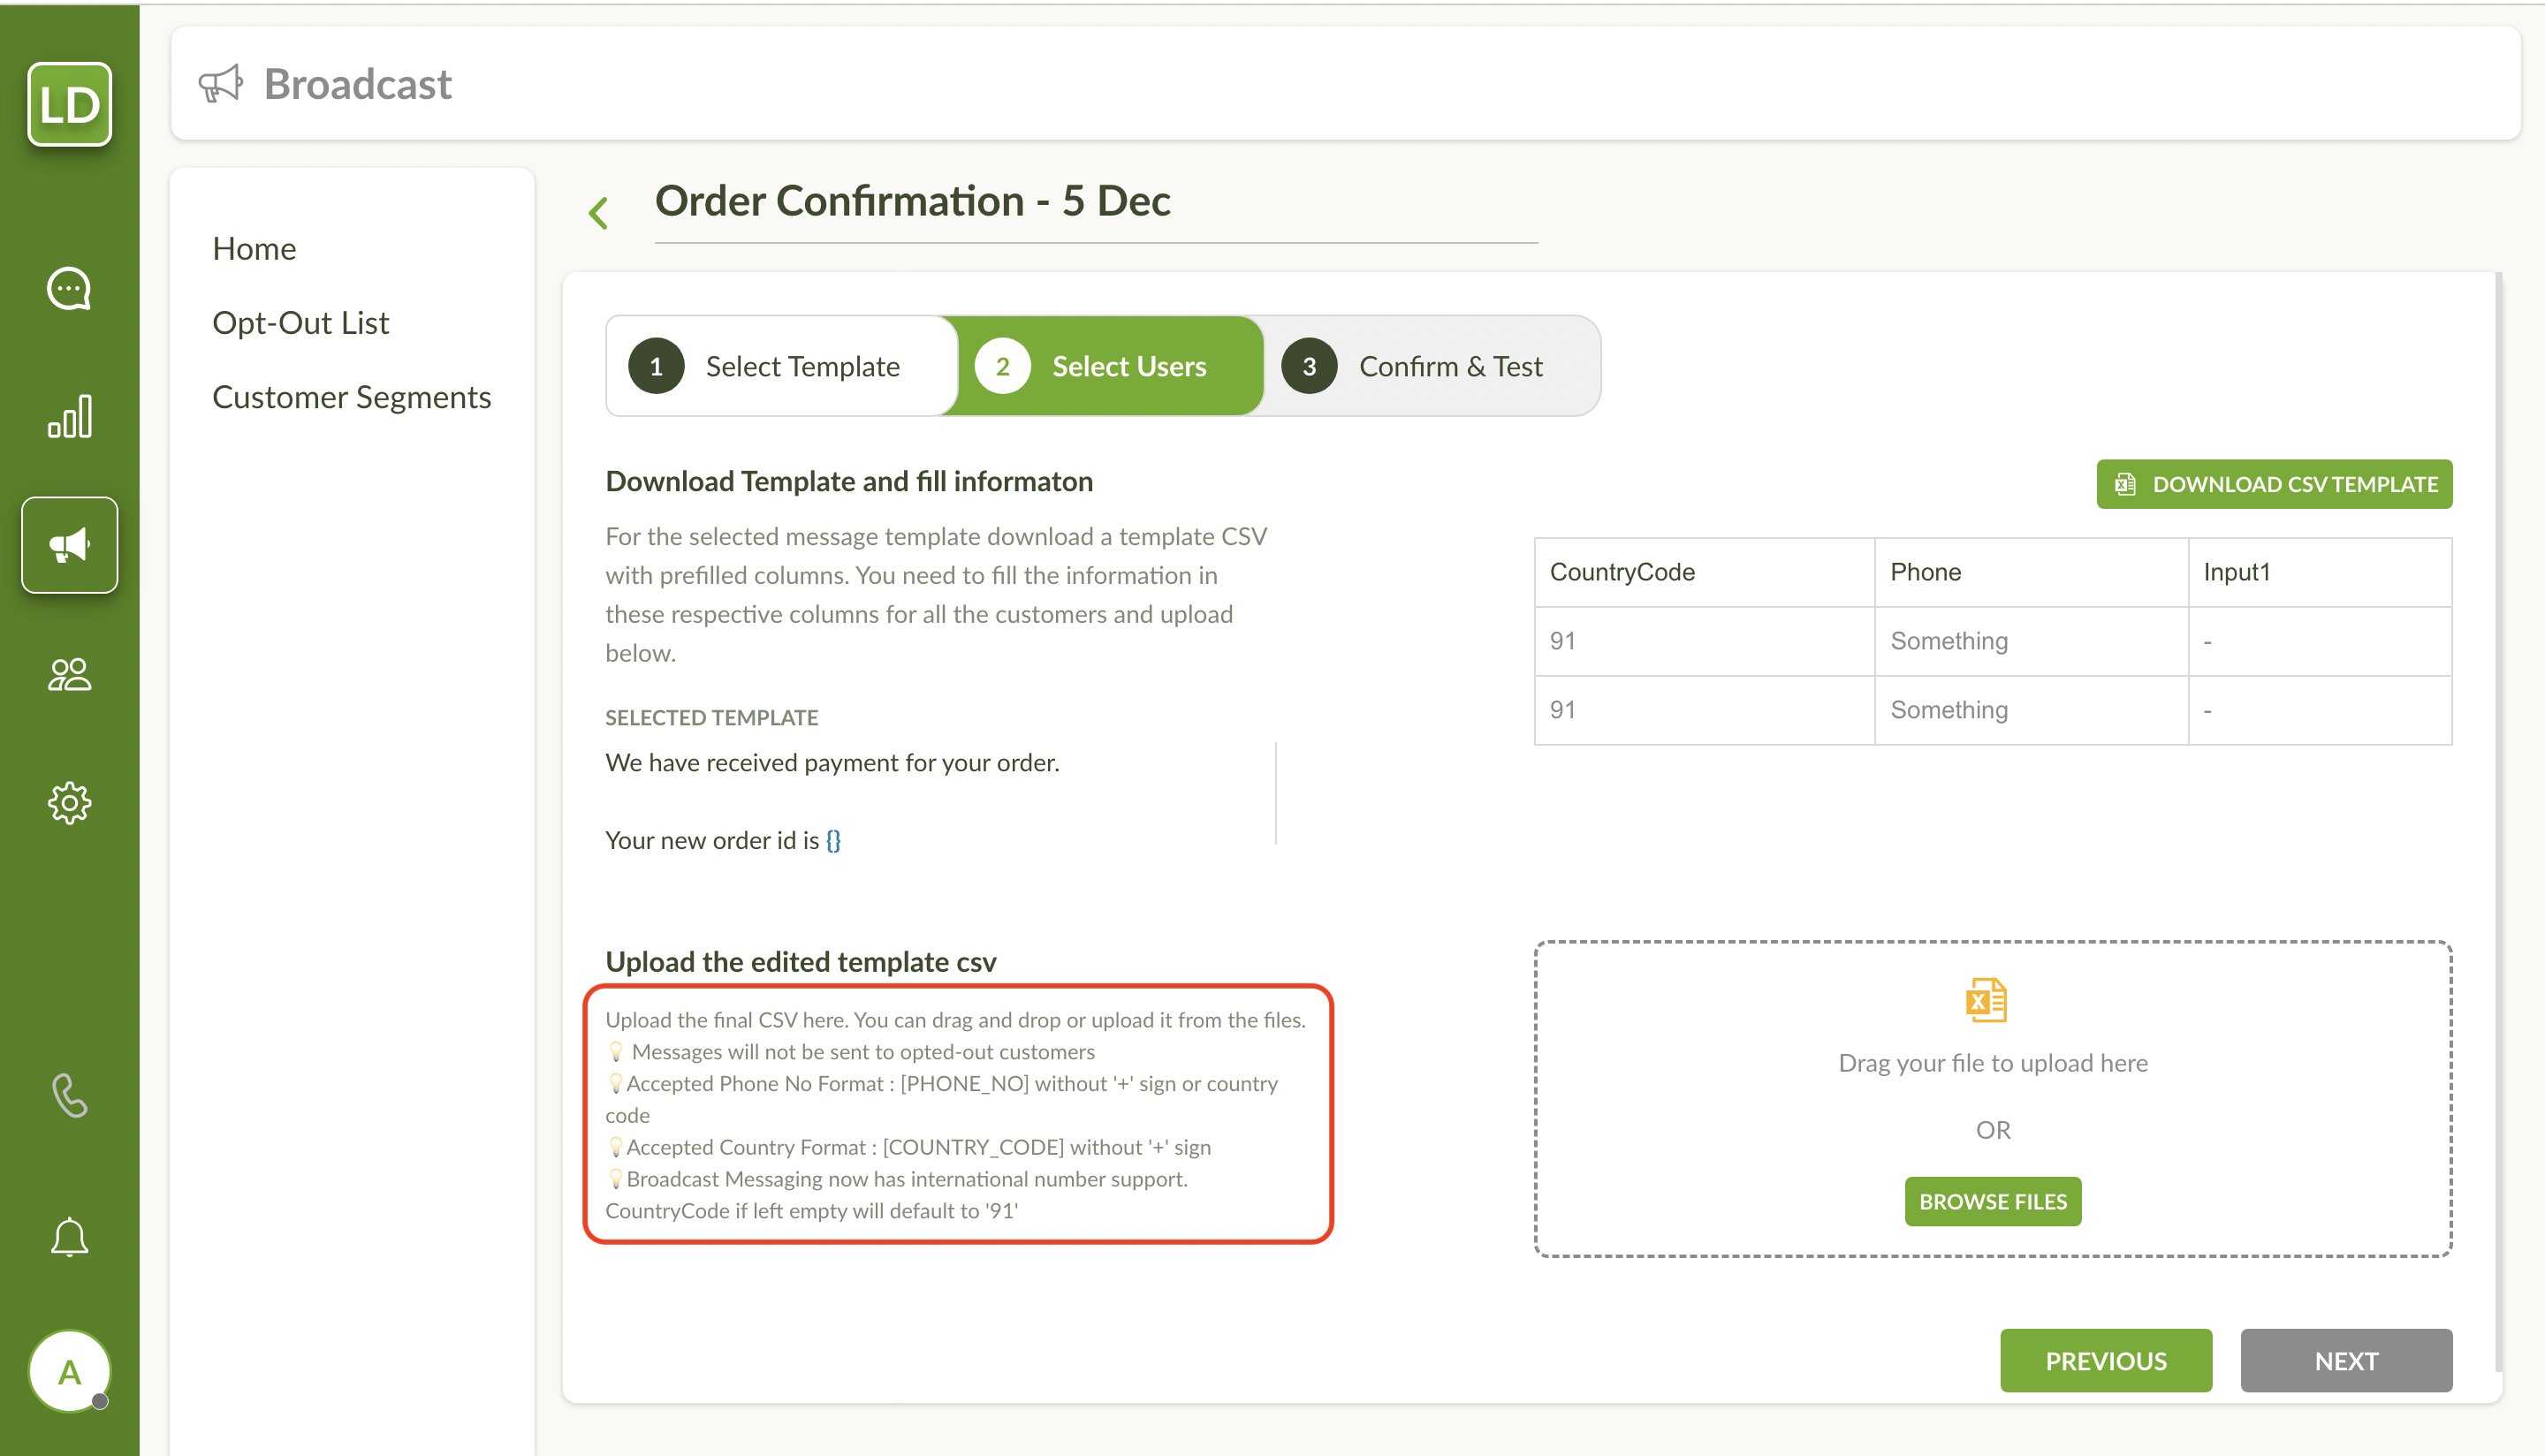
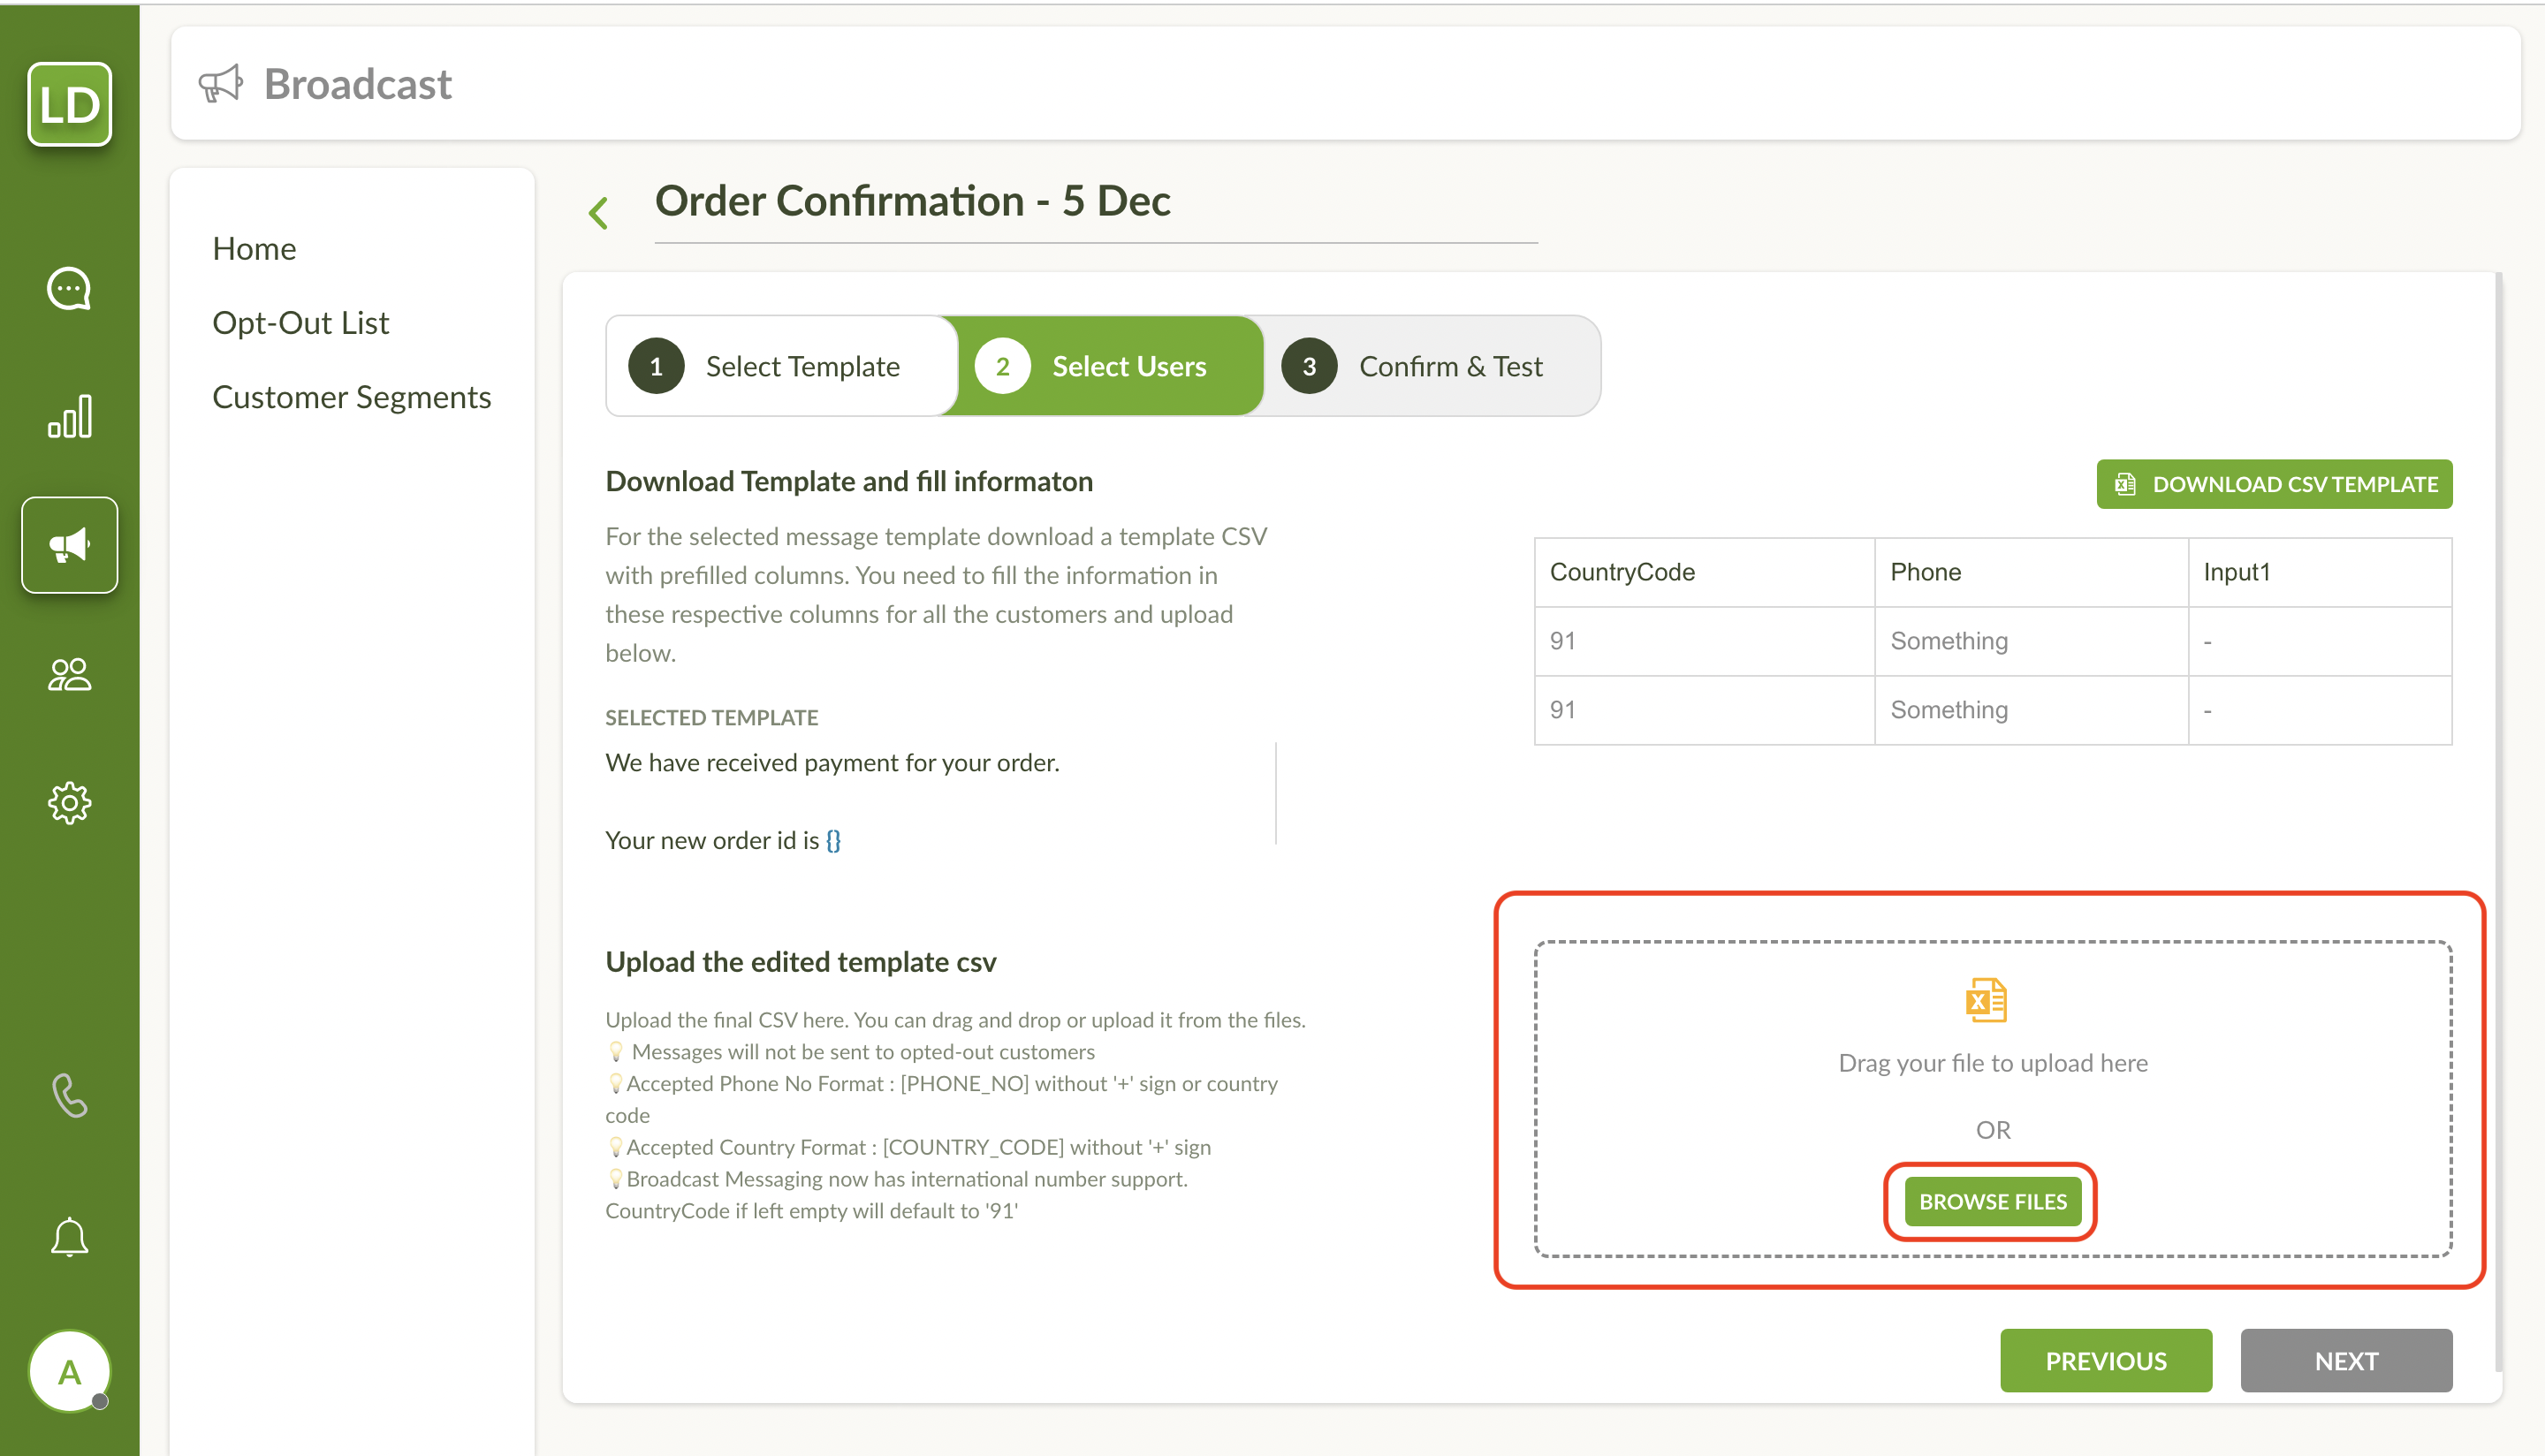
You can Drag the CSV file onto the upload box or click on Browse Files button.
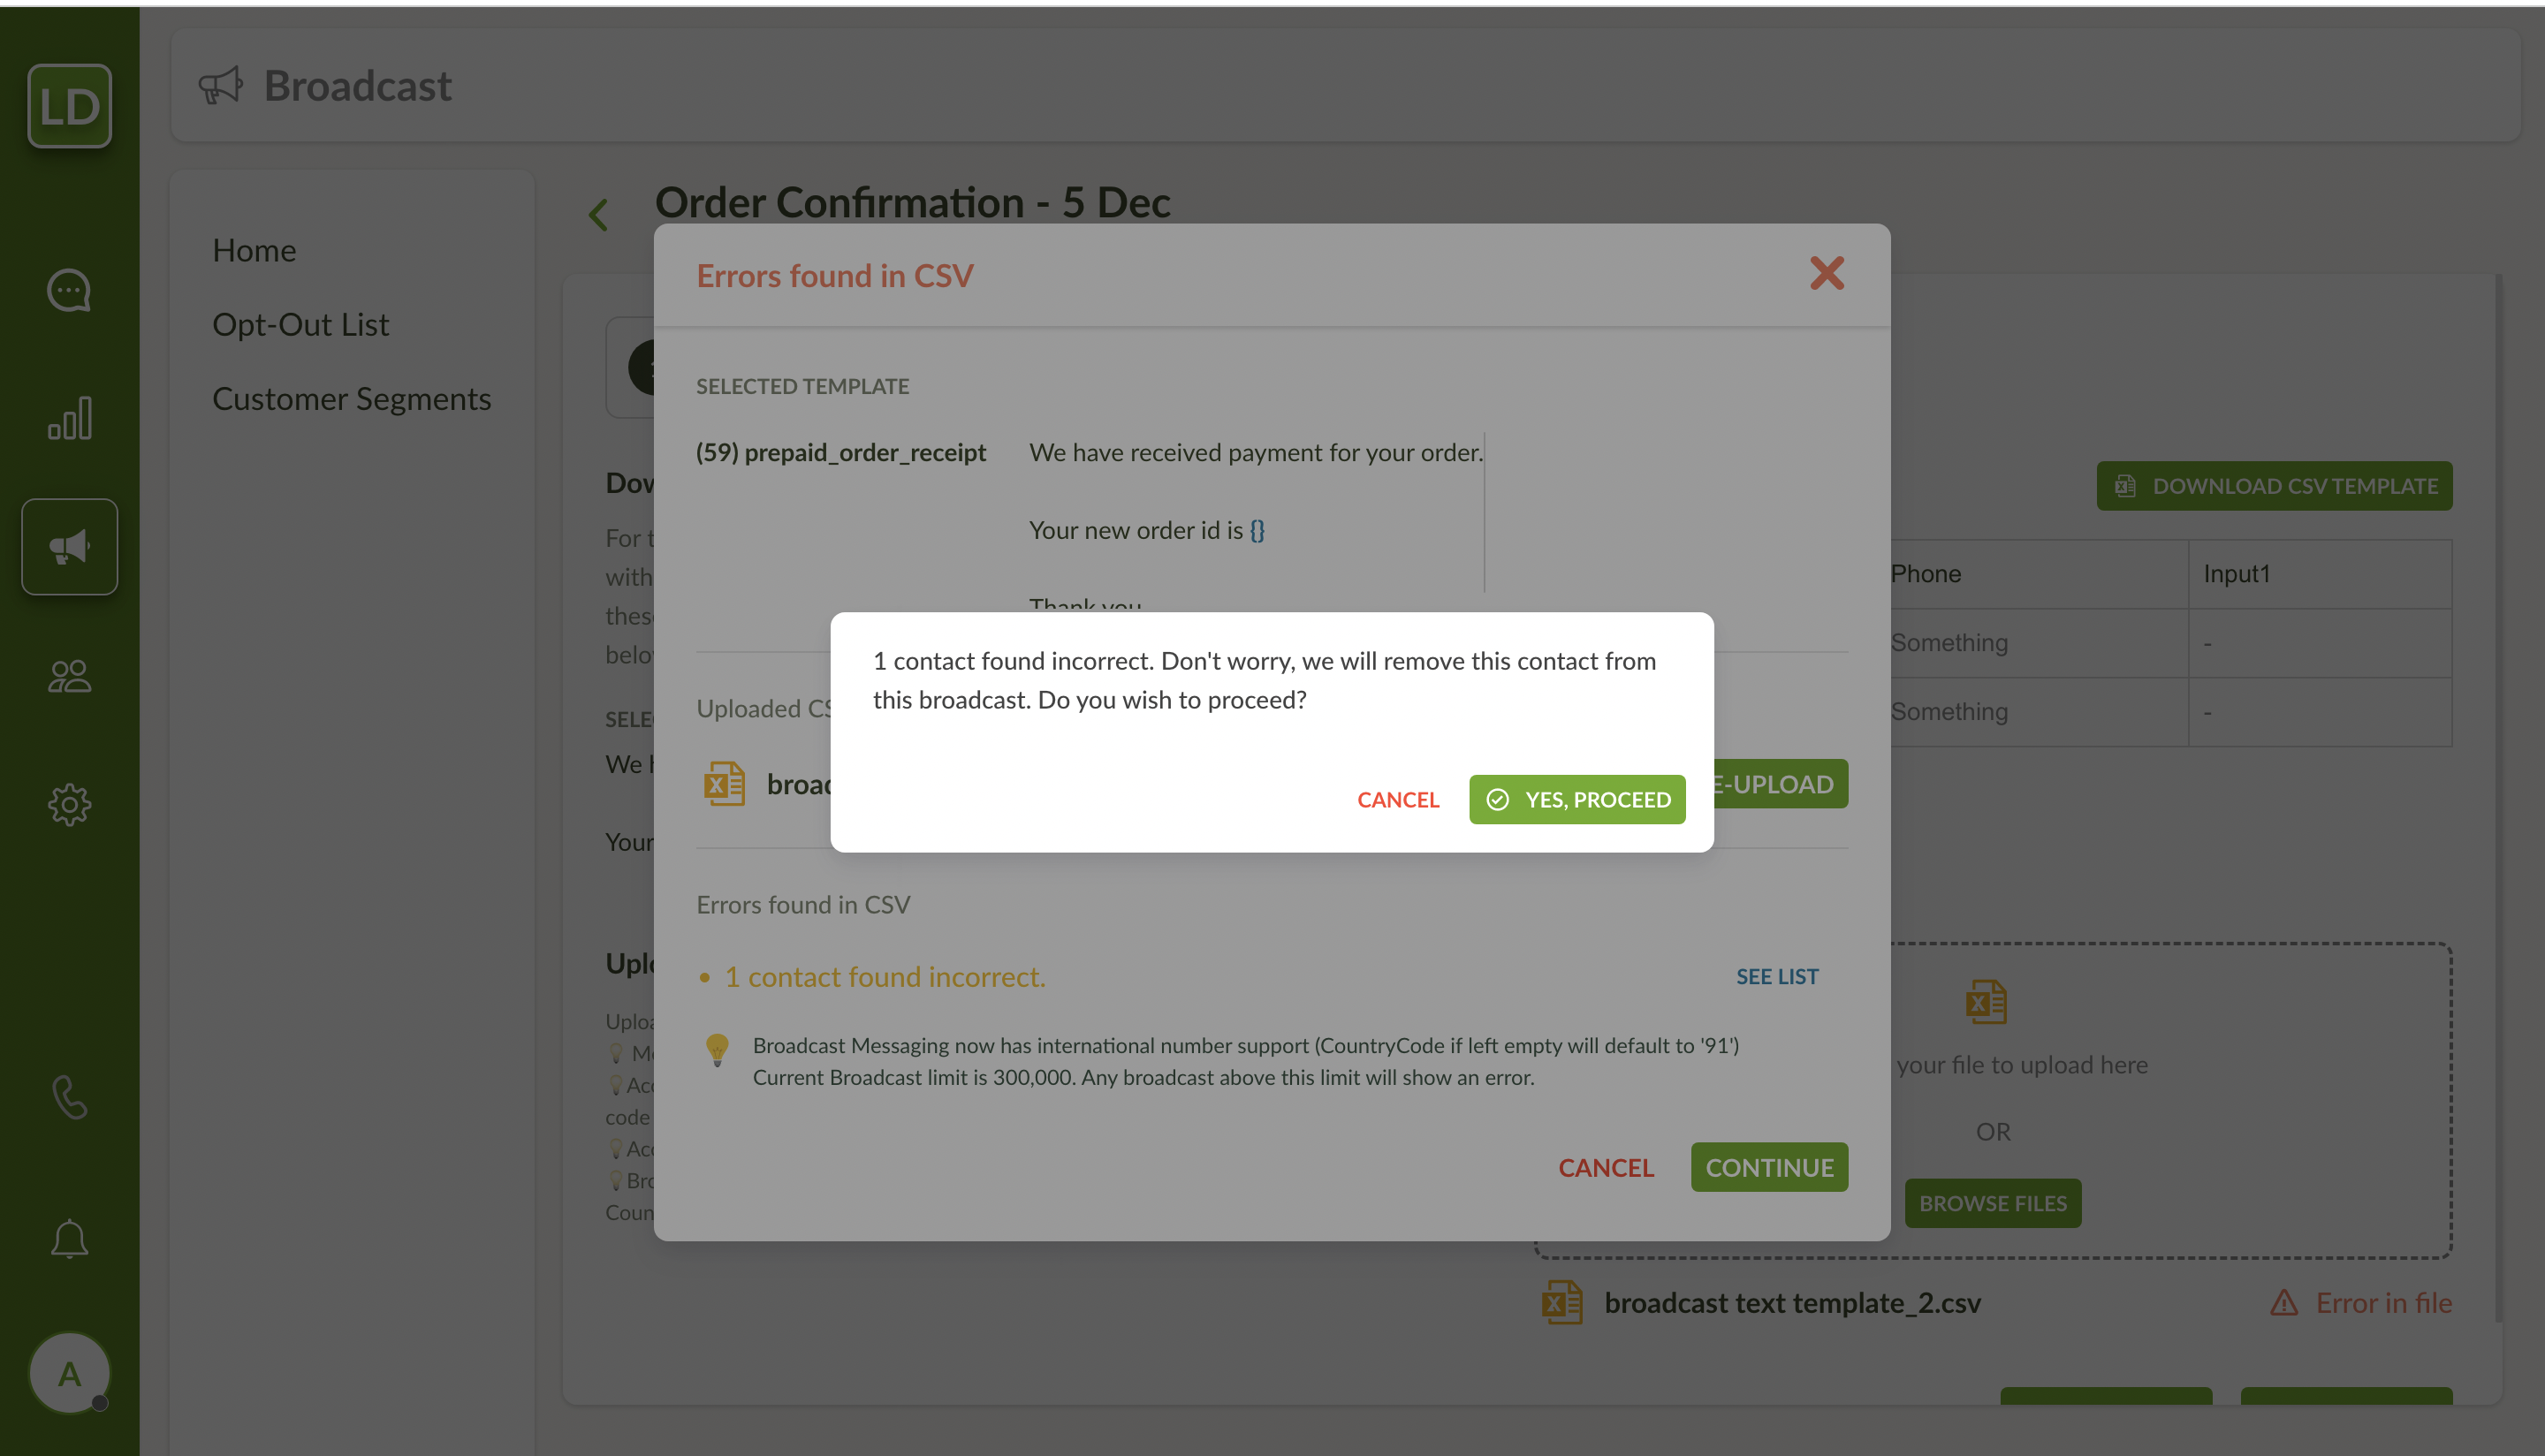
Once the CSV is uploaded, you can see whether the CSV is in the correct format and the errors found. The following errors will be identified and notified to you:
File format incorrect.
Total incorrect contacts in the CSV. You can download this list. Such contacts are filtered out and the broadcast won’t be sent to these contacts.
Total opted-out customers in the CSV. Such contacts are filtered out and the broadcast won’t be sent to these contacts.
In case of media templates, if there is a possibility of media URL not being supported. The media URL must be a CDN-hosted URL. You must have a hosting service to host images. Google drive links are not supported.
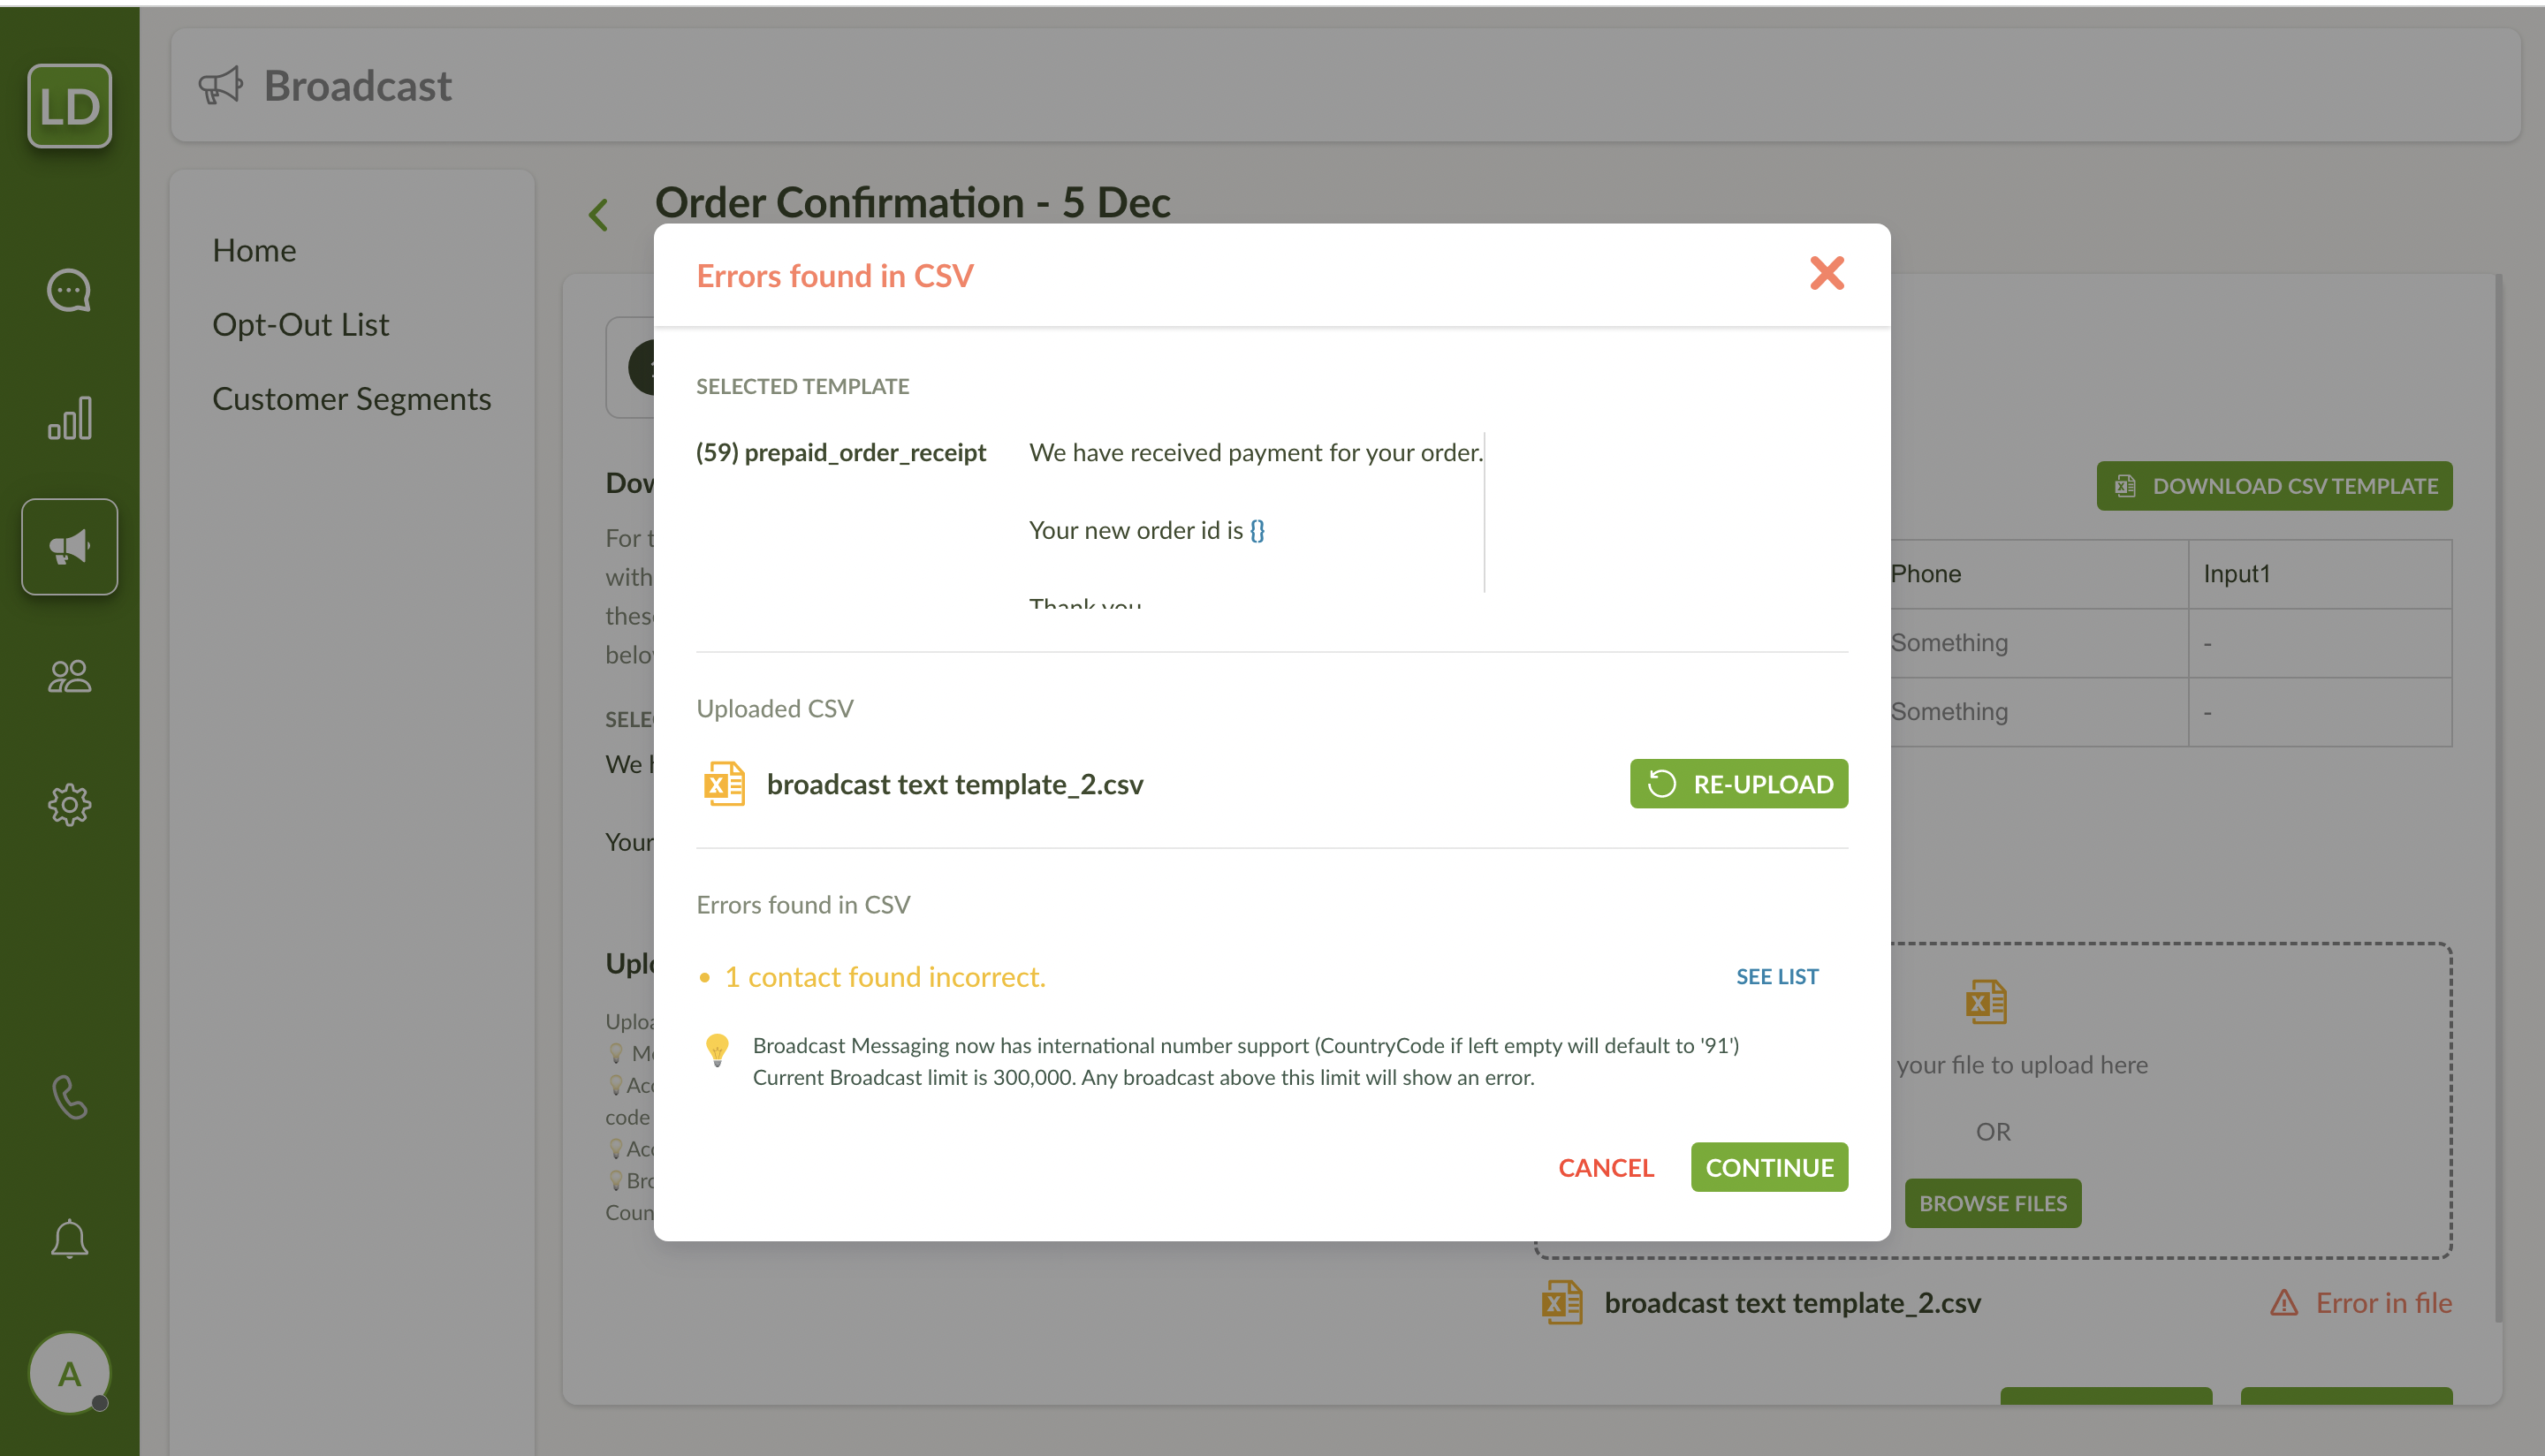
If you wish to correct the errors, Re-Upload CSV again. Else, click on CONTINUE Button. A confirmation modal will be shown and confirming the same will take you to the next step.
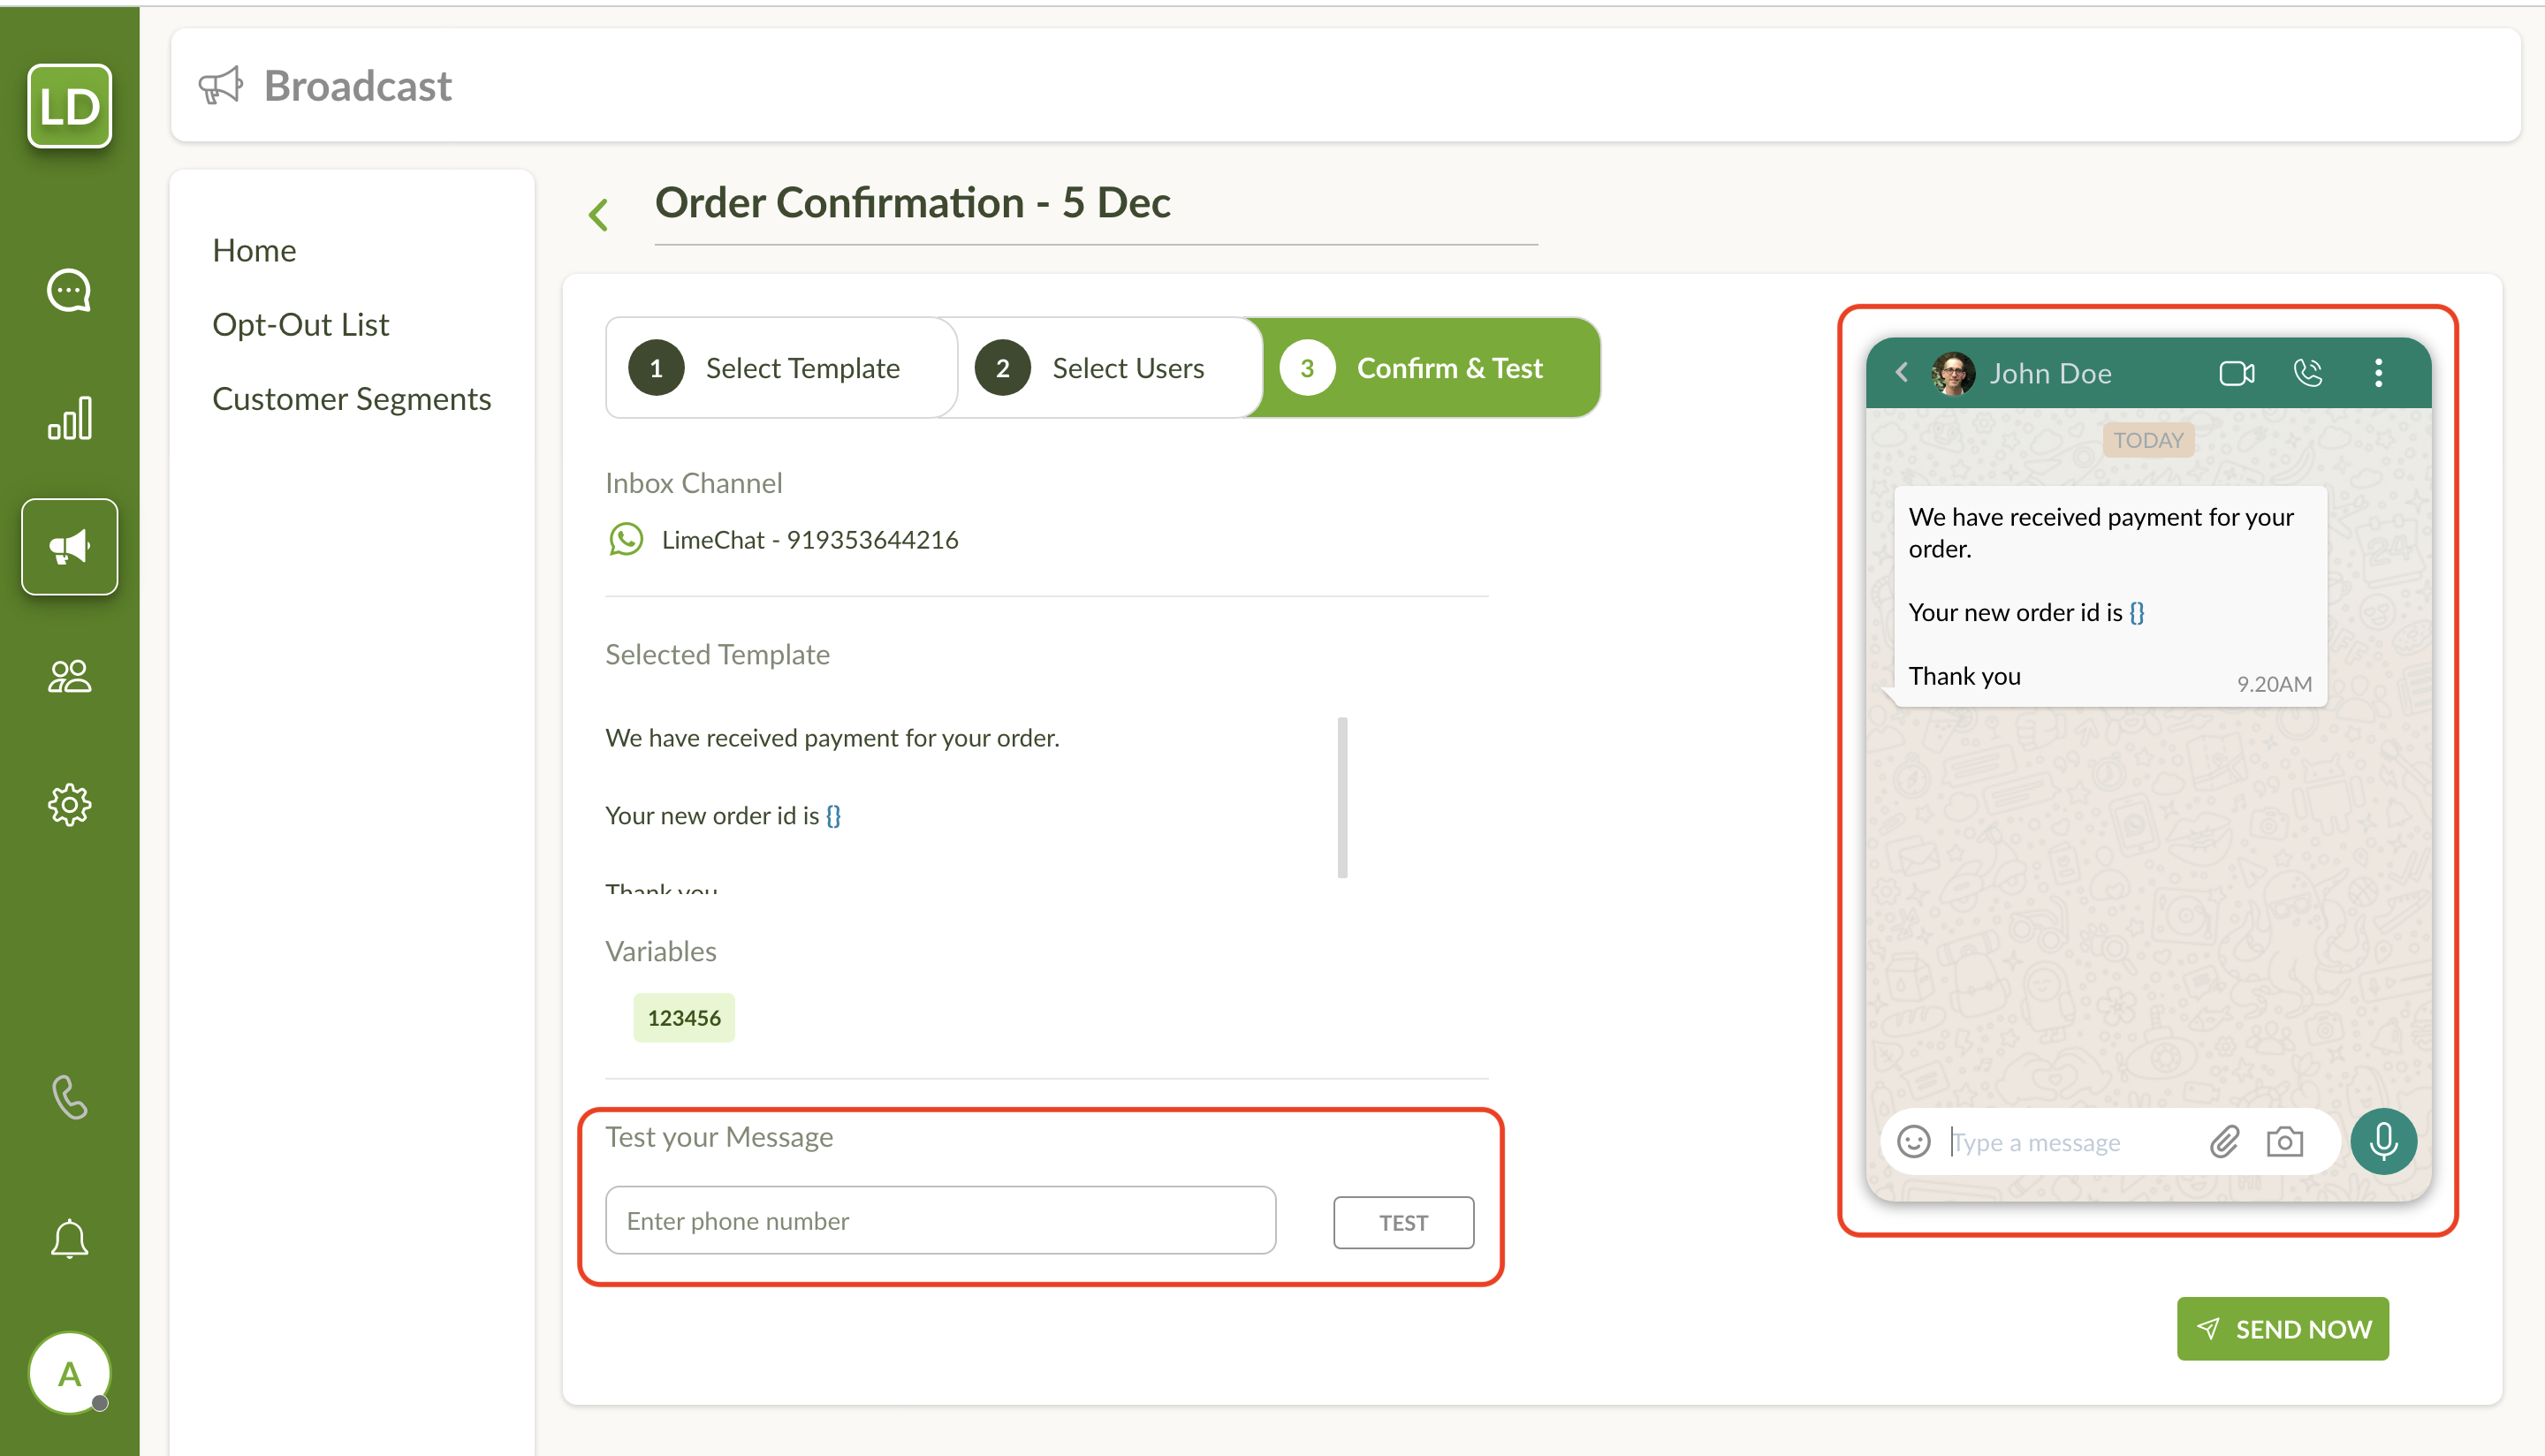
For the final step, a preview of the broadcast msg is shown for your reference. You can also send a test msg before sending the whole broadcast. Enter the phone number in the input field and select TEST button. The template parameters in the 1st row of the CSV, will be sent to the test number.
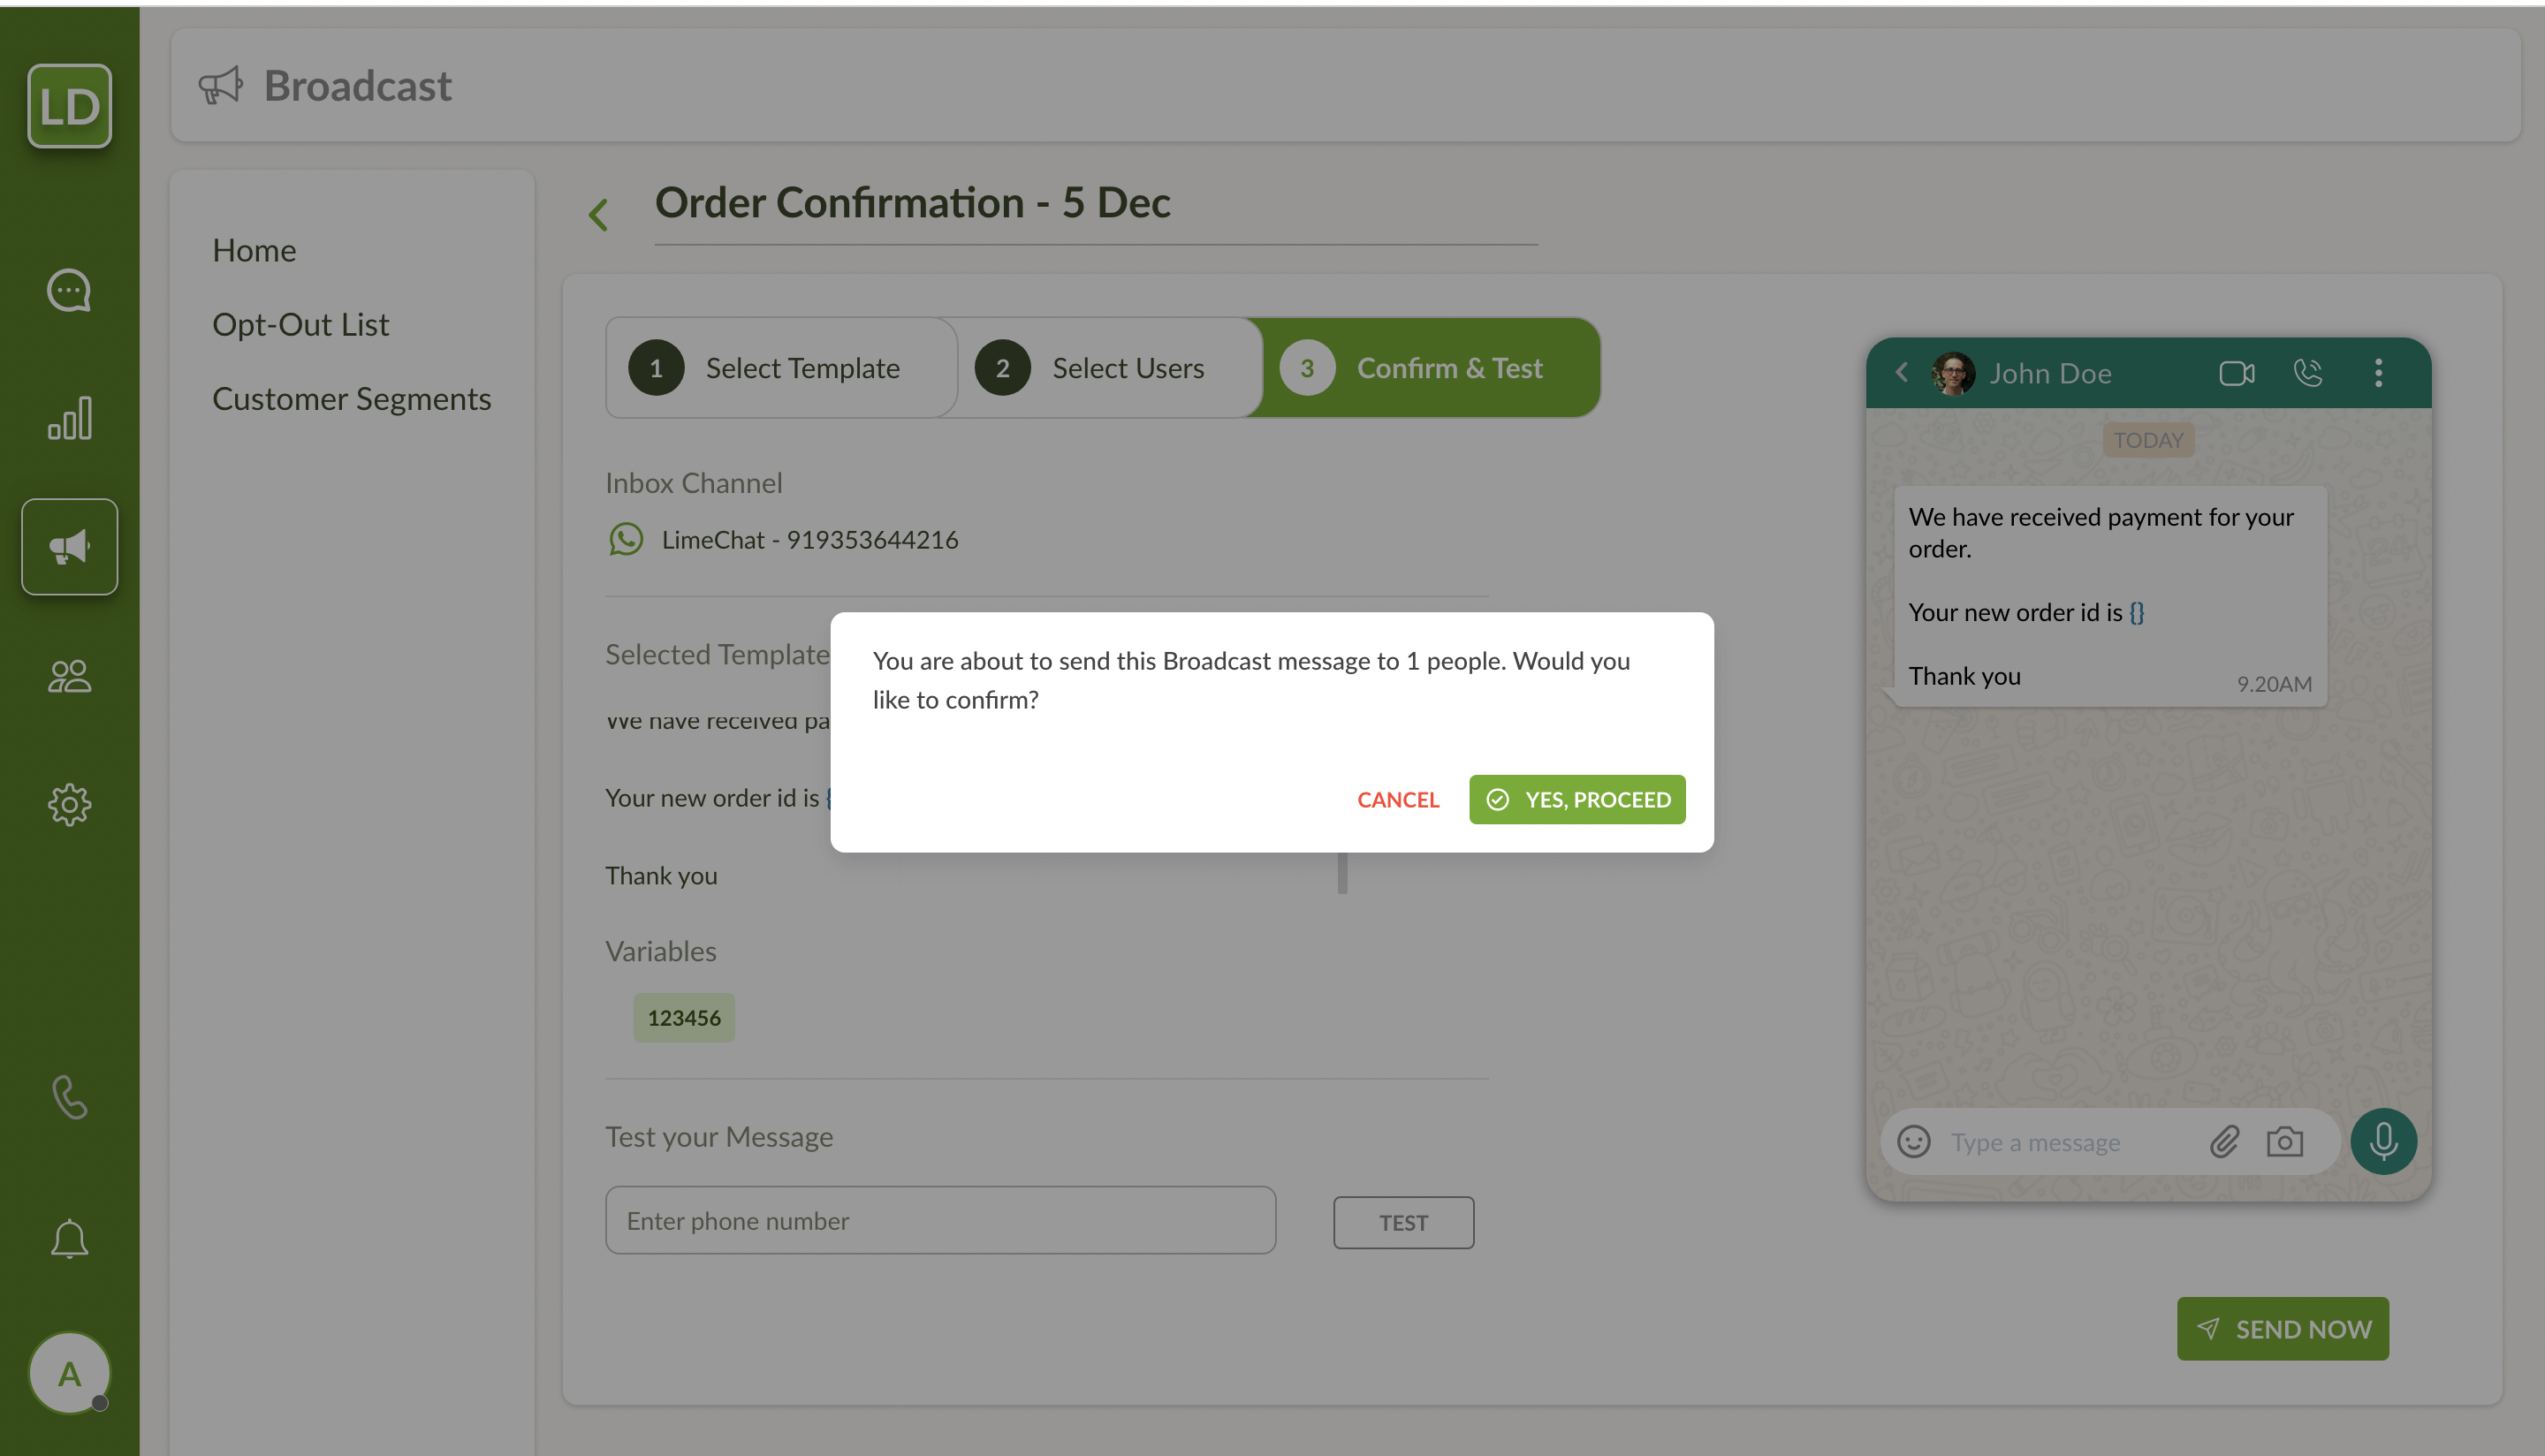
After confirming and testing the broadcast msg, click on SEND NOW. A confirmation modal will be shown stating the total number of contacts in the broadcast. Click on YES, PROCEED to send the broadcast campaign.
Important Pointers
- Keep the audience limit less than your total Broadcasting Limit.
info
💡 You can check this limit from your WhatsApp API provider’s dashboard.
How to check broadcasting reports?
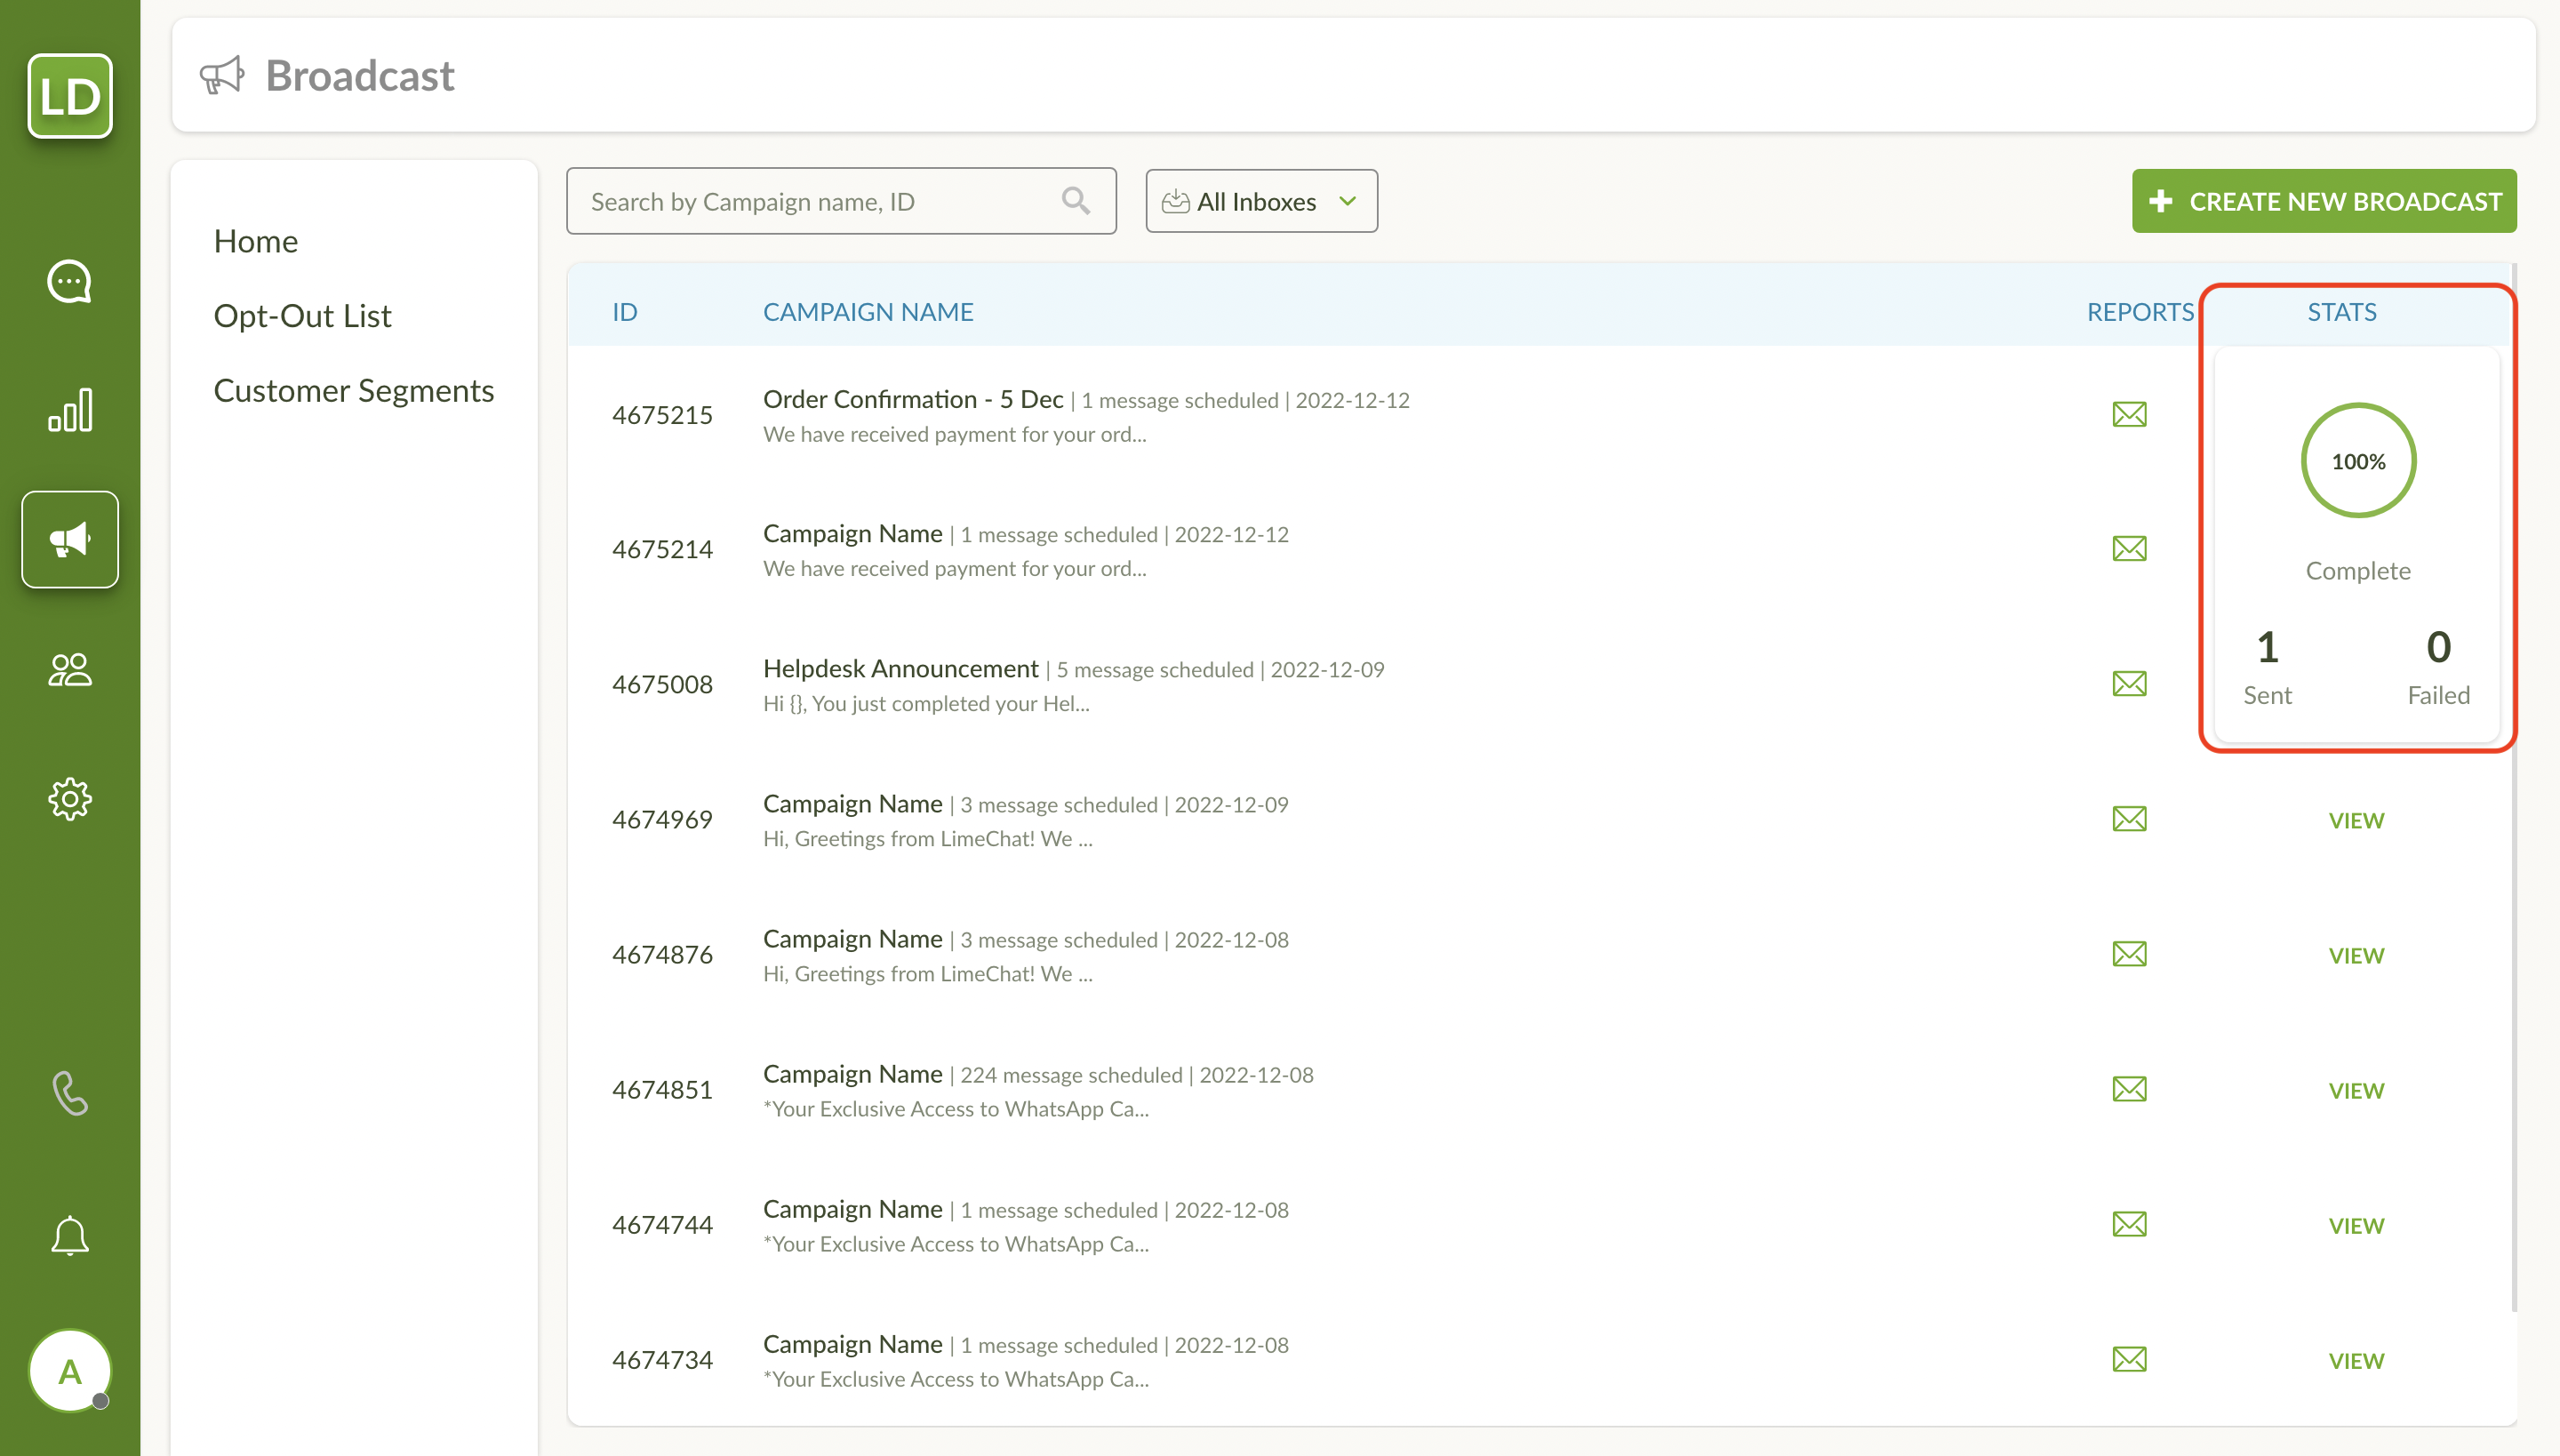
After sending the broadcast campaign you will be redirected to the Broadcast homepage which shows the history of all the campaigns sent.

To get a broadcast report, click on the email icon in the REPORTS column. The report will be sent on the email id associated with the account.
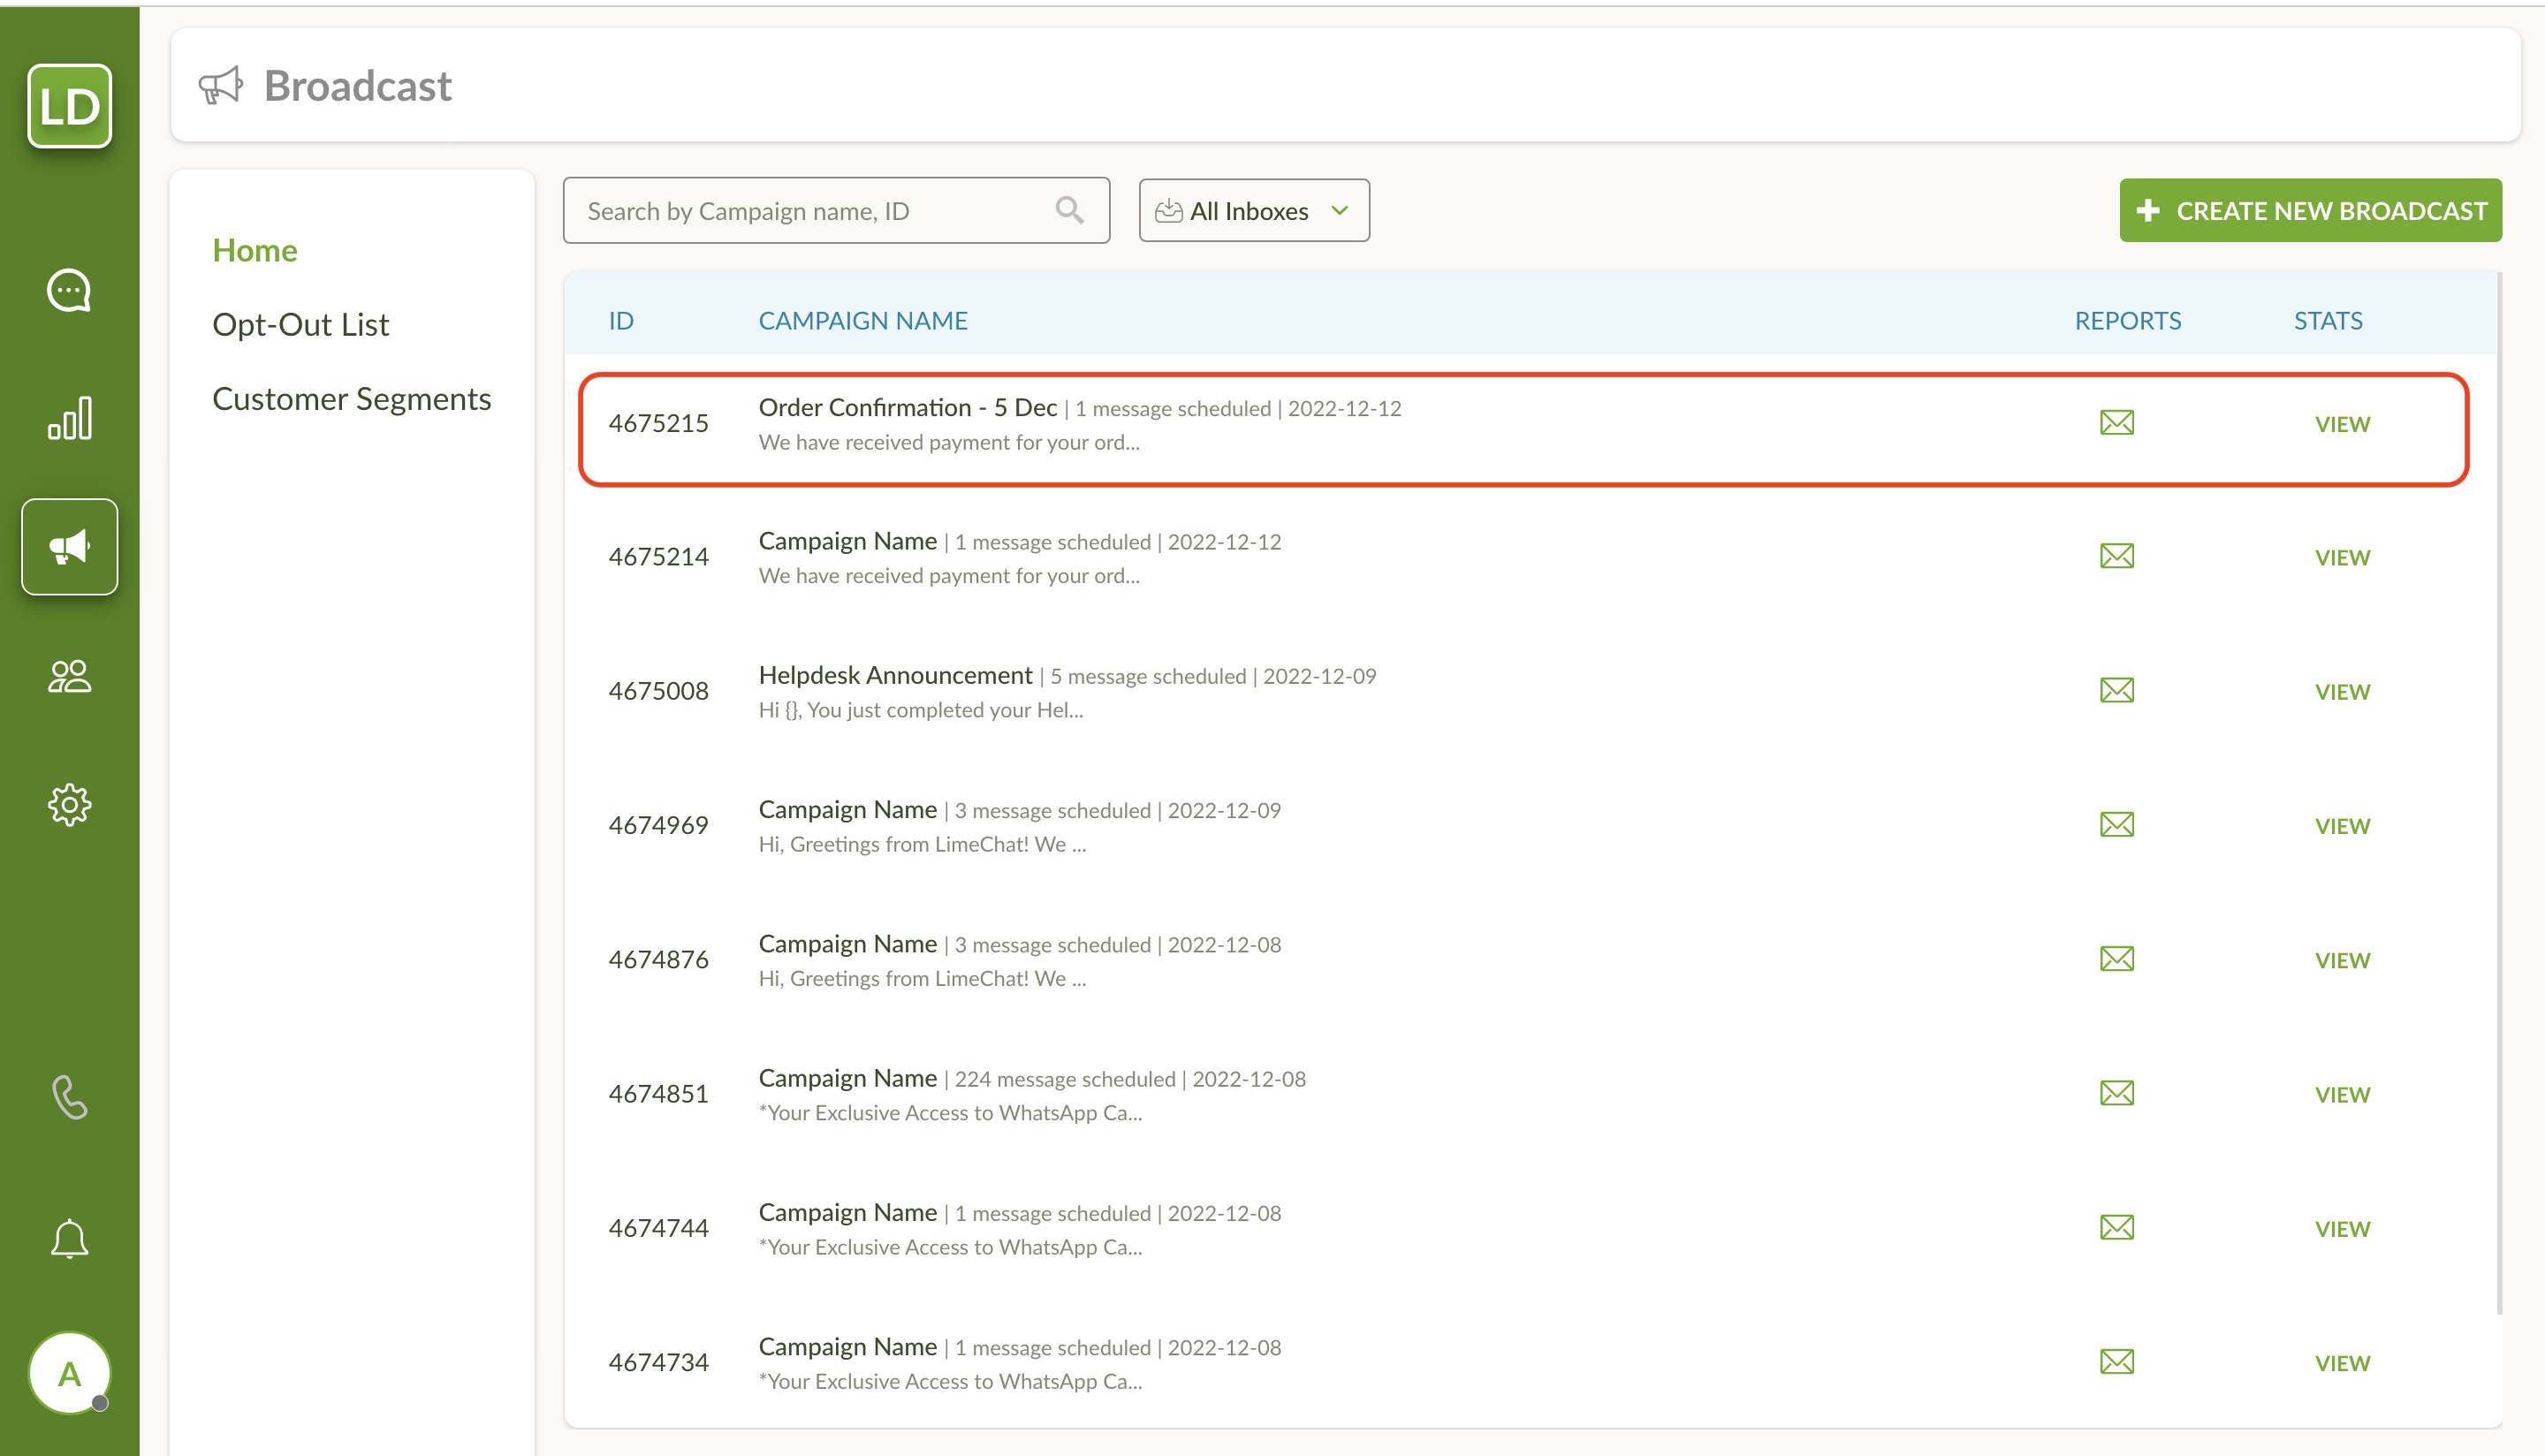
You can check the progress of the broadcast campaign in the STATS column. You can also check the statuses of the broadcast msgs from WhatsApp API provider’s end.
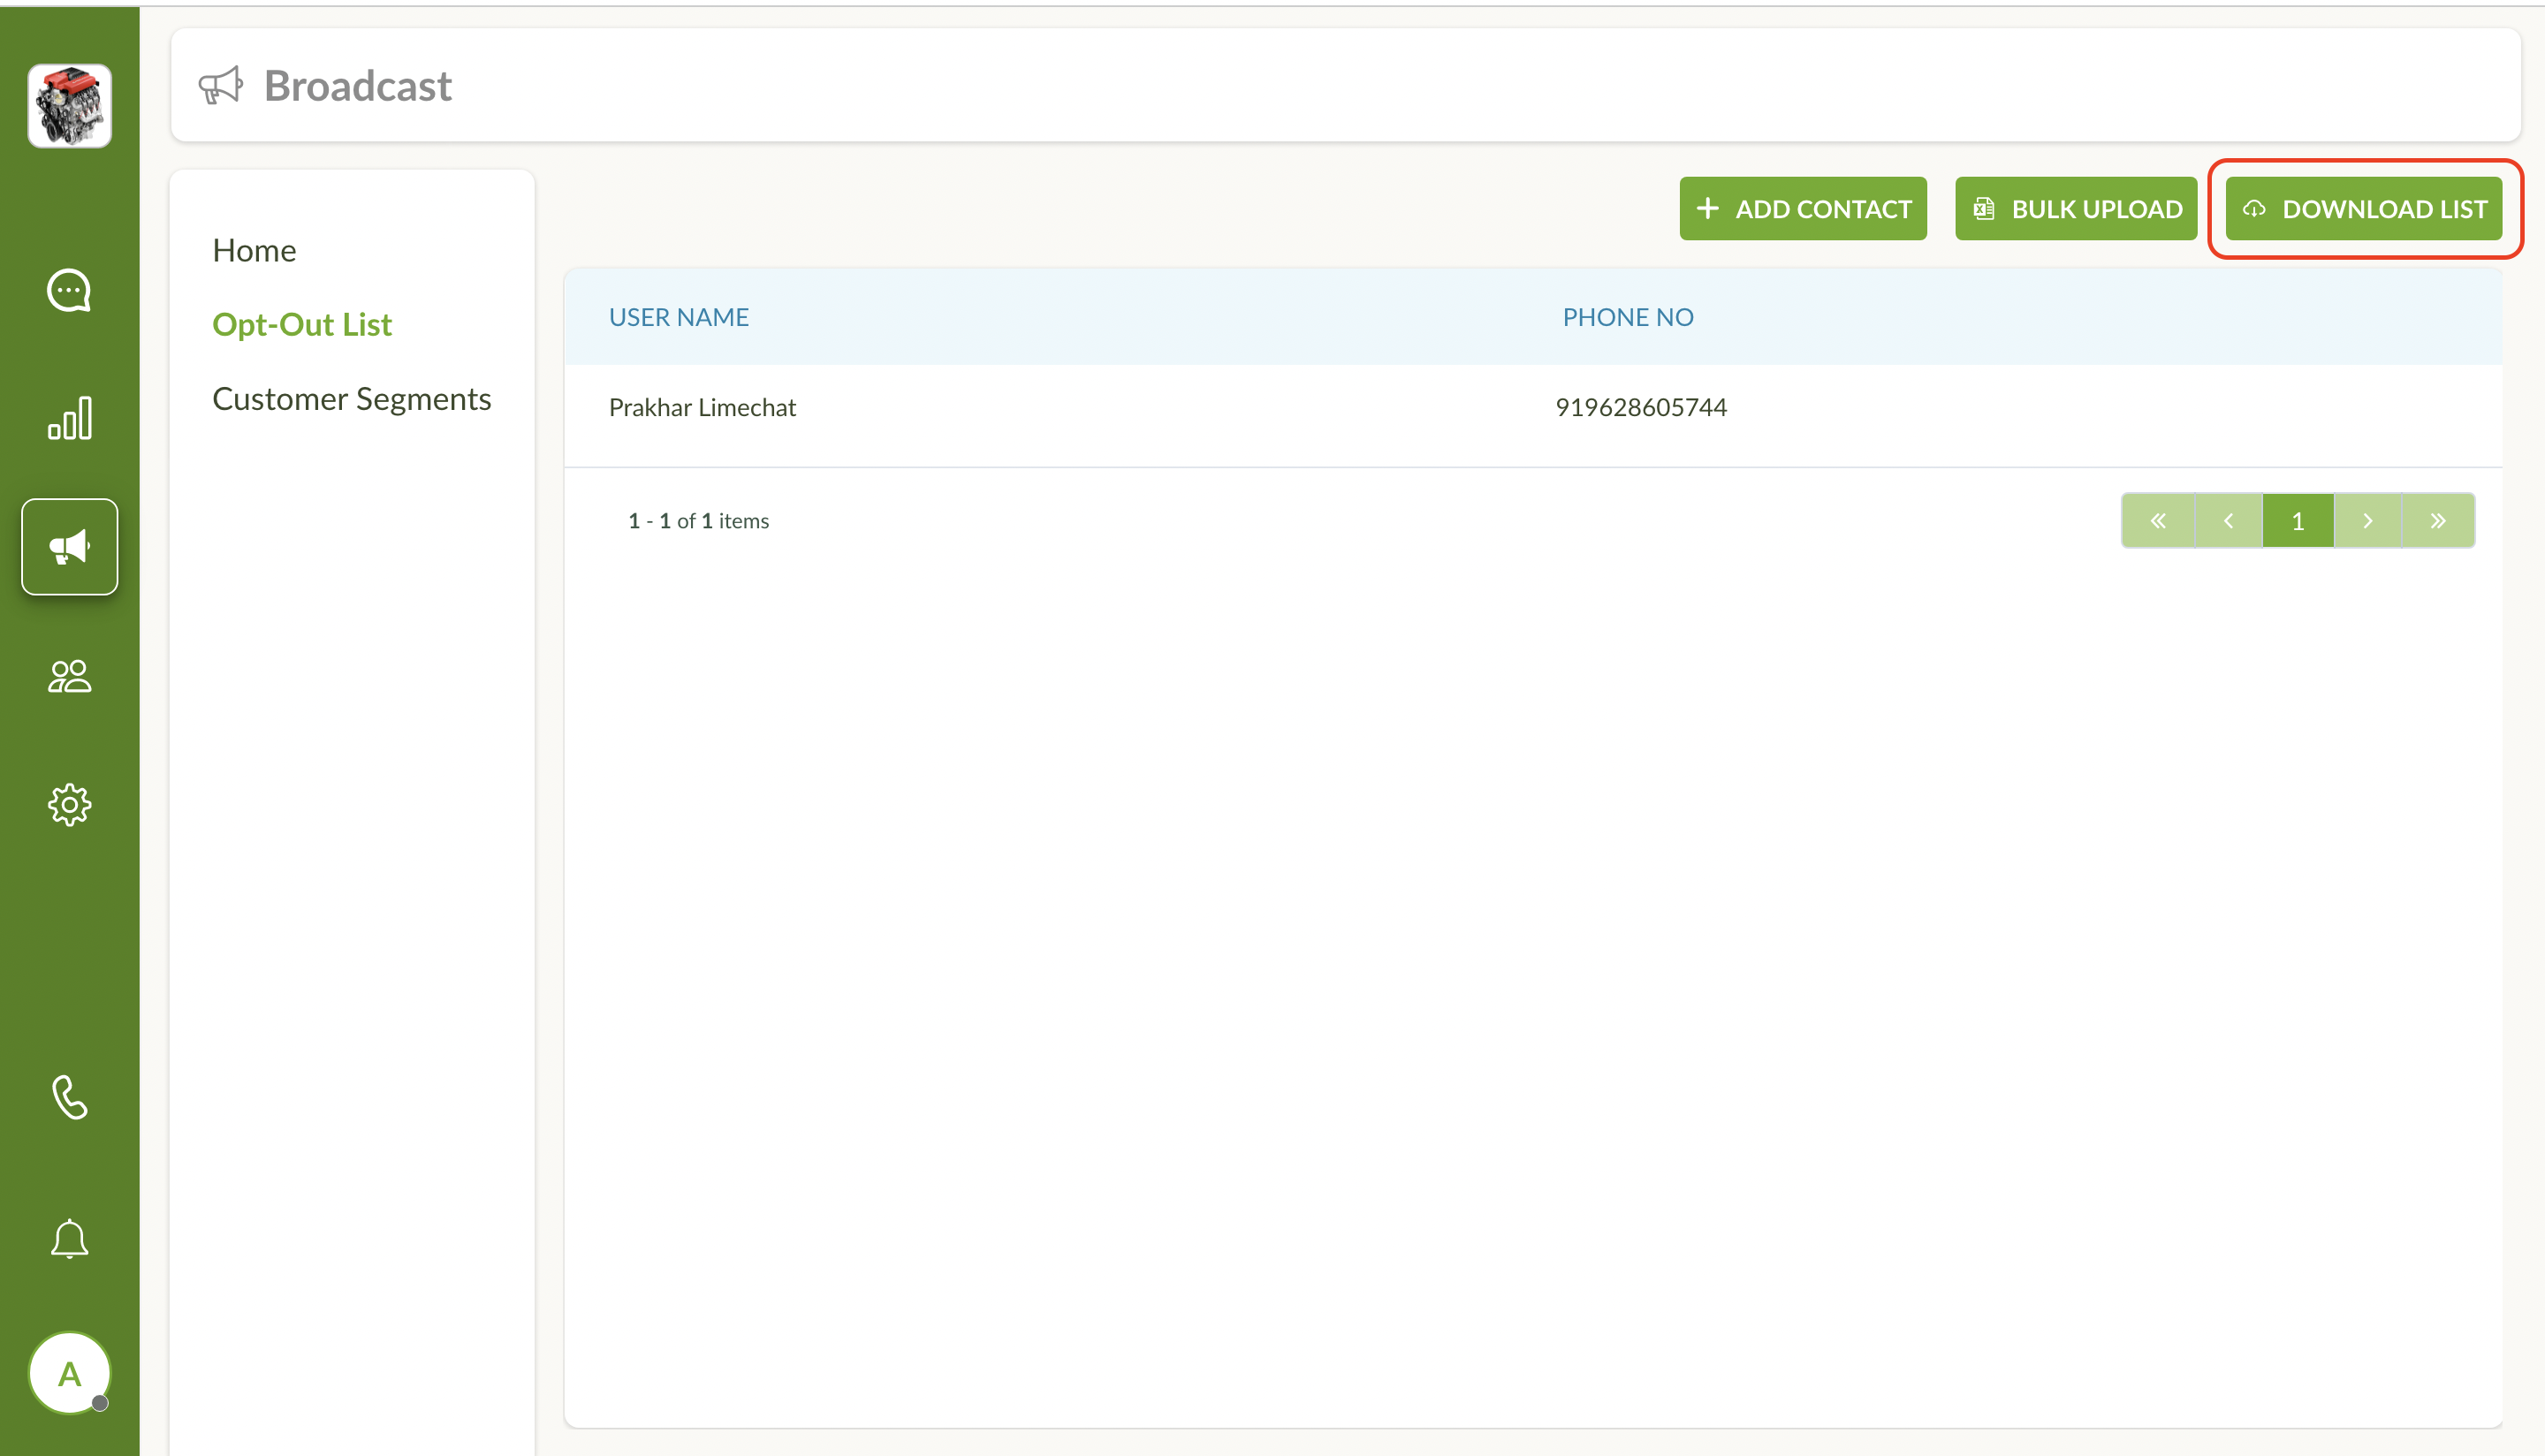
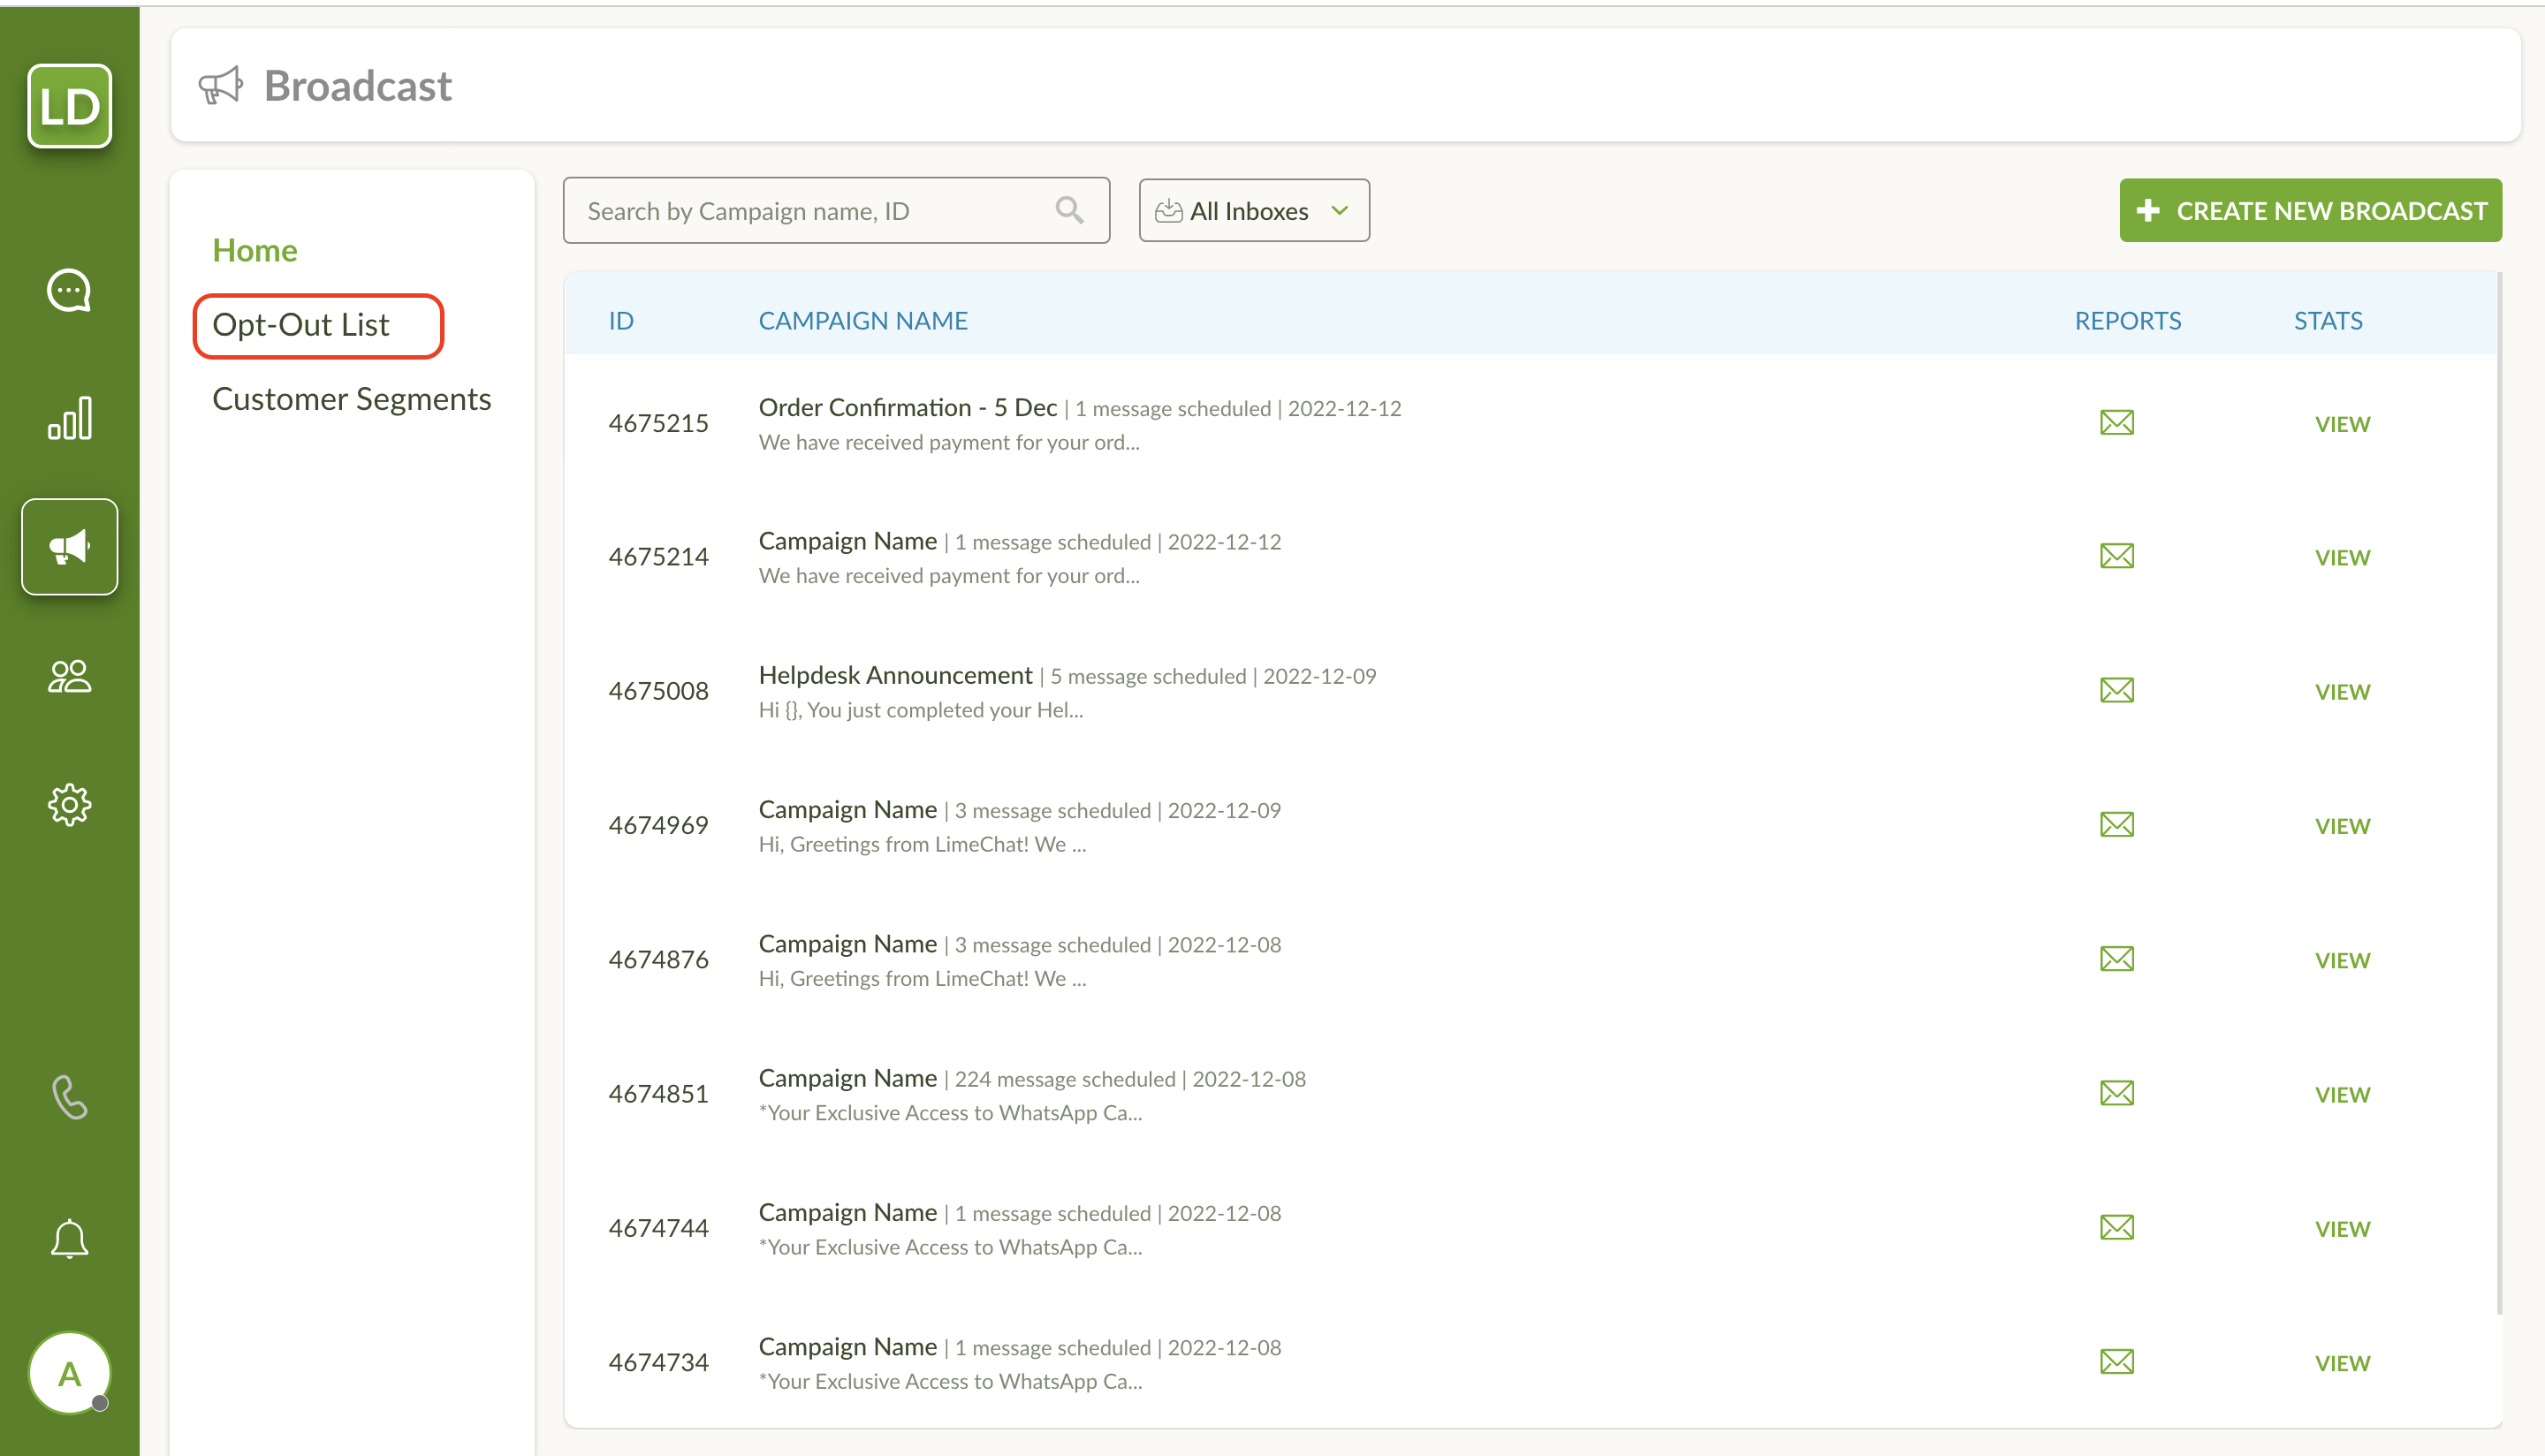
How to manage the Opt-out list?
Select Opt-Out List section from the Broadcast Homepage.
You can see the list of opted-out customers here. These are the customers who have replied with opt-out keyword on WhatsApp in any pervious conversation with your brand.
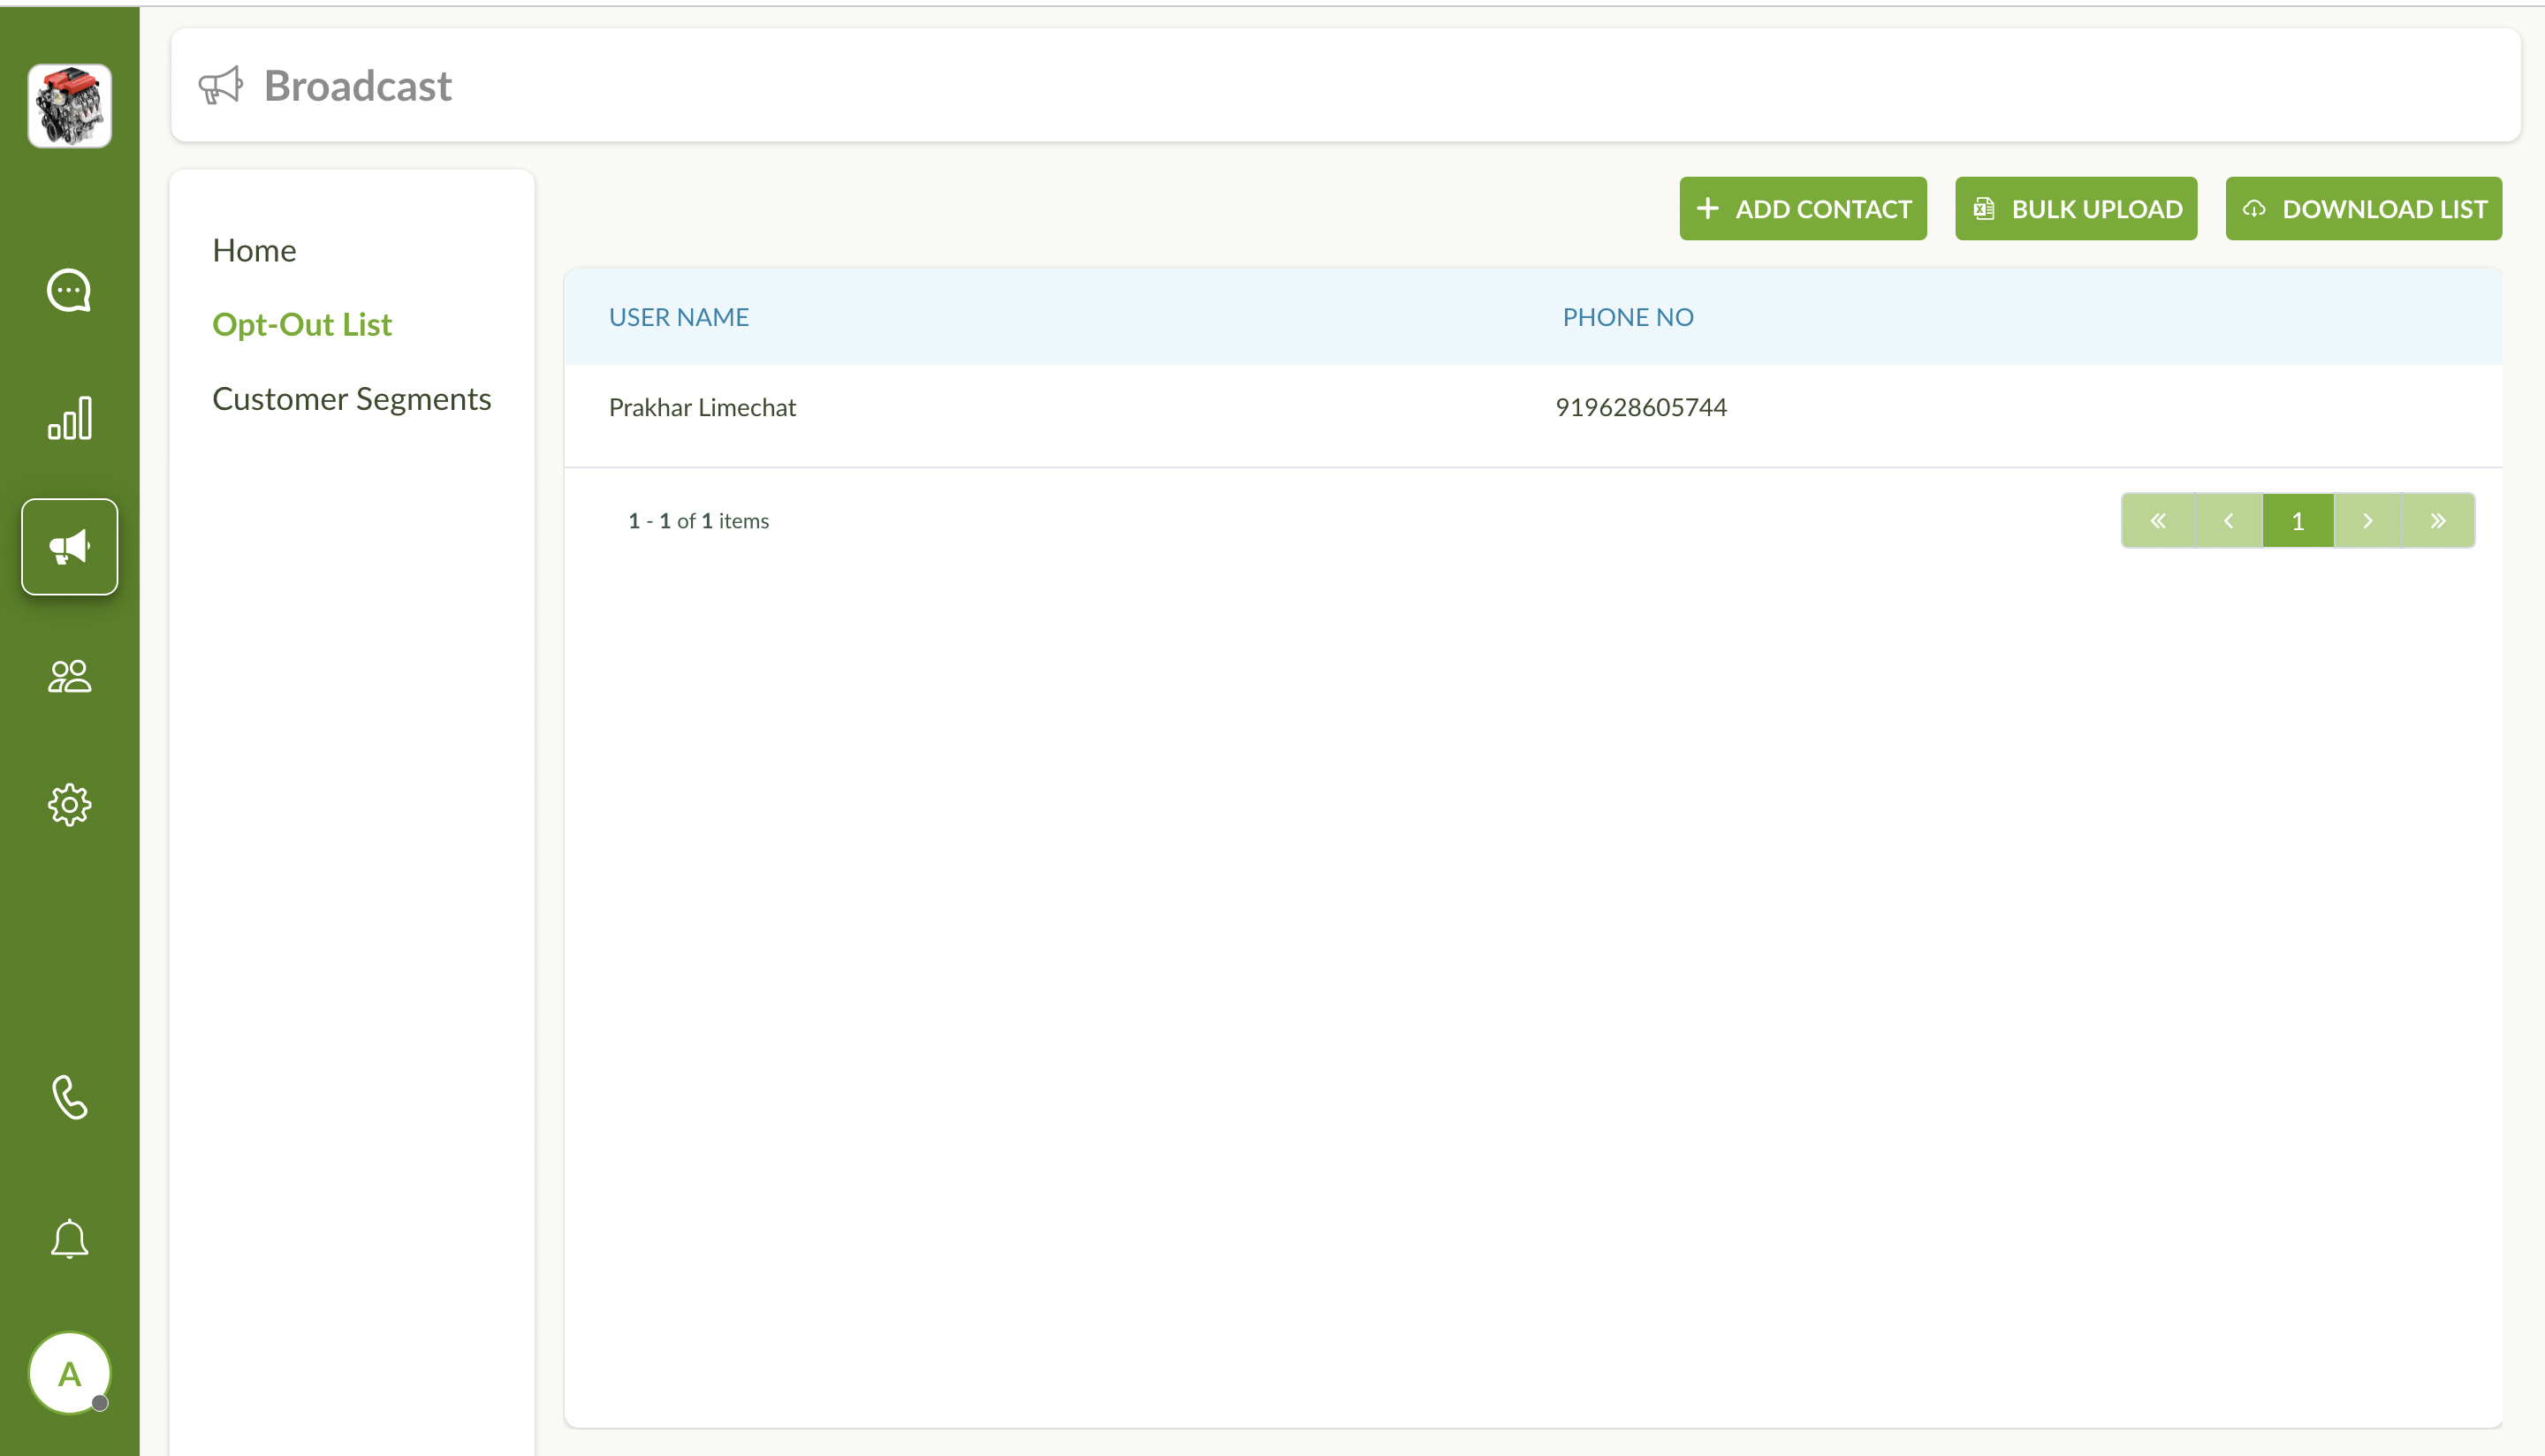
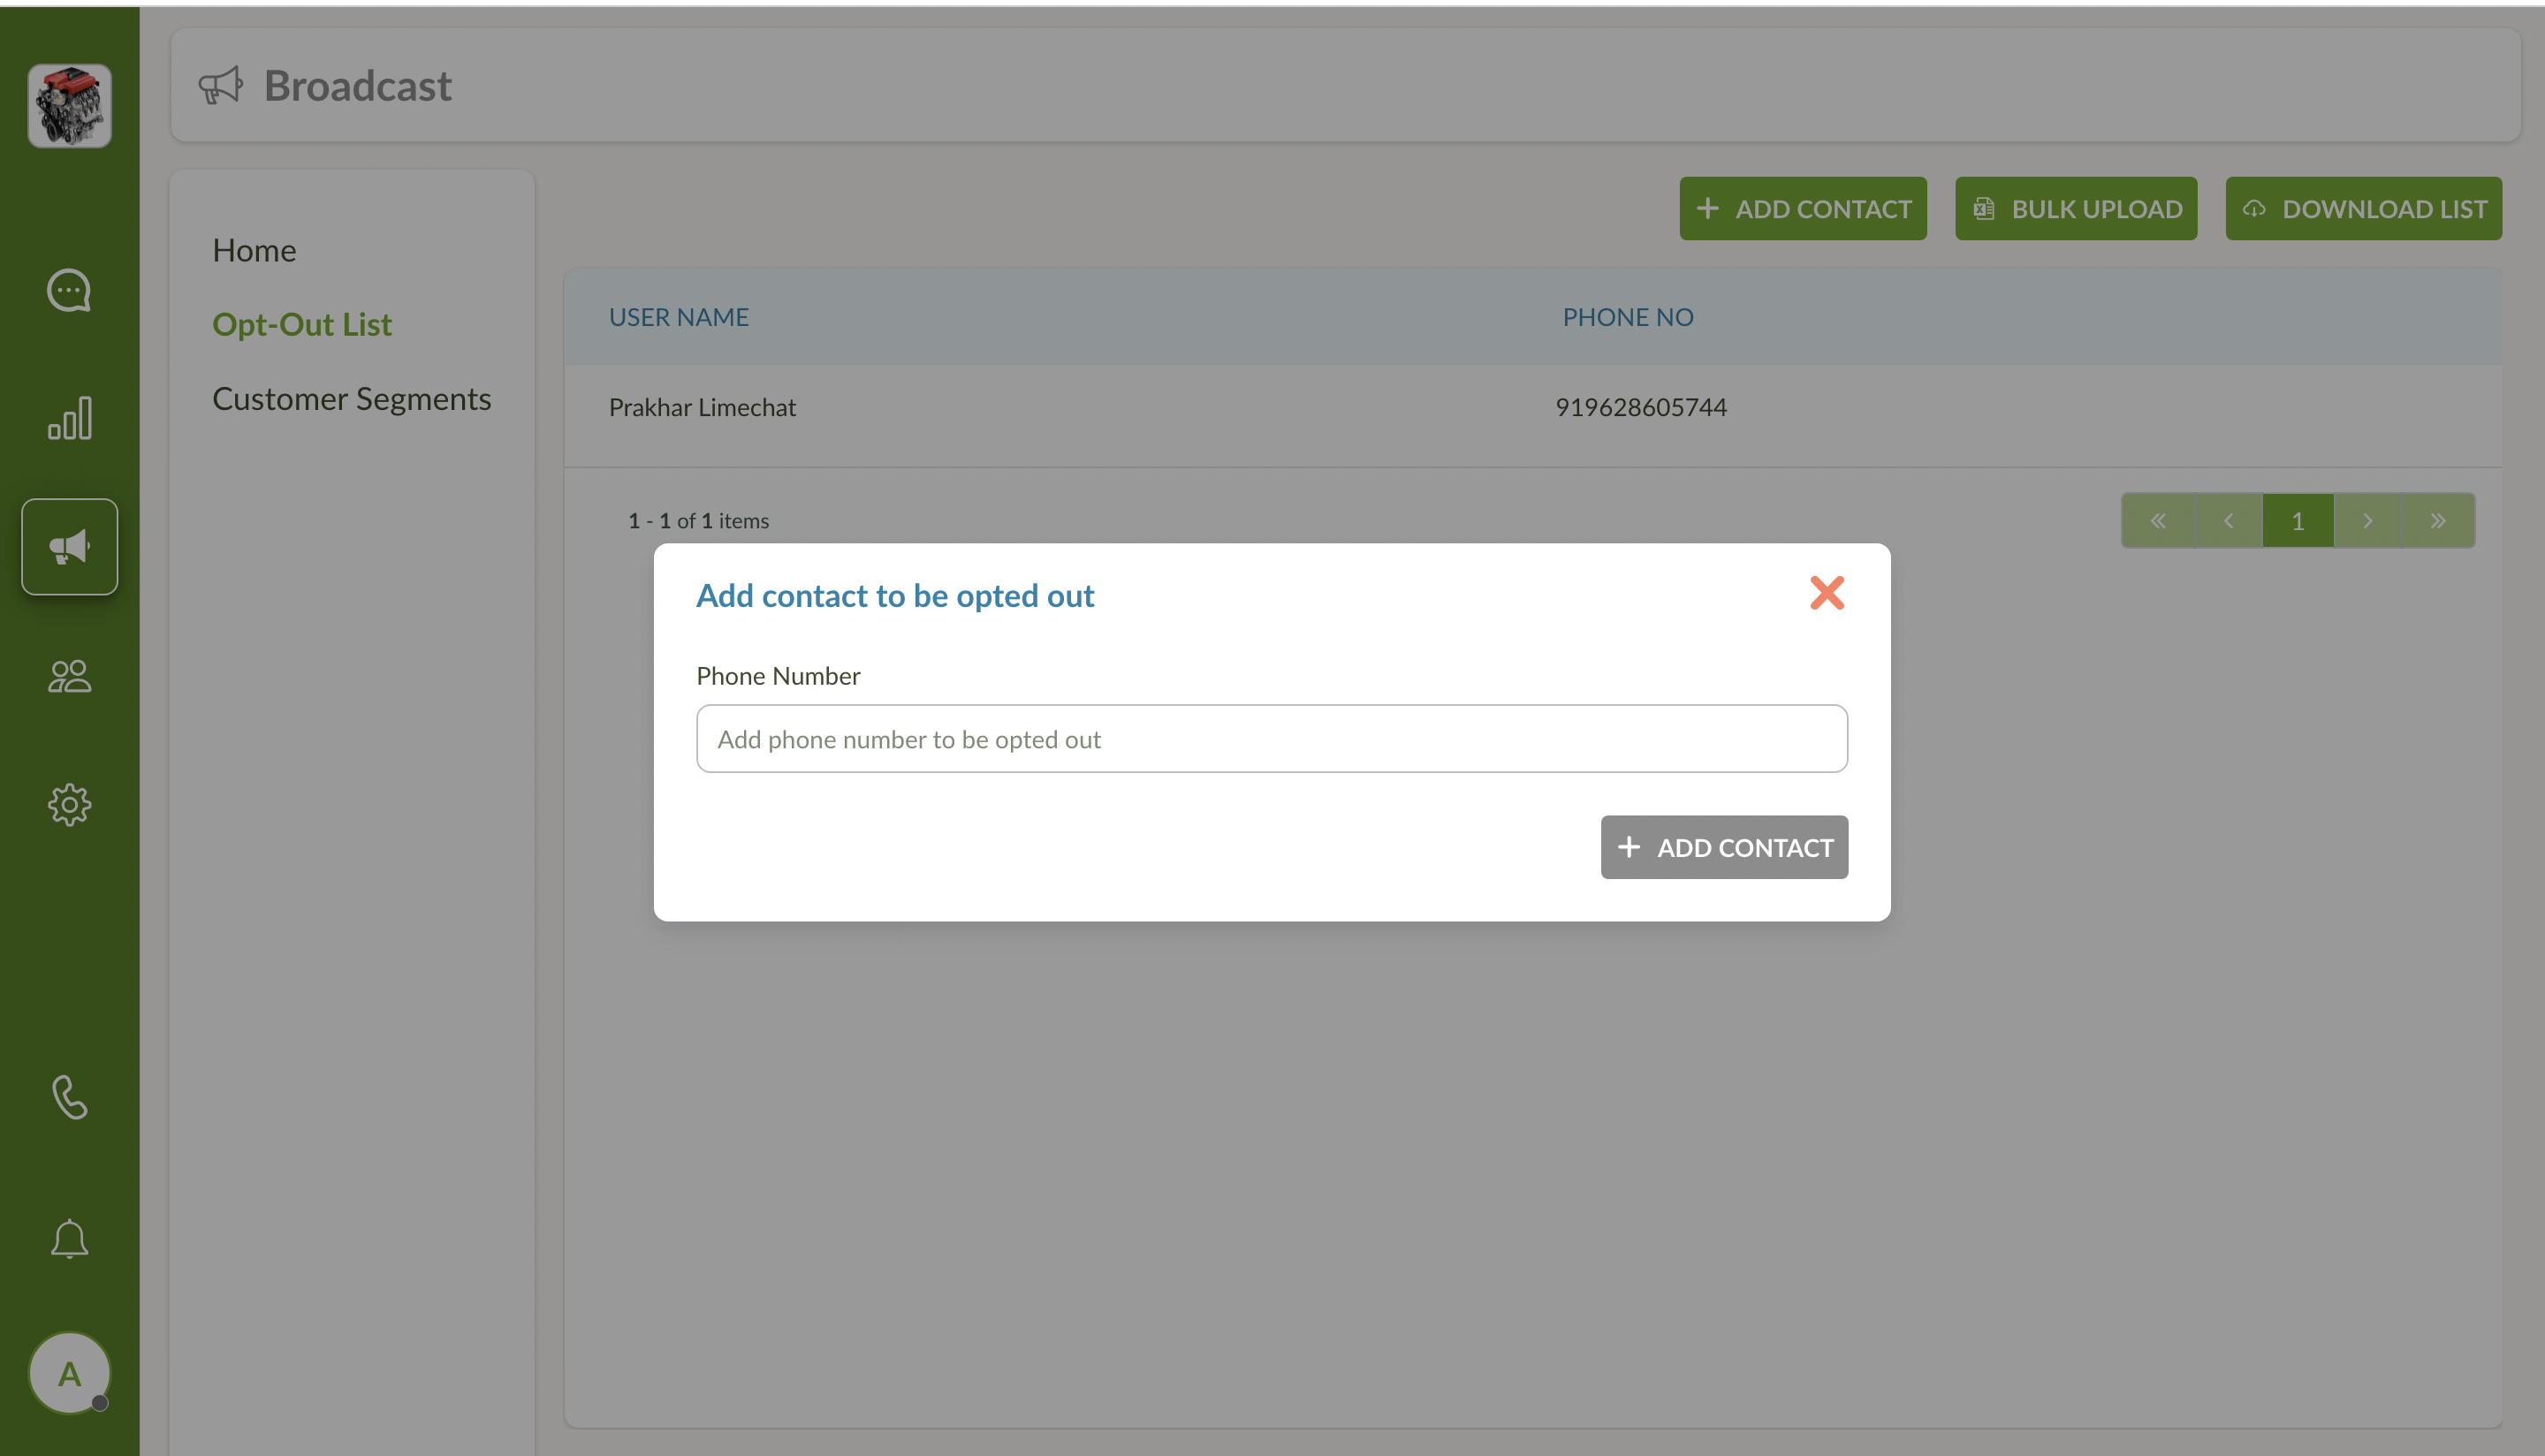
You can add a single opted-out contact by clicking on the ADD CONTACT button.
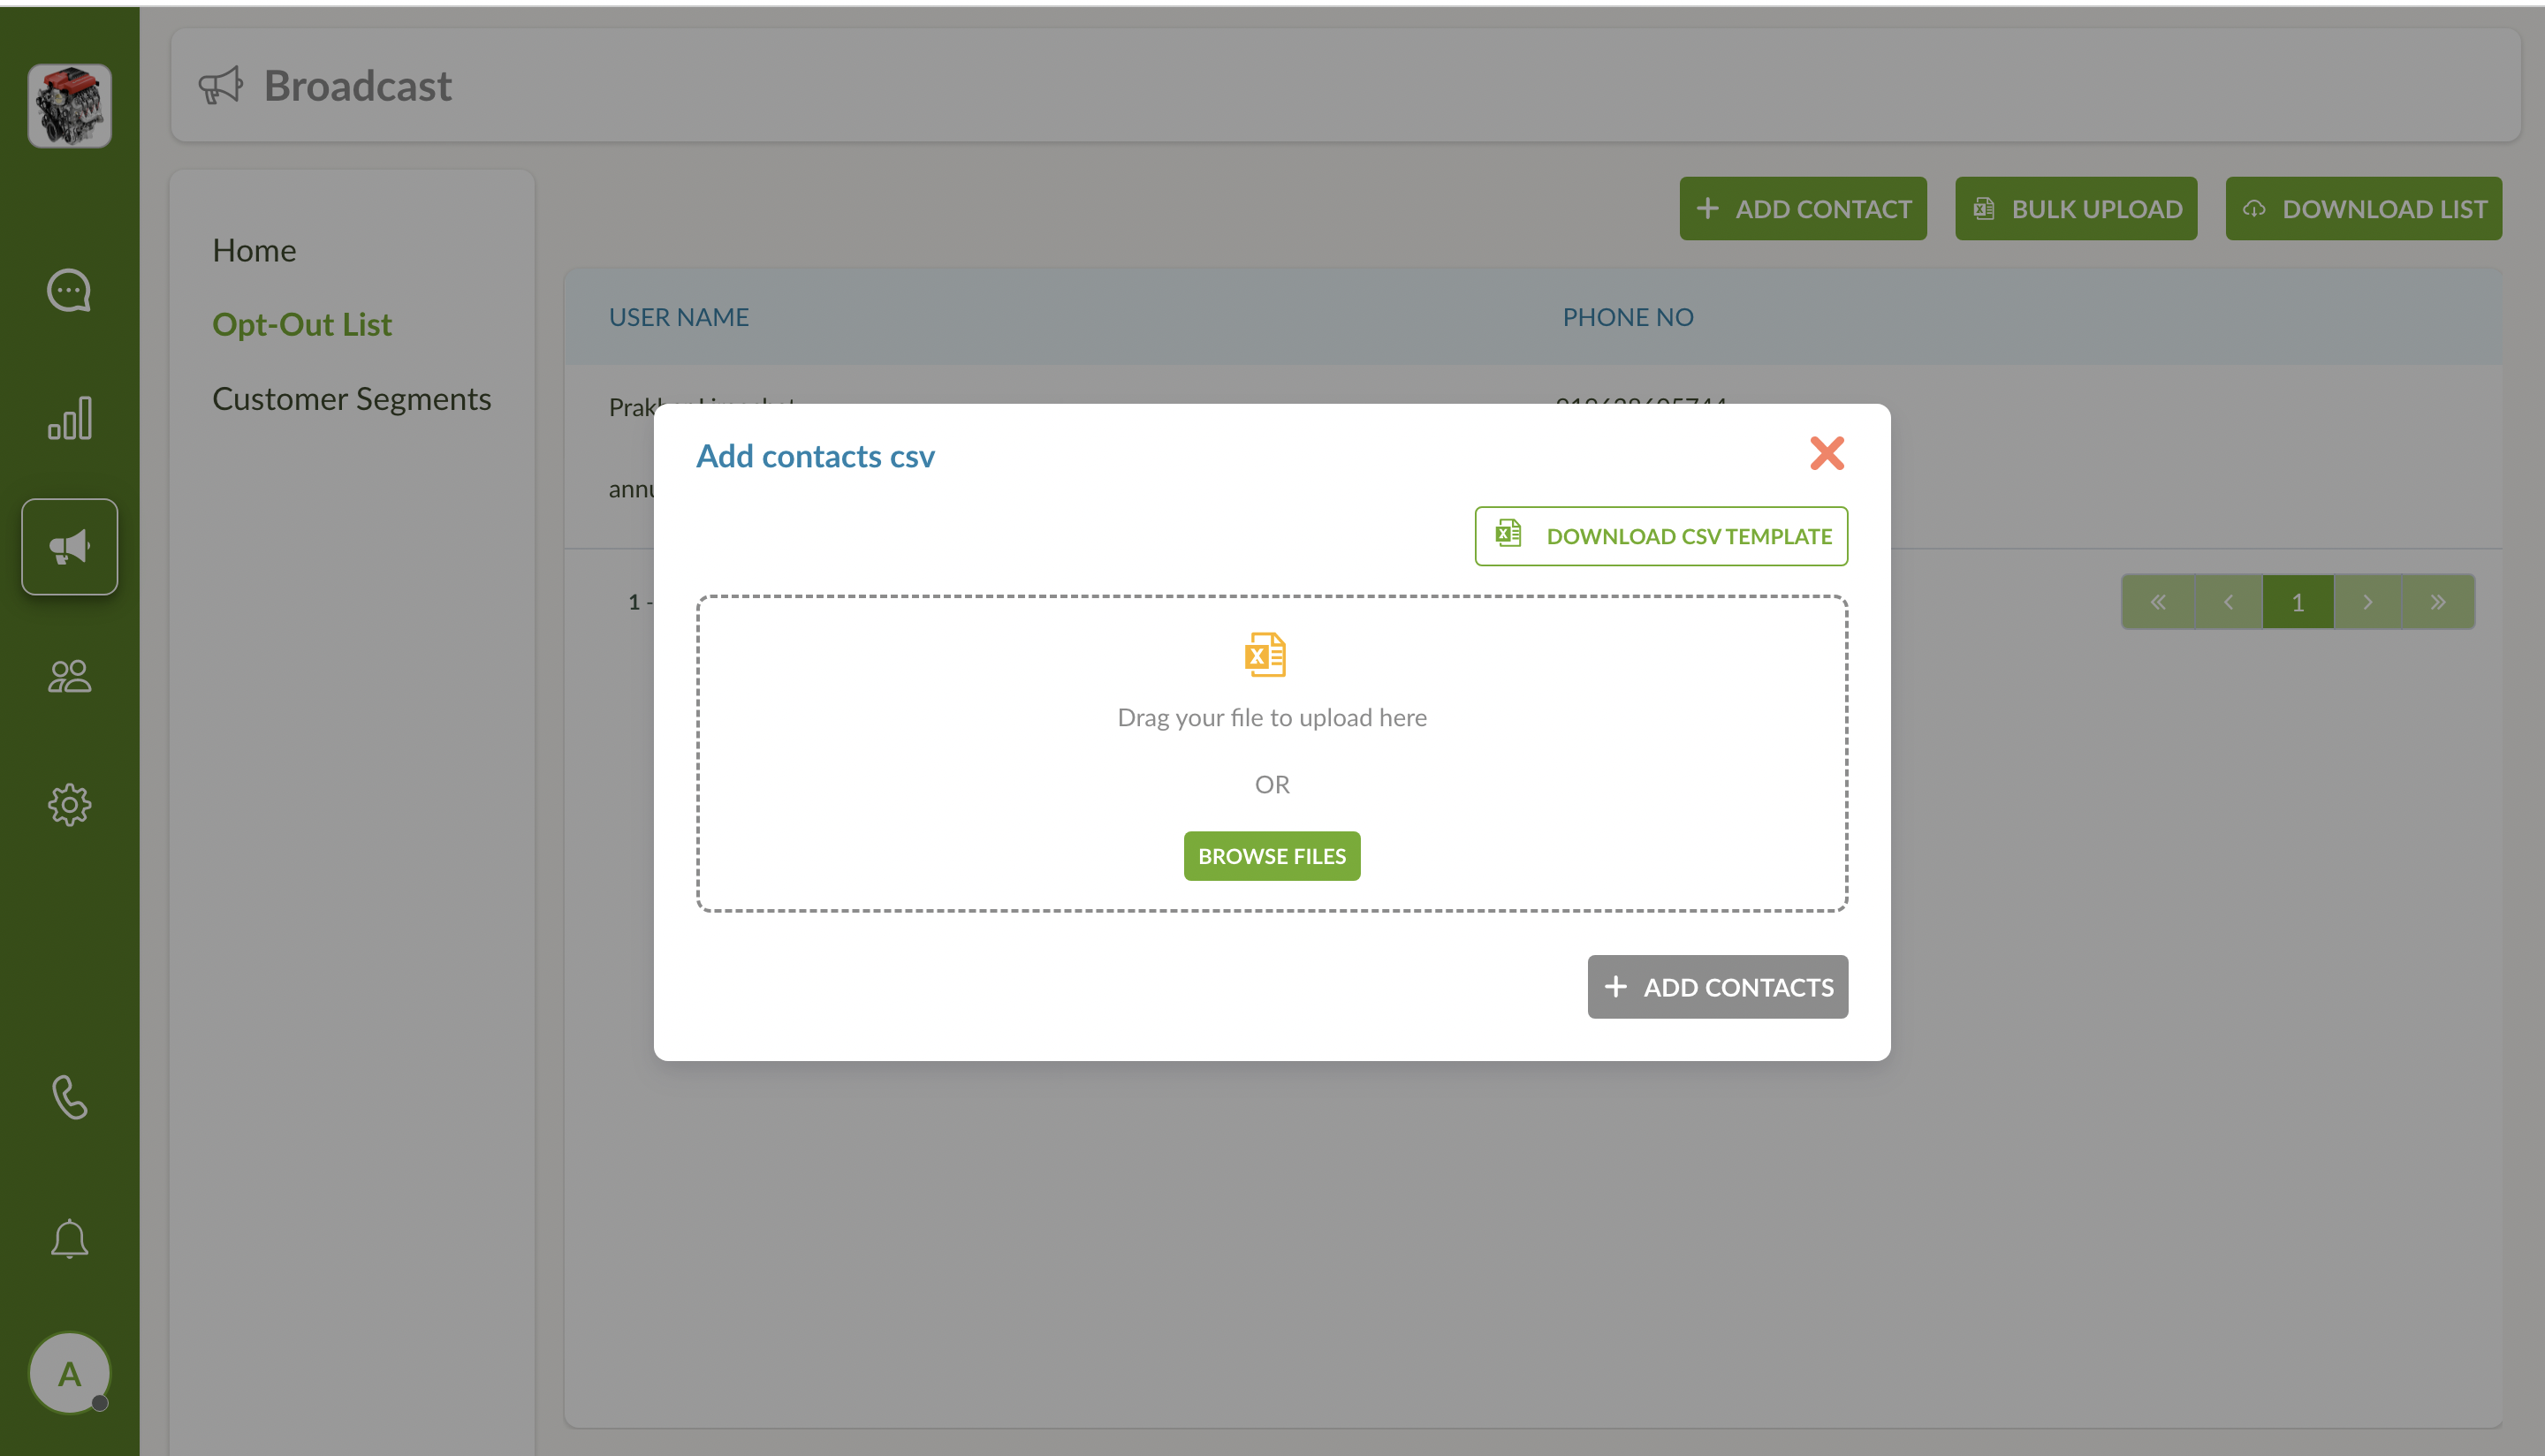
If you want to upload a list of opted-out customers, click on BULK UPLOAD button. Download the CSV template first and upload the CSV in the correct format.
Click on DOWNLOAD button to download the list of all the opted-out customers displayed on this page.