Auto Agent Assignment
There is a typical Chat Lifecycle
Bot —> Open —> Resolved —> Closed
Open State
If the bot is unable to understand the users’ intent in the chat, it falls back. Then the conversation is assigned to an agent and moves into an Open state.
The chat assignment to an agent can happen in 3 ways:
- Manual Assignment
- Auto Assignment to any agent (either online or offline)
- Auto Assignment to agents who are online
How to configure agent assignment?
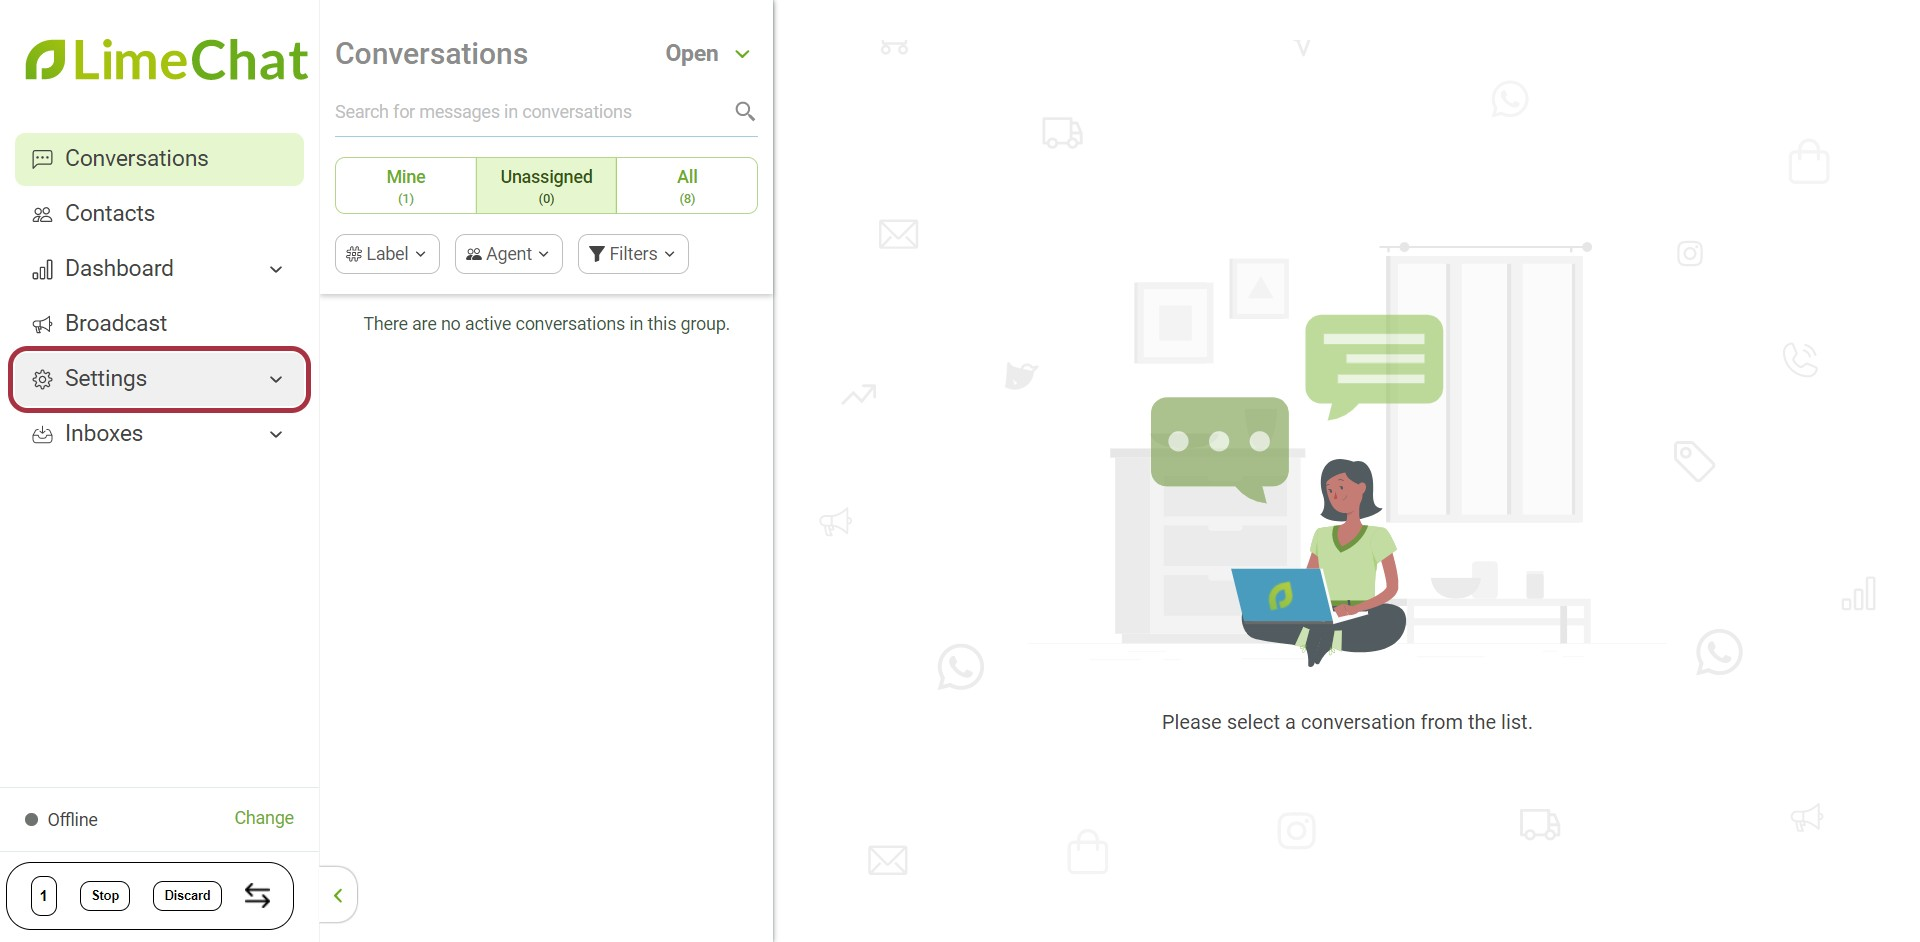
- Go to Settings.
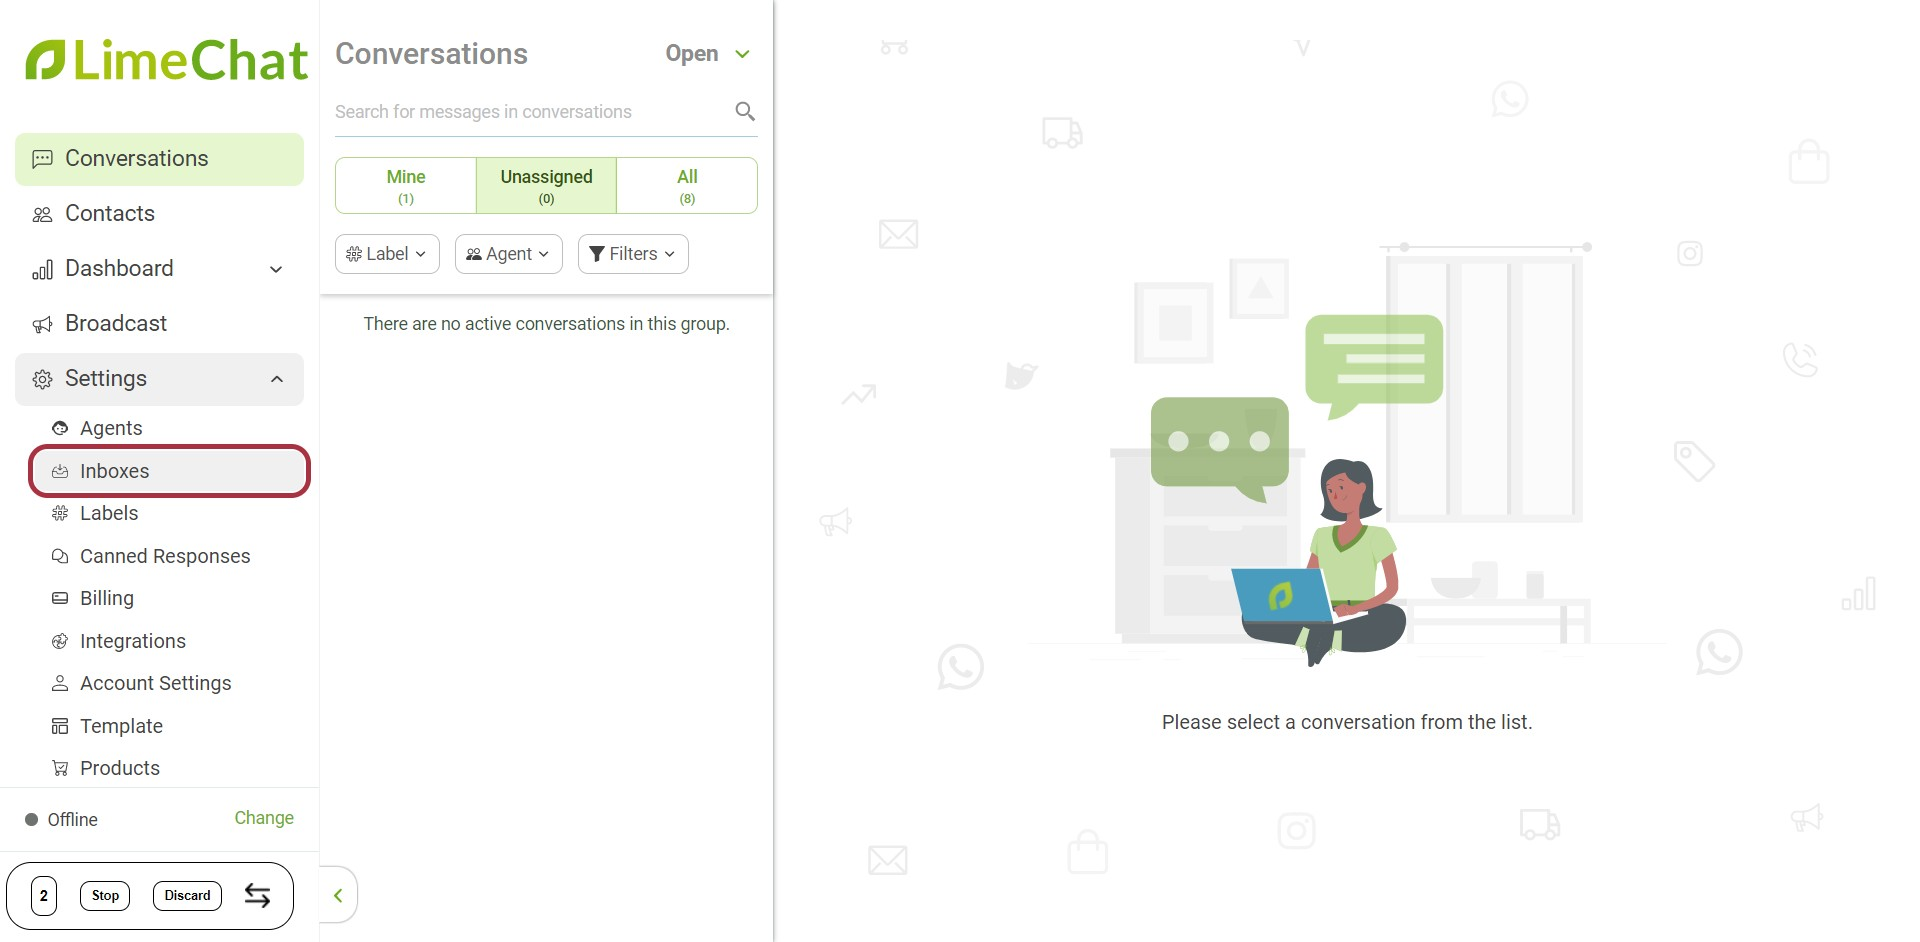
- Select Inboxes
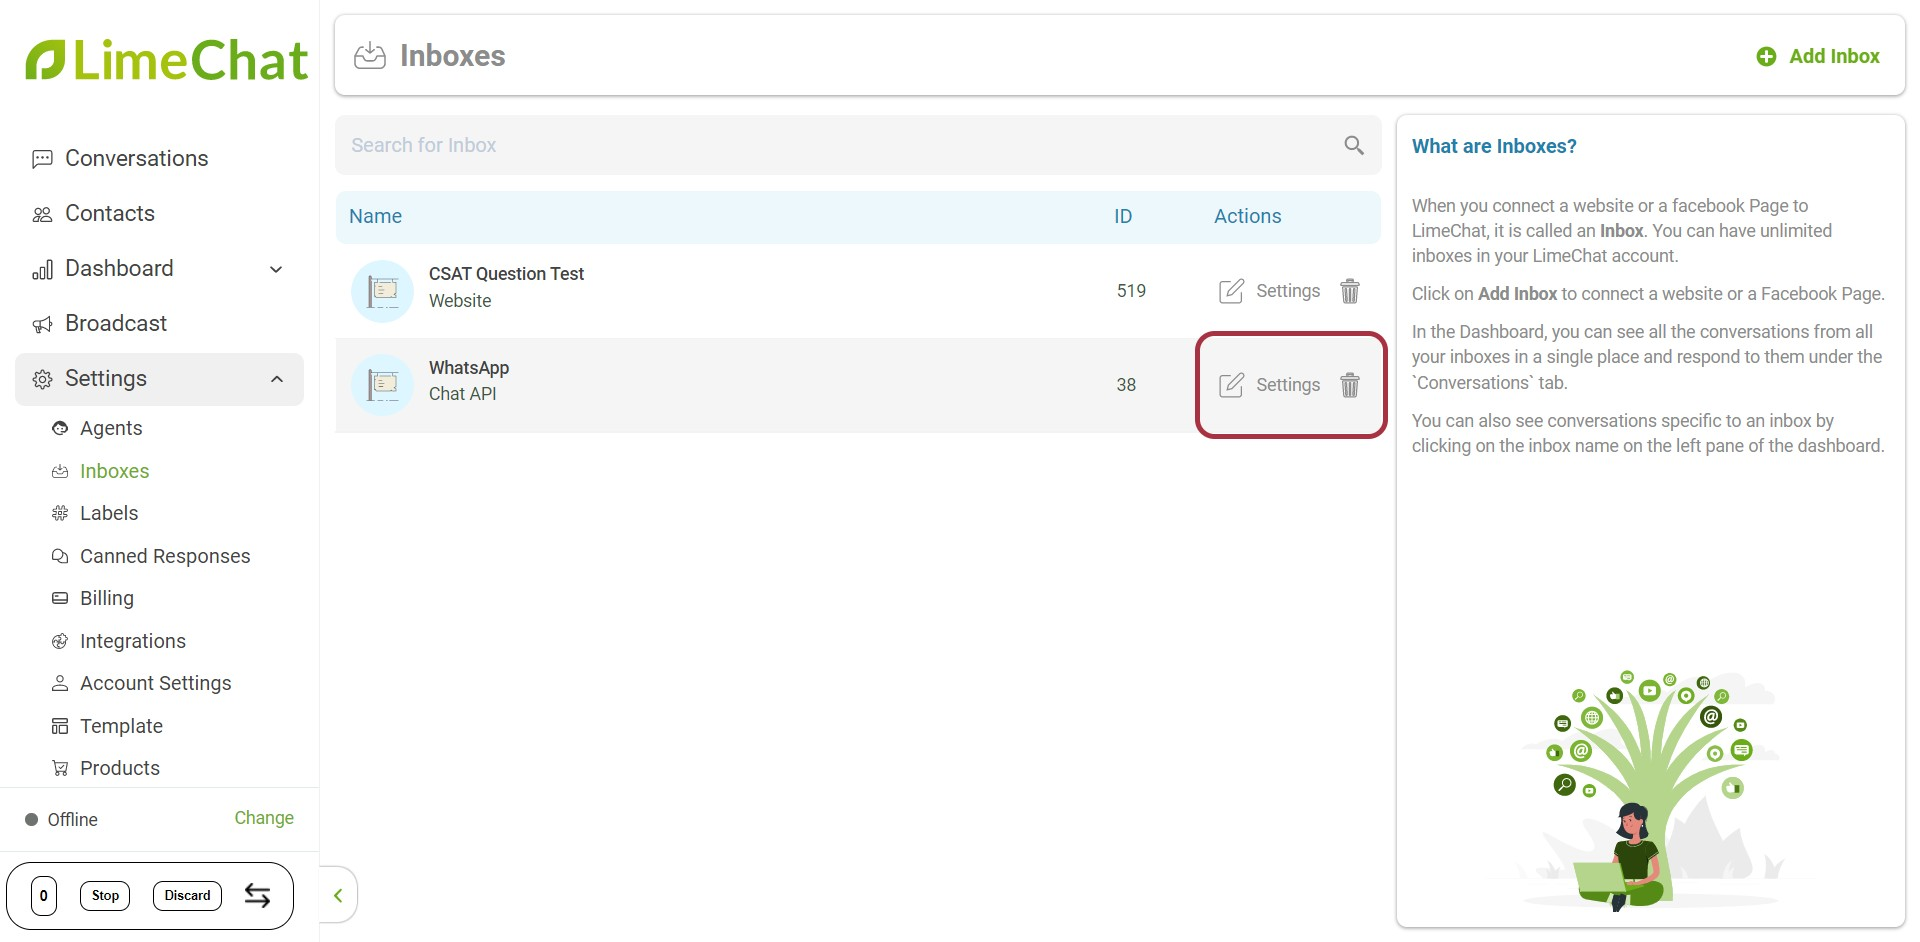
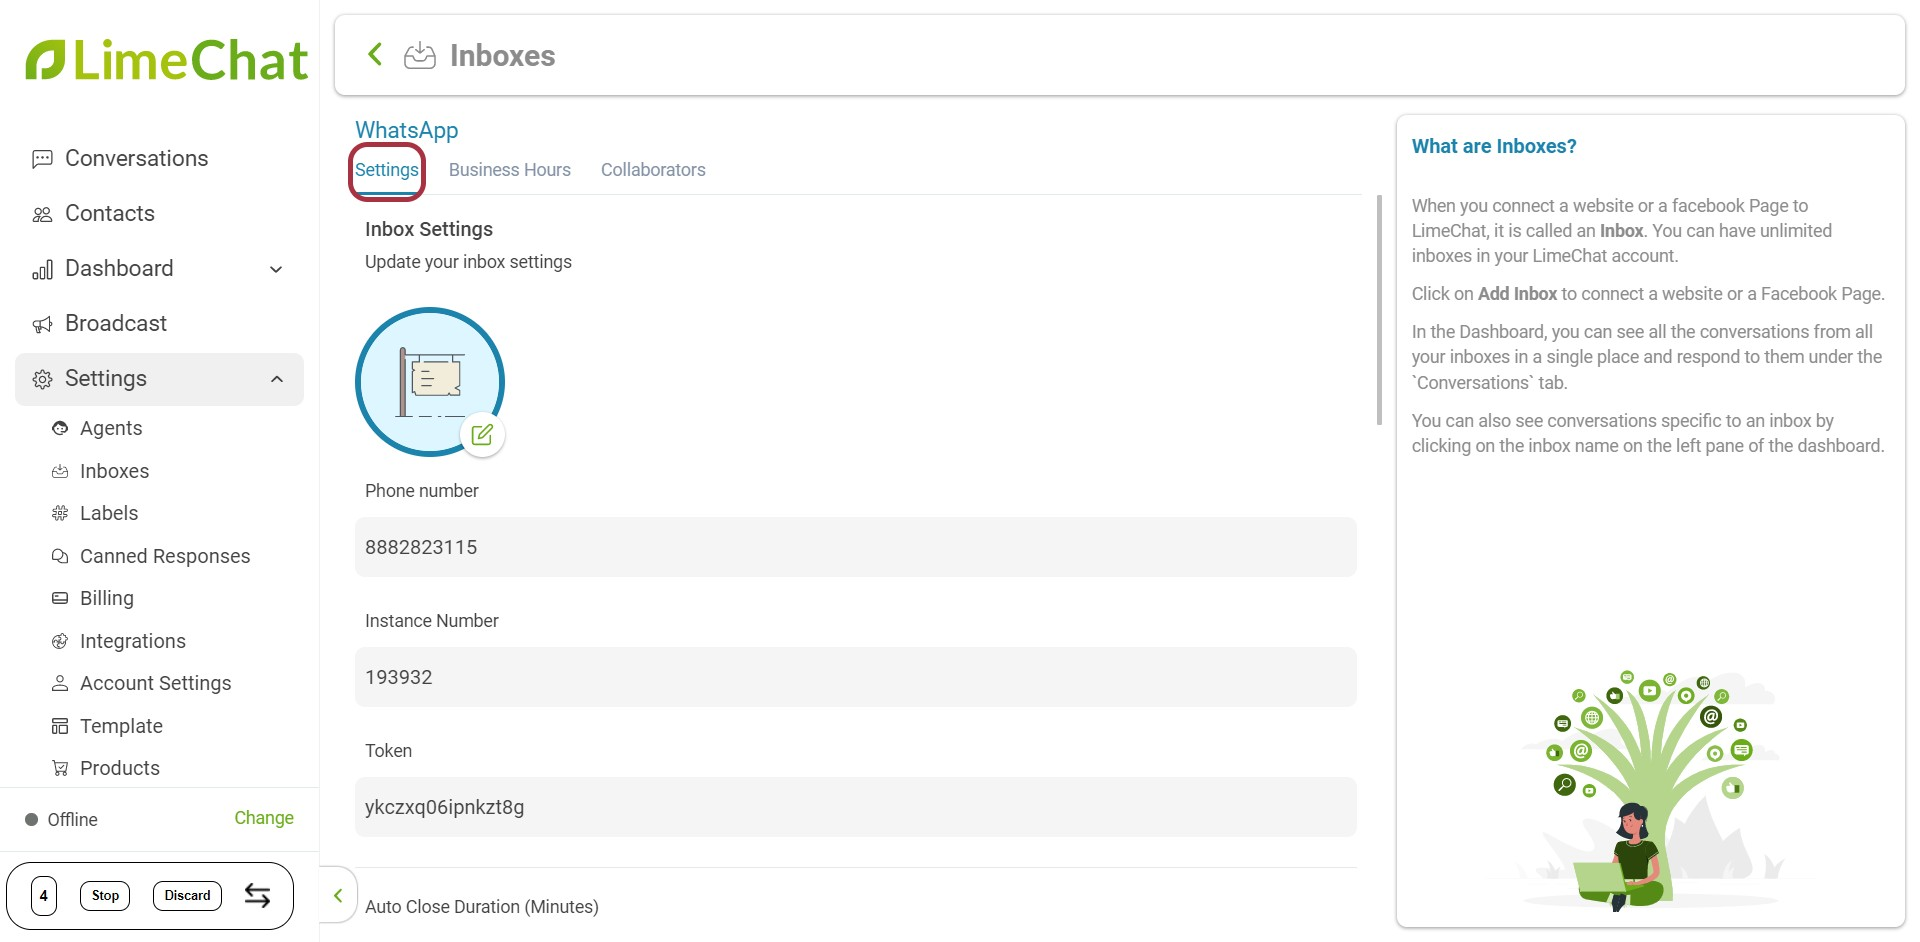
- Go to Settings of any inbox you wish to change the auto-assignment settings.
In this case, we will choose WhatsApp Settings.
info
💡 You need to individually change the auto-assignment settings for all your added inboxes.
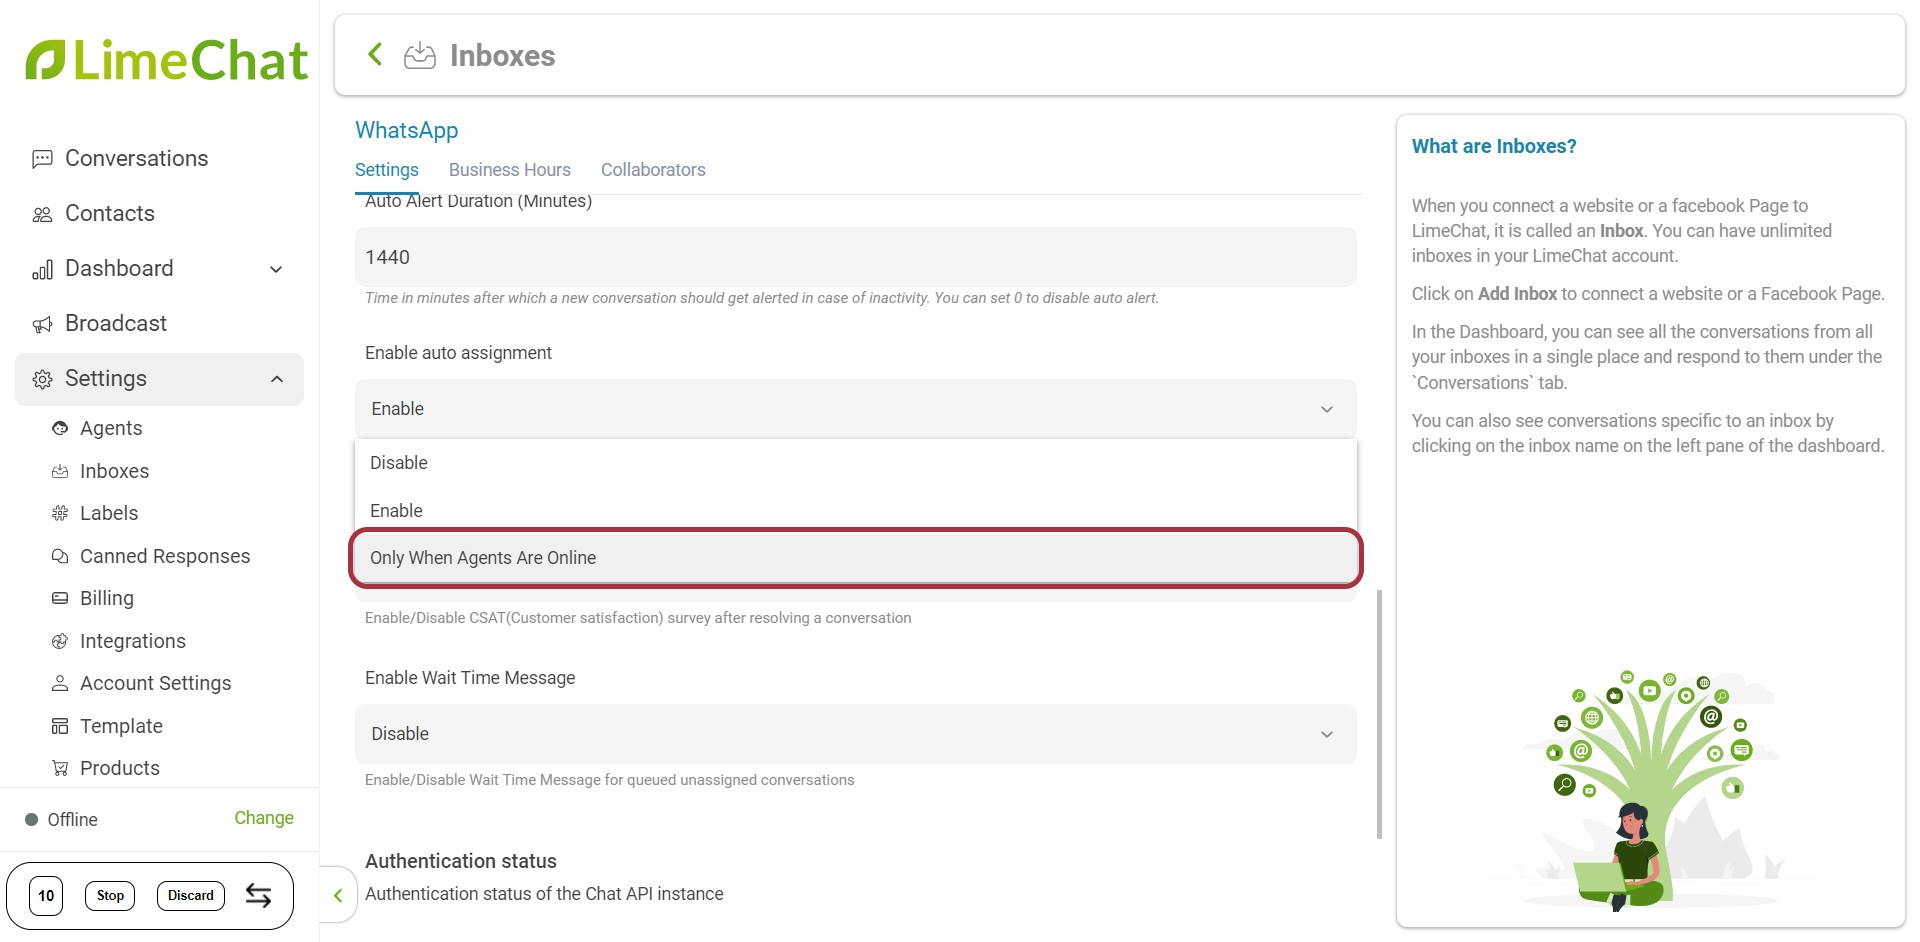
- Click on Settings on top
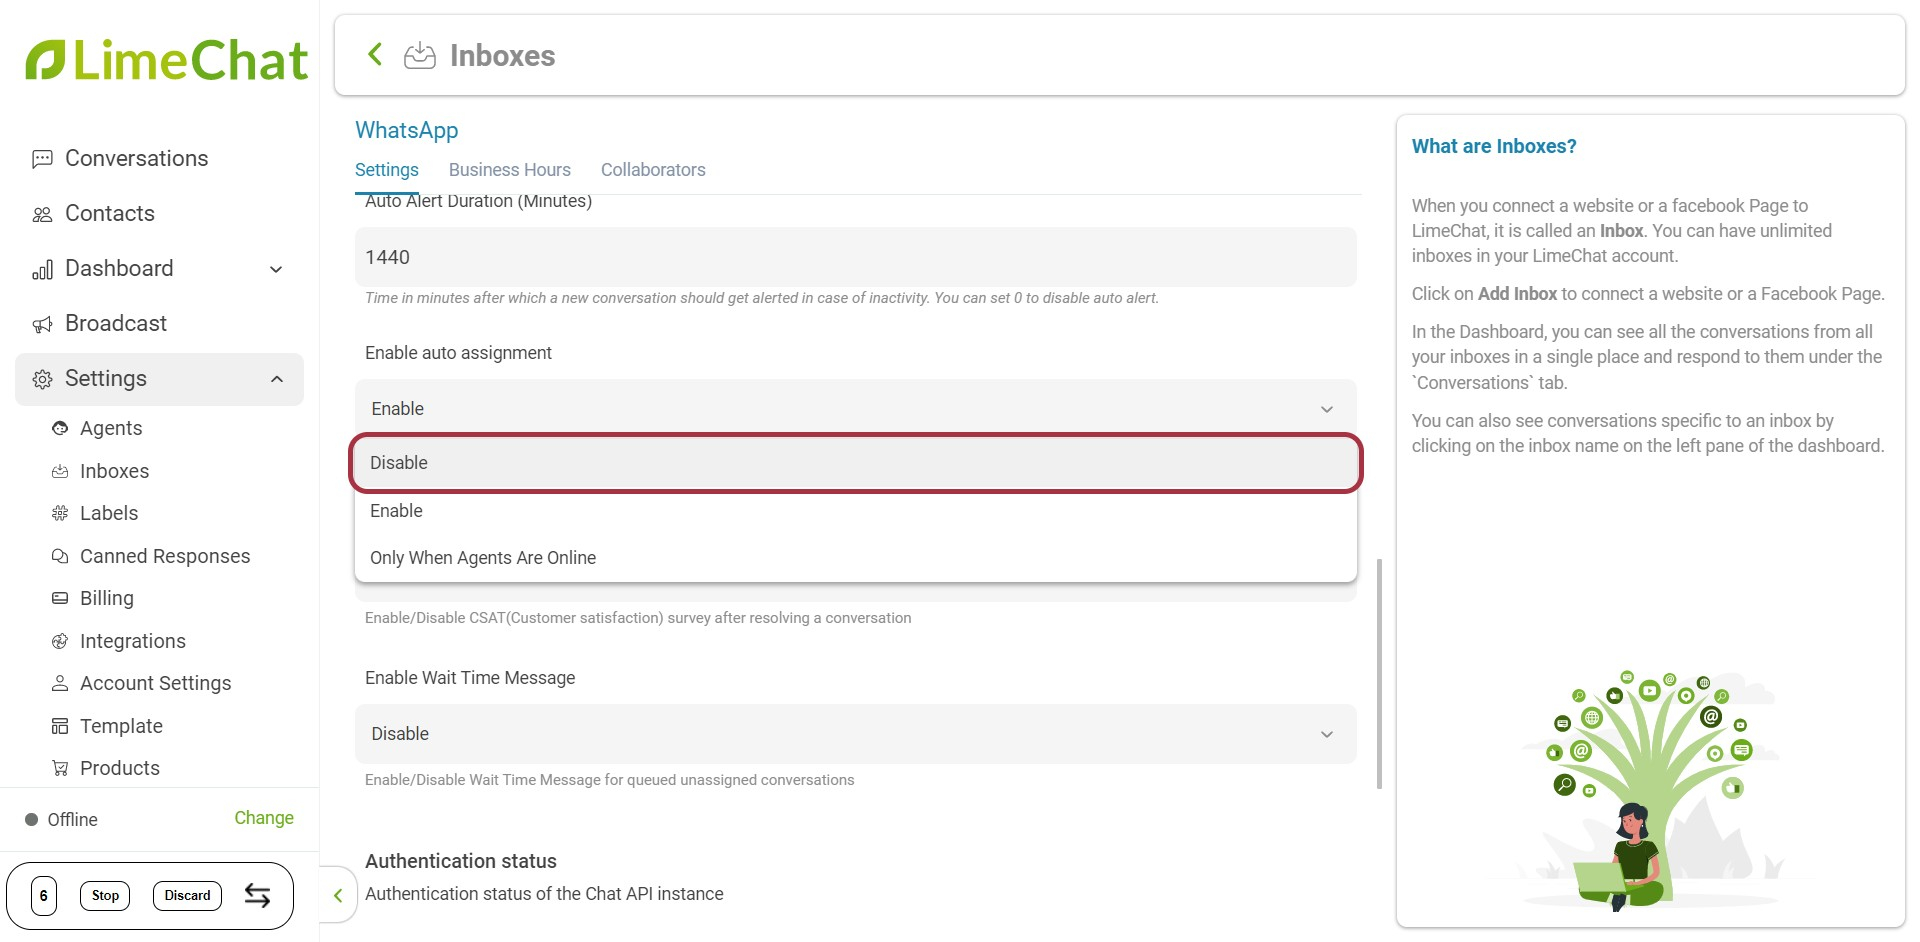
- Scroll down and find Enable auto assignment option. You will find three options
- Disable
info
💡 In this case, chats will not be auto-assigned. The agents need to manually assign the chats to themselves from the unassigned tab.
- Enable
info
💡 In this case, the chats will be auto-assigned to the agents irrespective of whether they are online or offline.
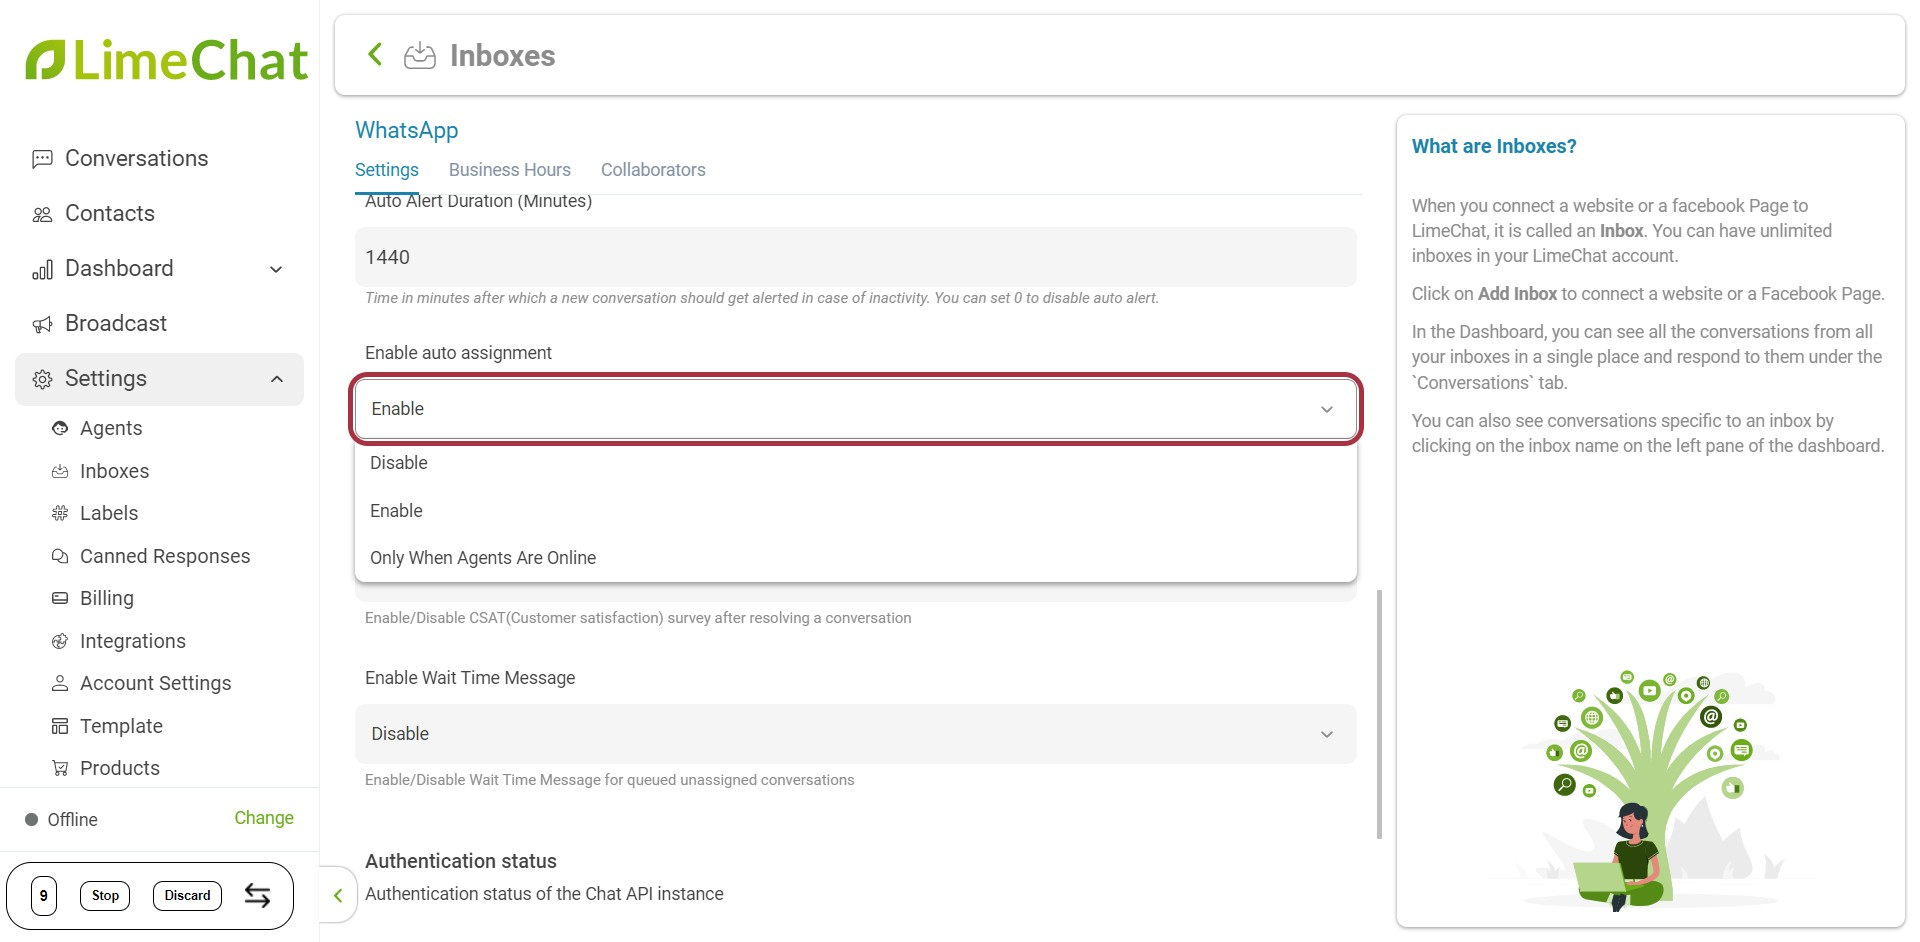
- Only When Agents Are Online
info
💡 In this case, the chats will be auto-assigned only to the agents who are online at that time.