Labels
For each customer conversation, there is an option to assign a label to it. Labels help you to categorize conversations and prioritize them.
It also helps you to understand the conversation summary without having to go through the entire conversation.
How to create Labels?
- Login to your app.limechat.ai dashboard.
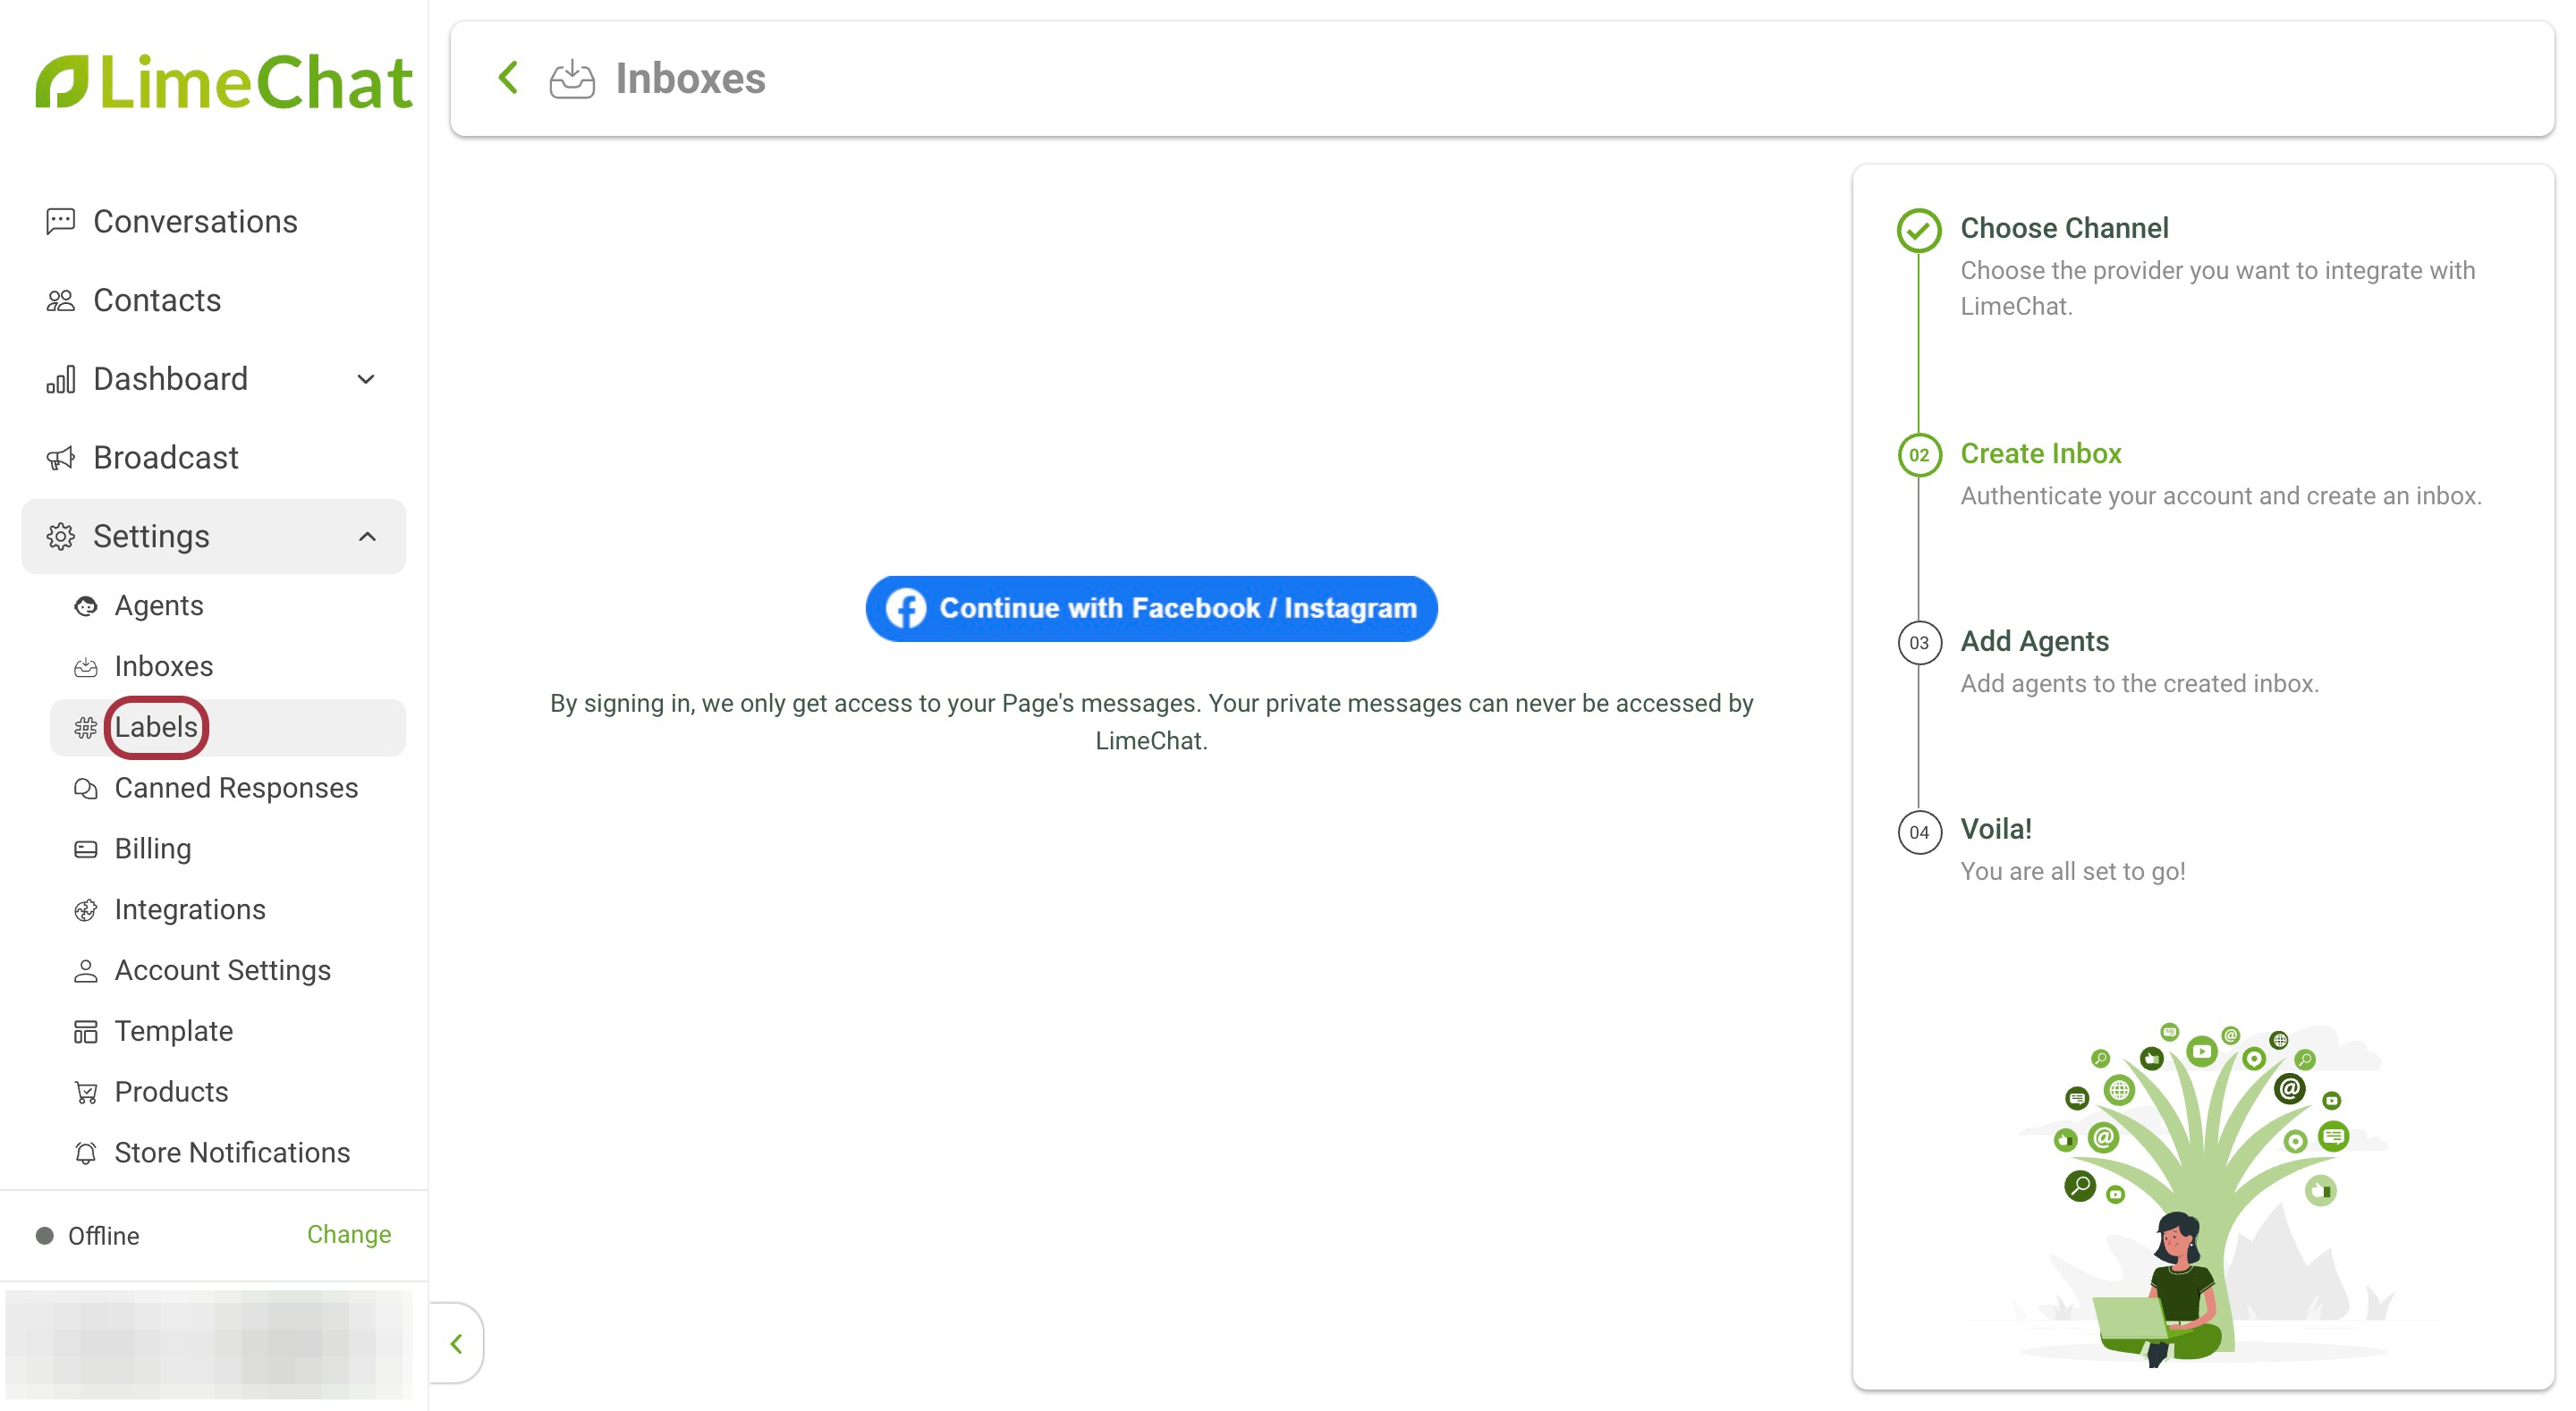
- Go to Settings.
- Go to Labels.
- Click on Add label.
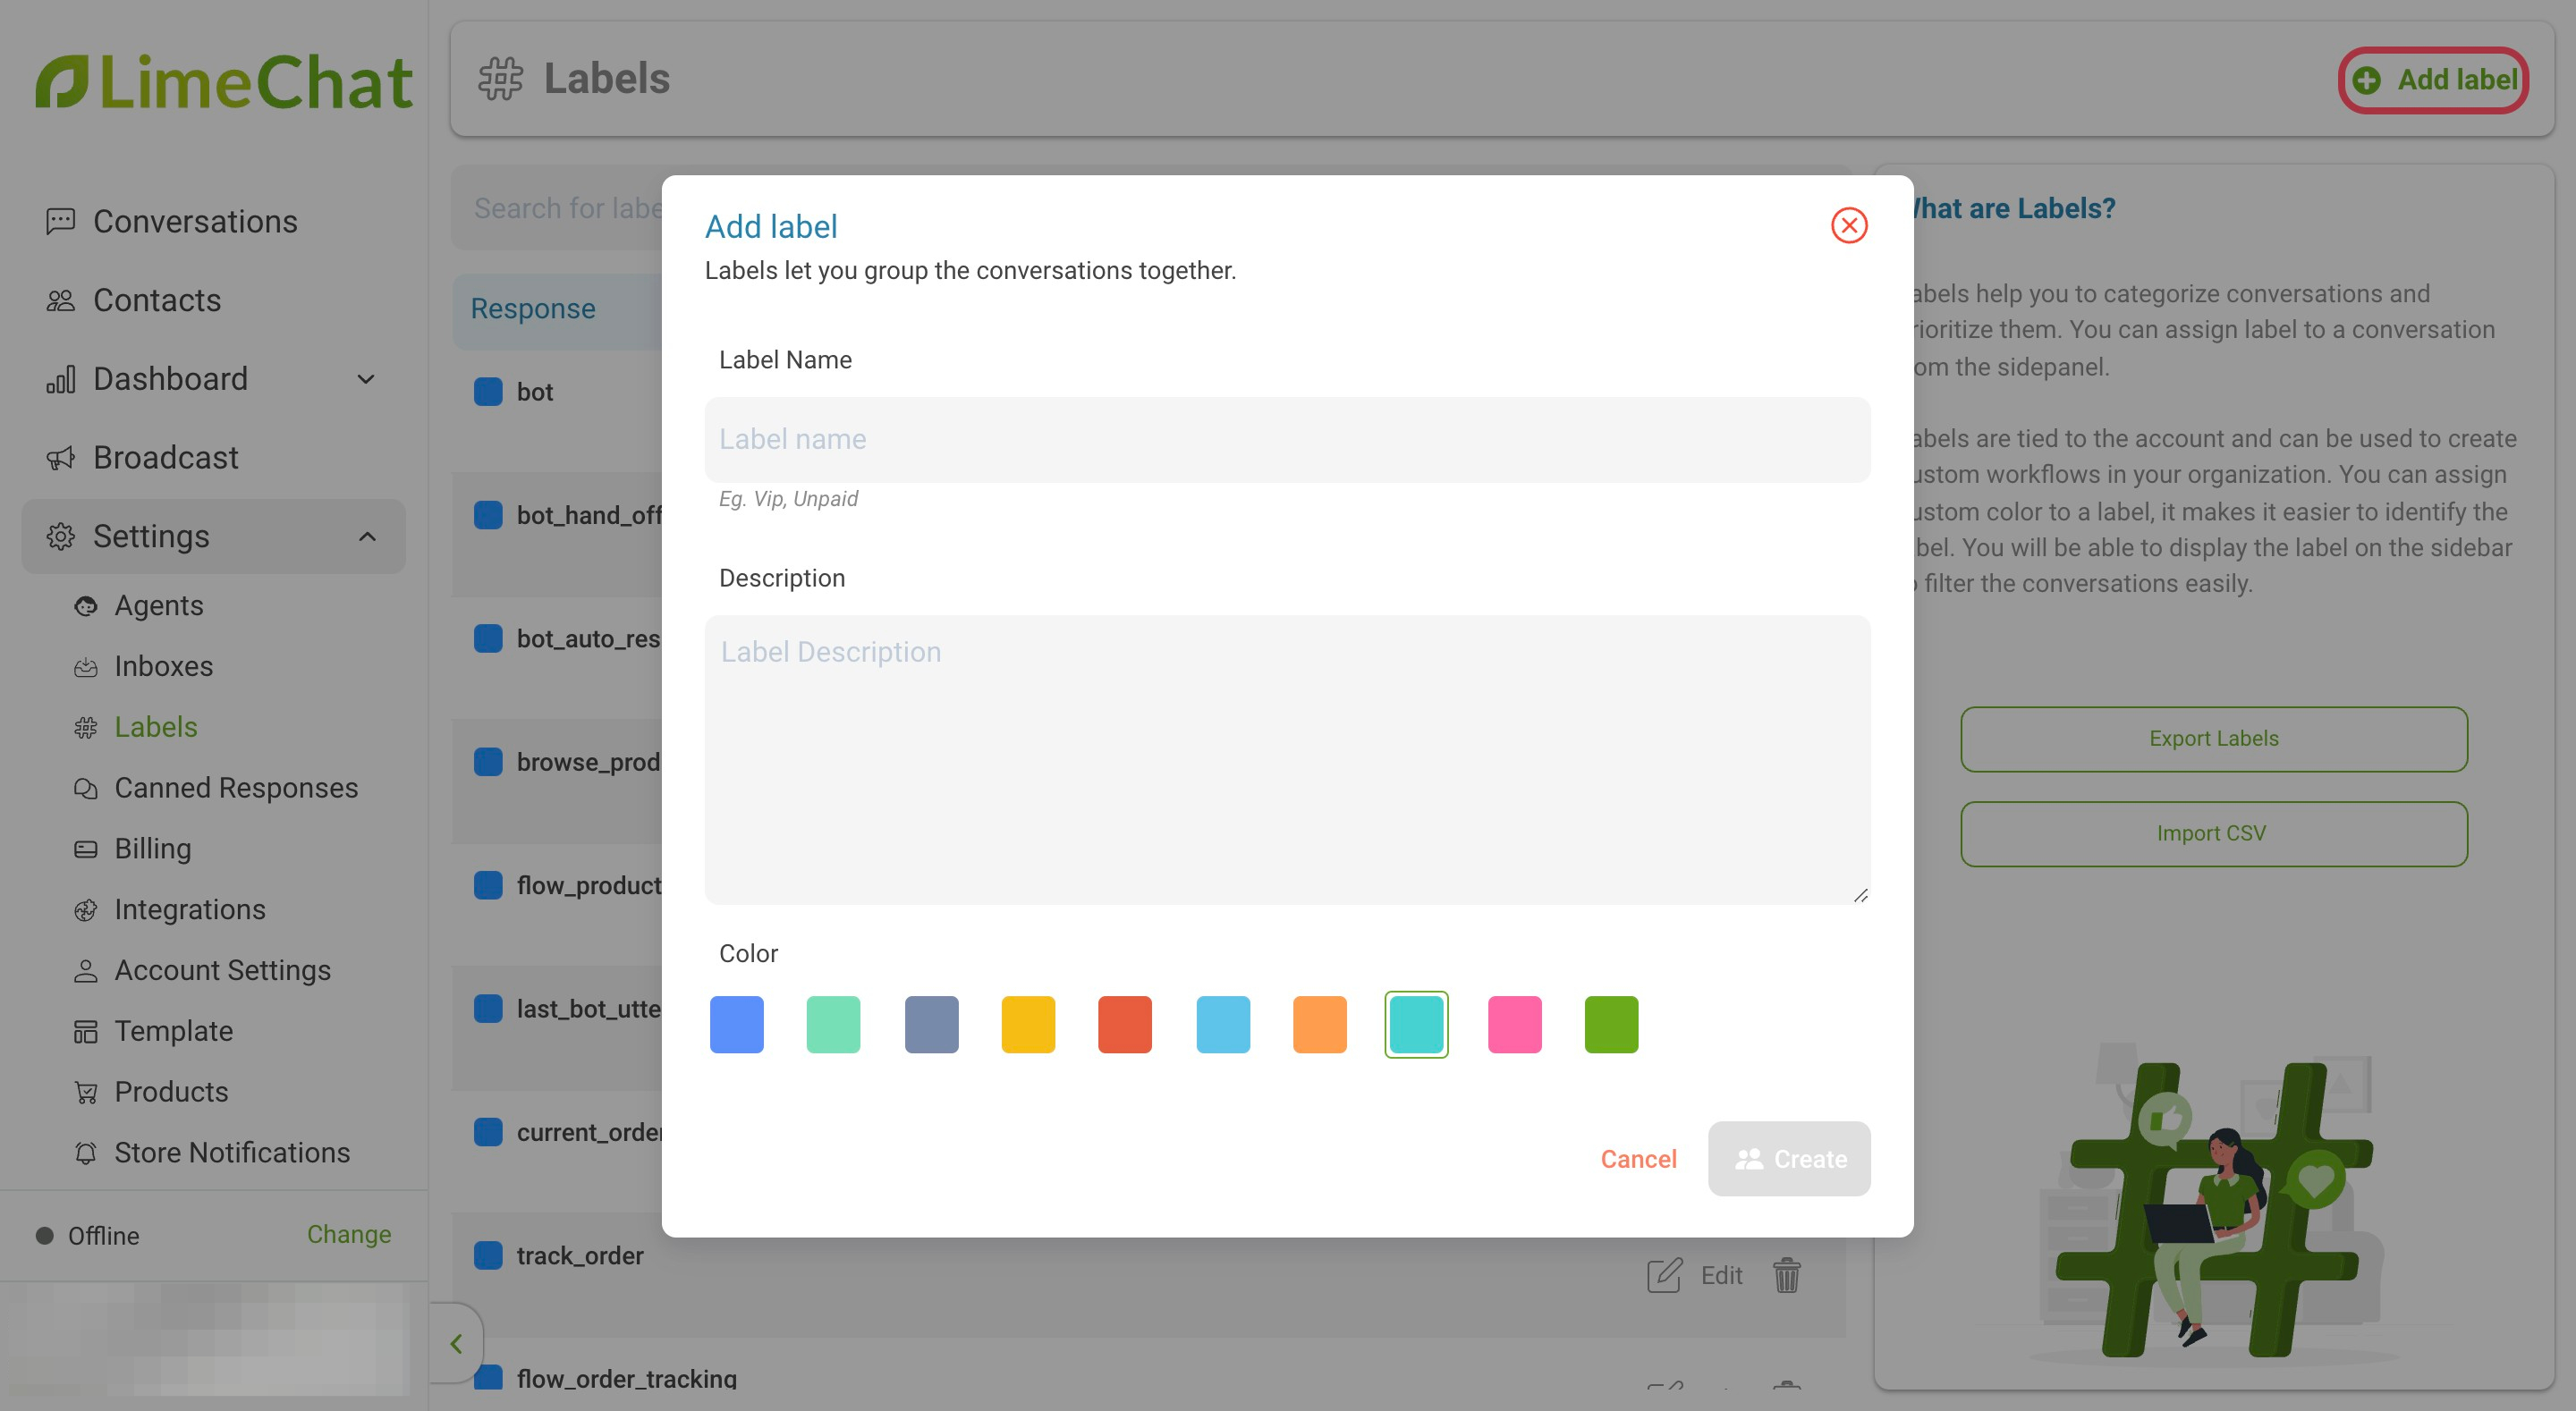
- Enter the required Label Name. For example, order_cancel.
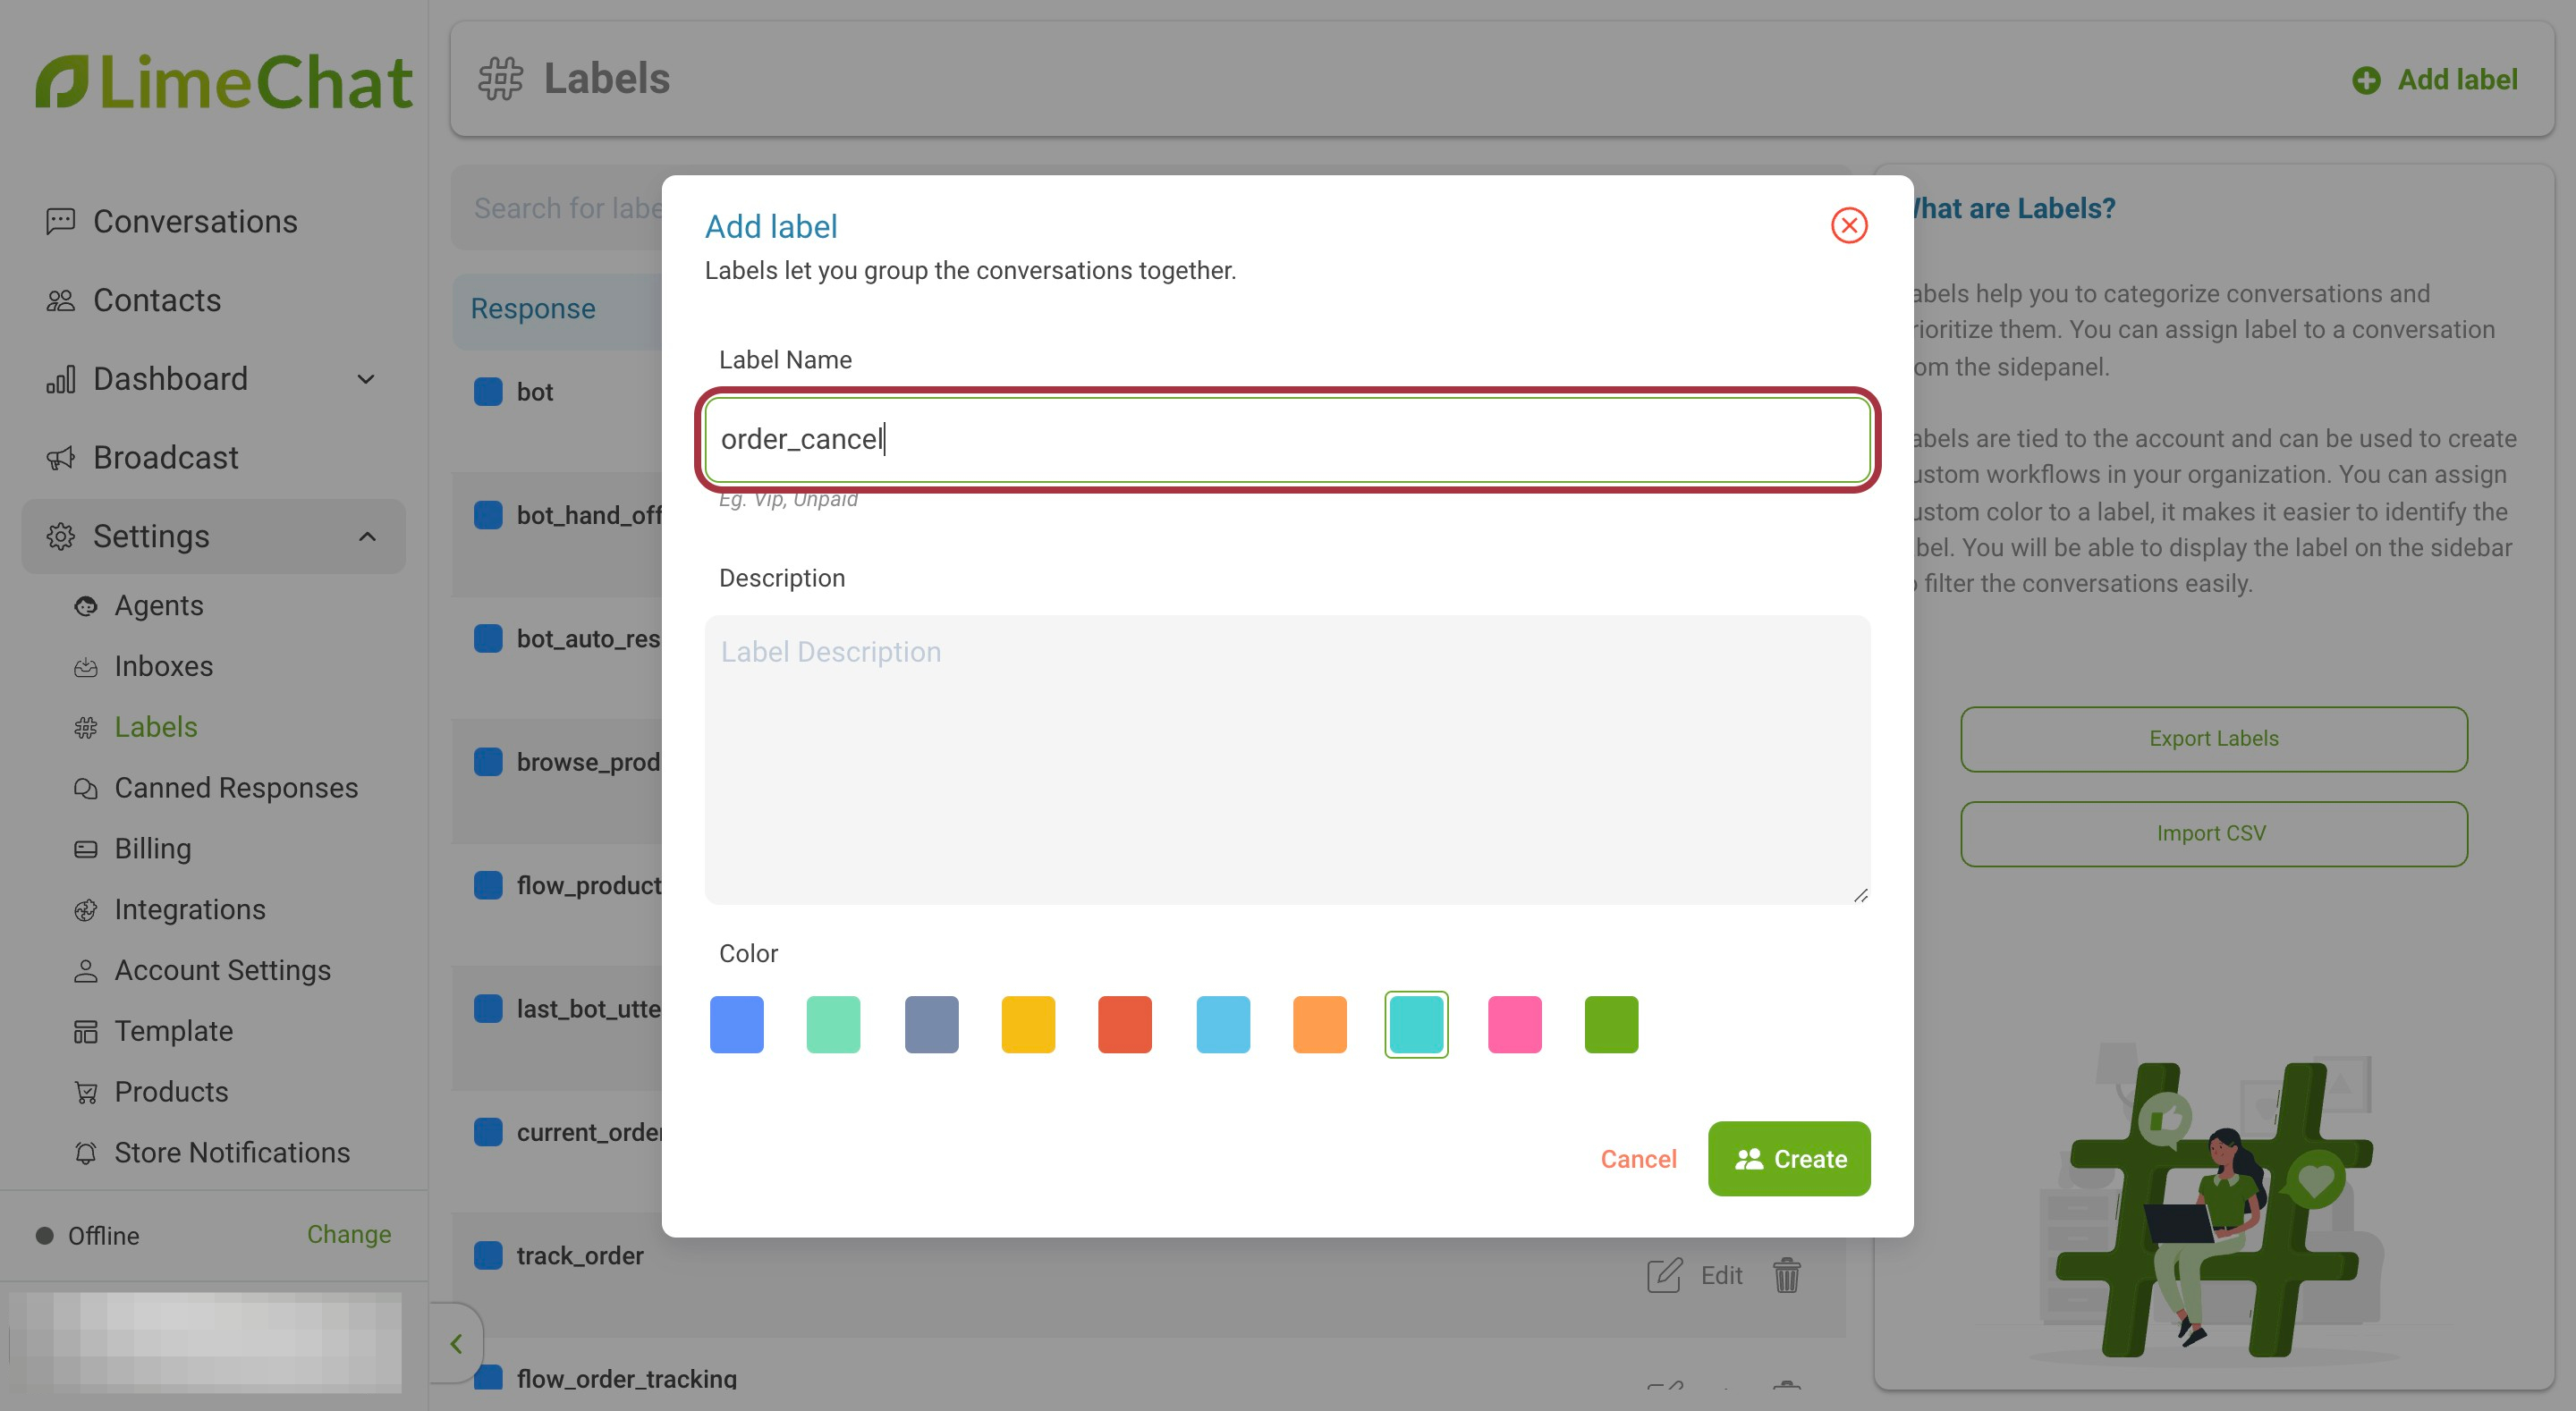
- Enter the required Description
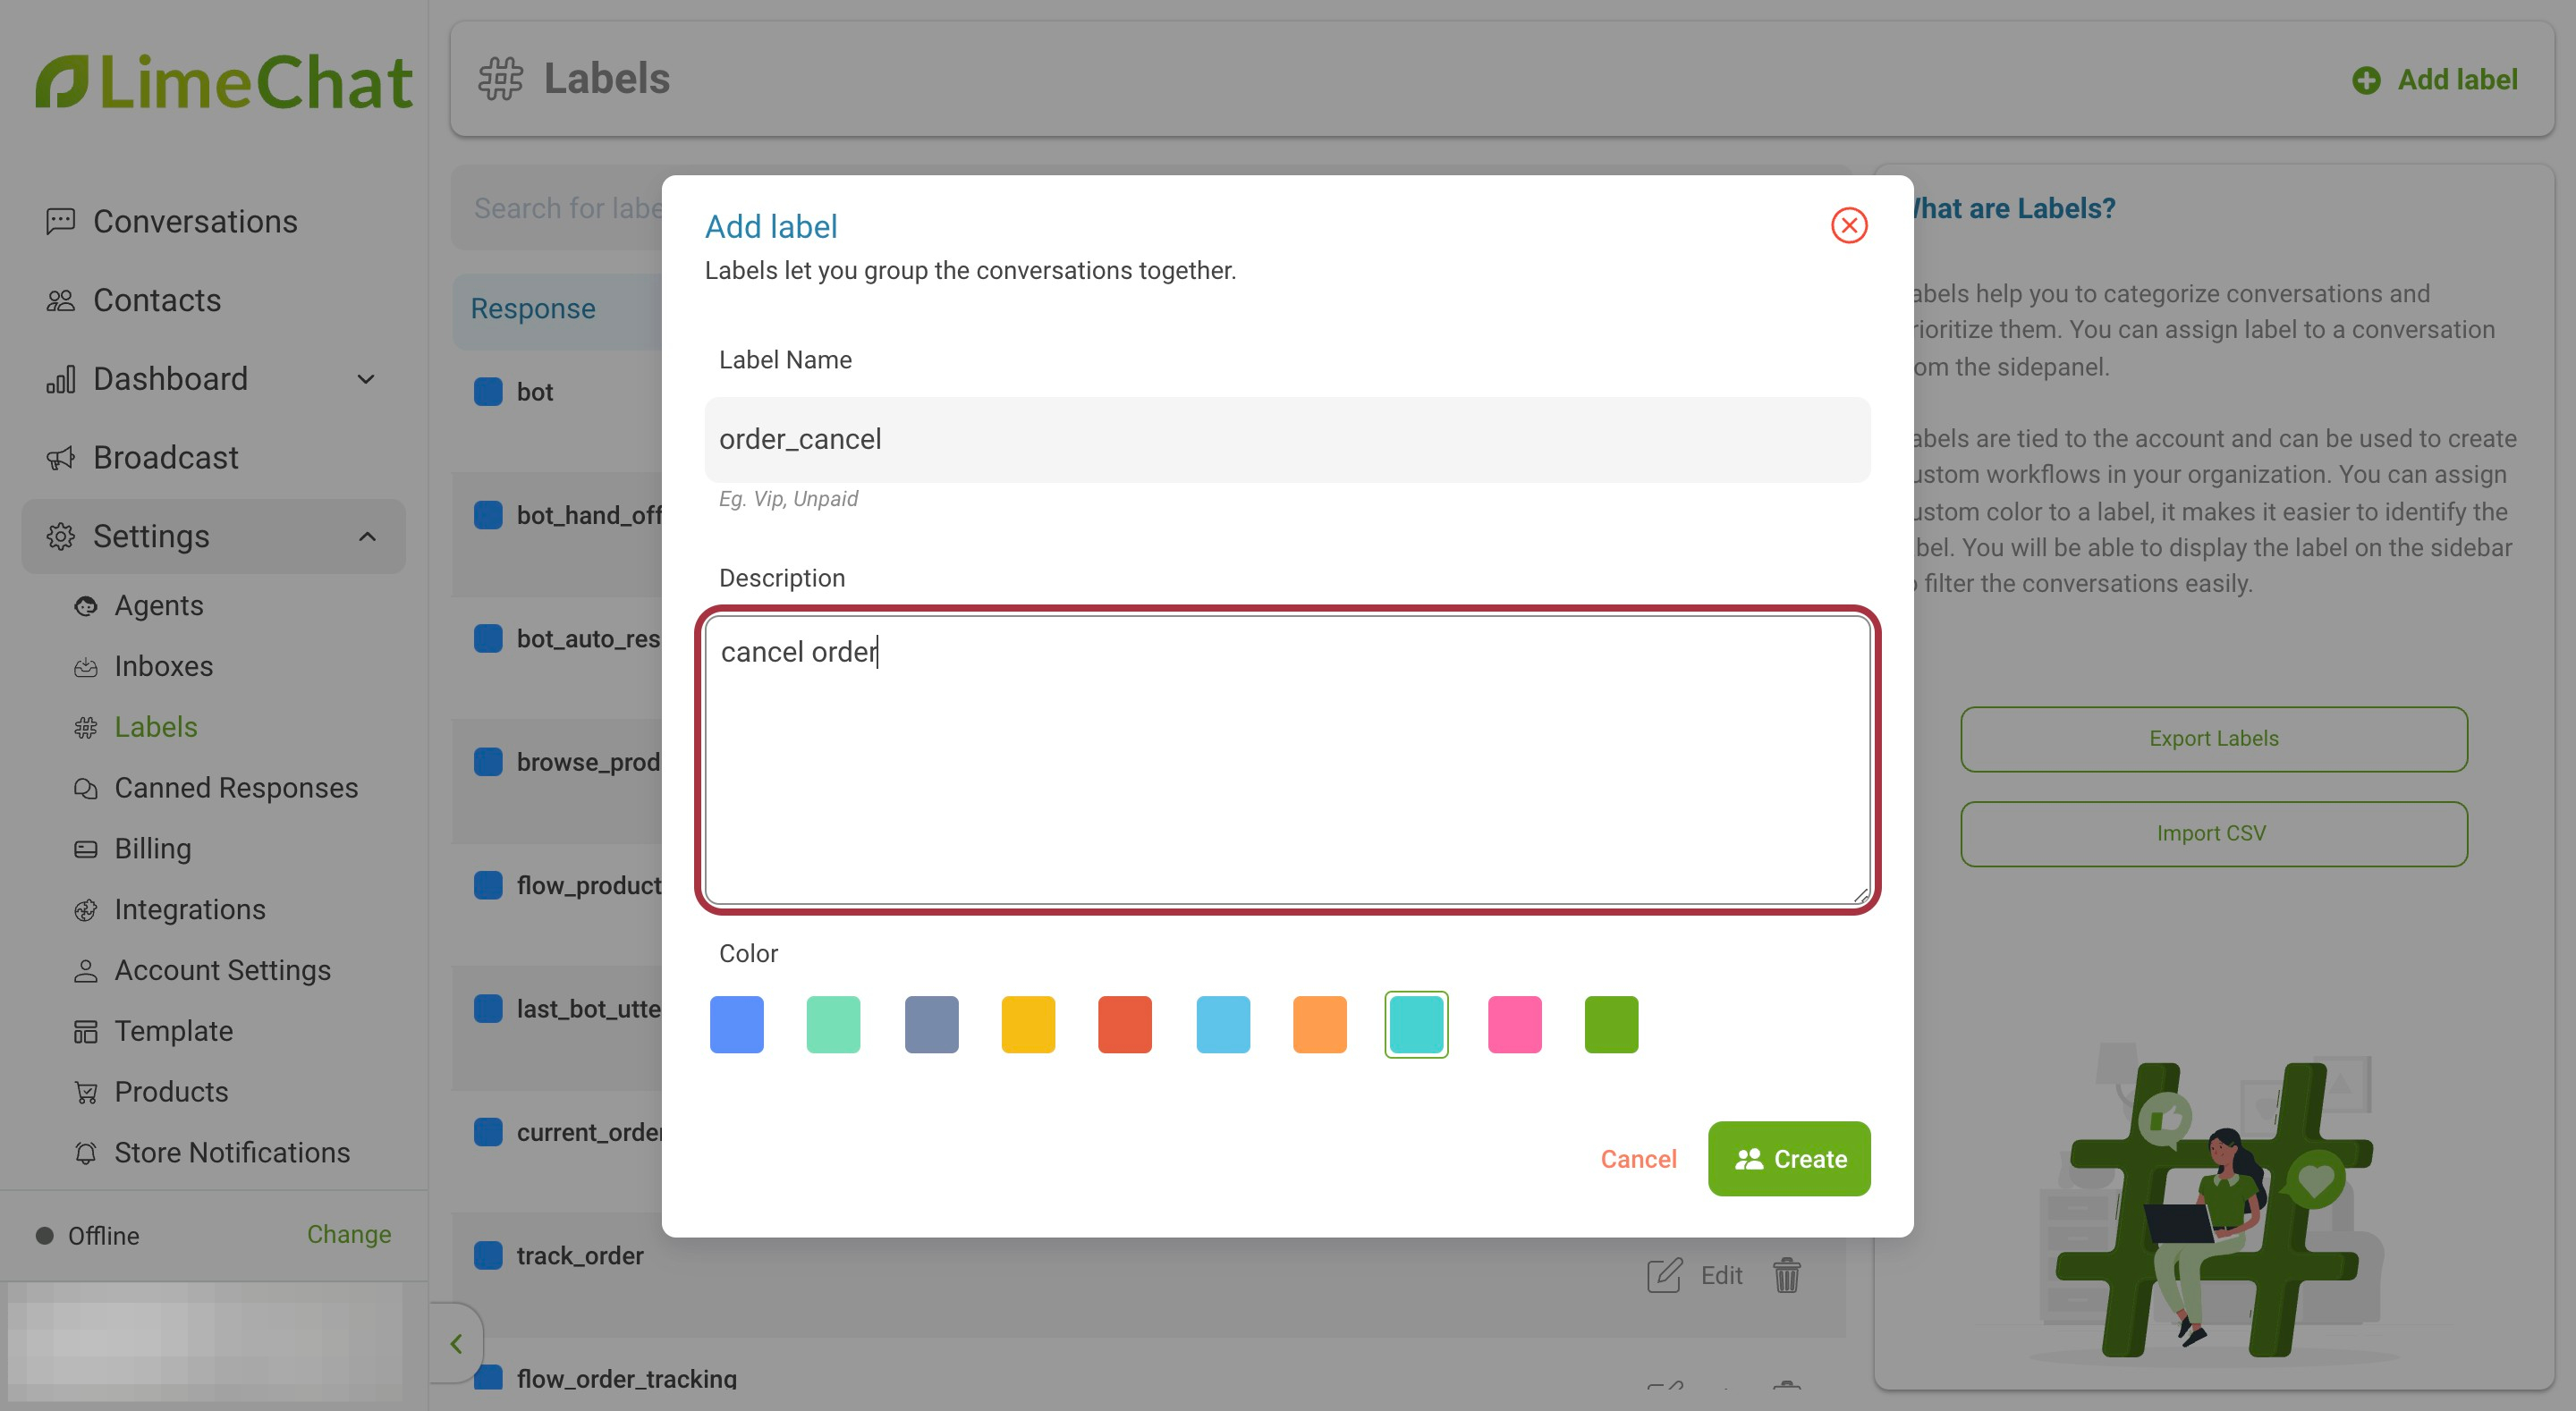
- Assign your label a Color.
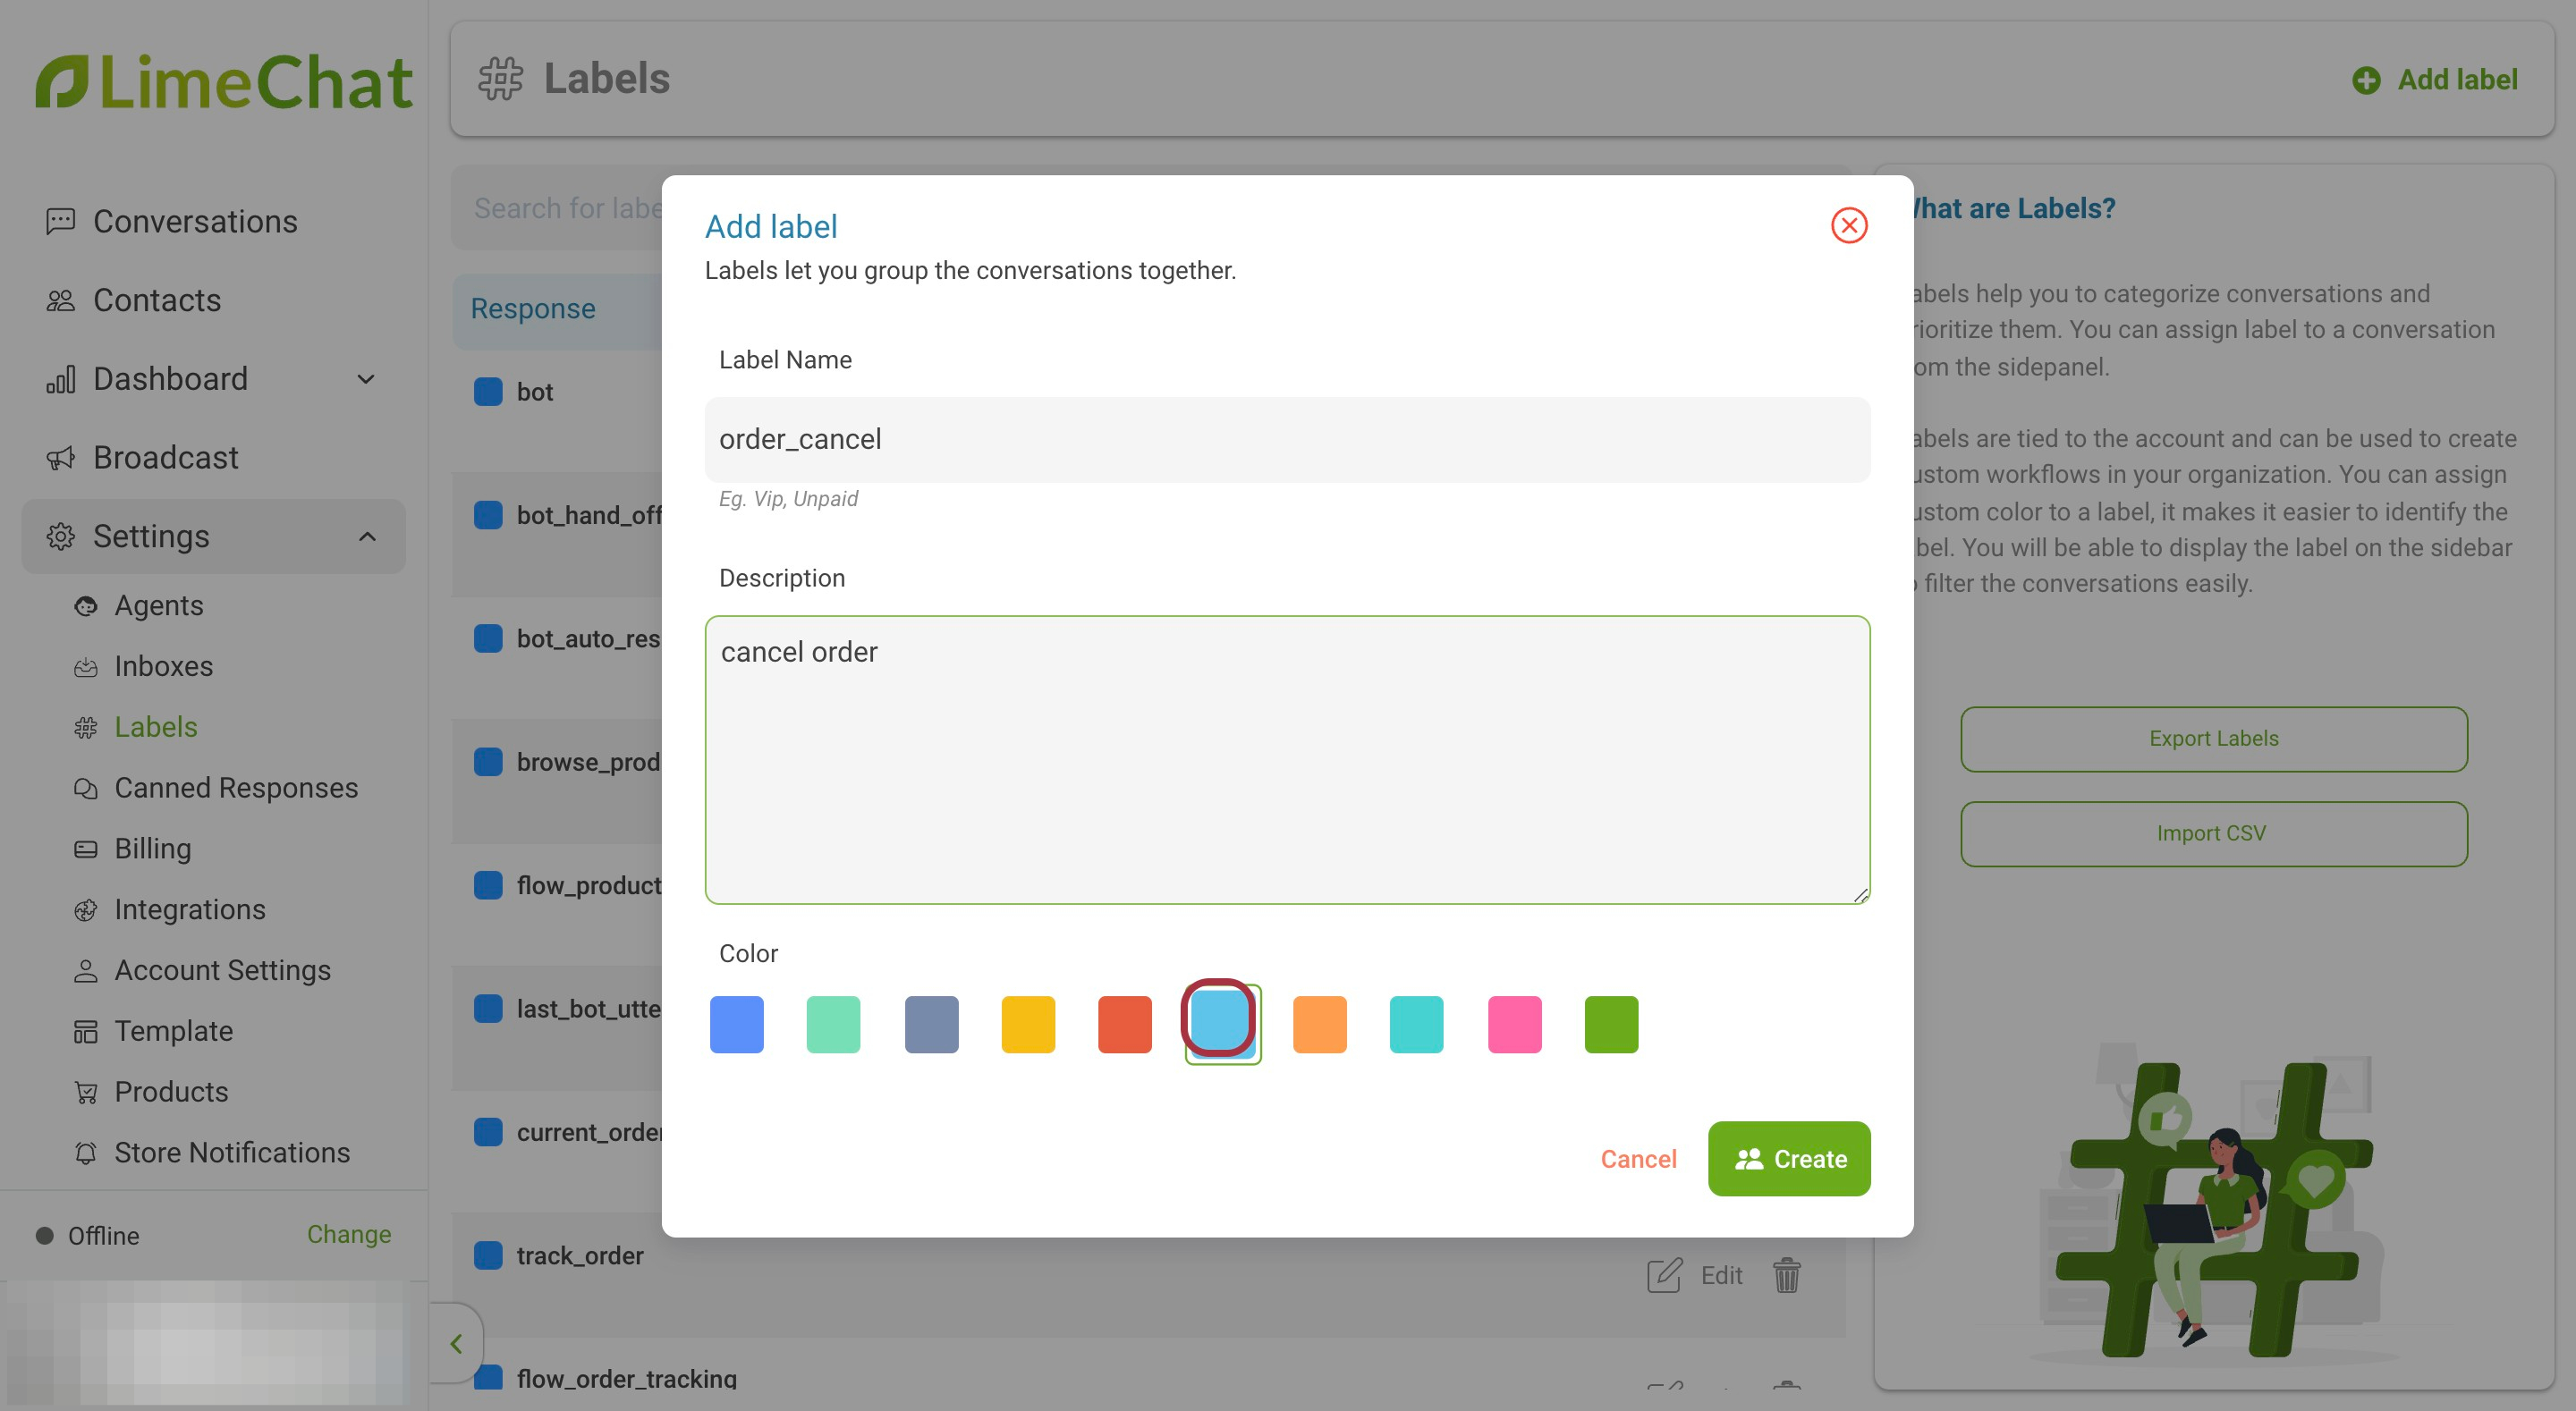
- Click on Create.

Note:
- While creating new labels, make sure there are no spaces between two letters and all the alphabets are in lowercase only.
How to add Labels to conversations?
Labels are added in two ways:
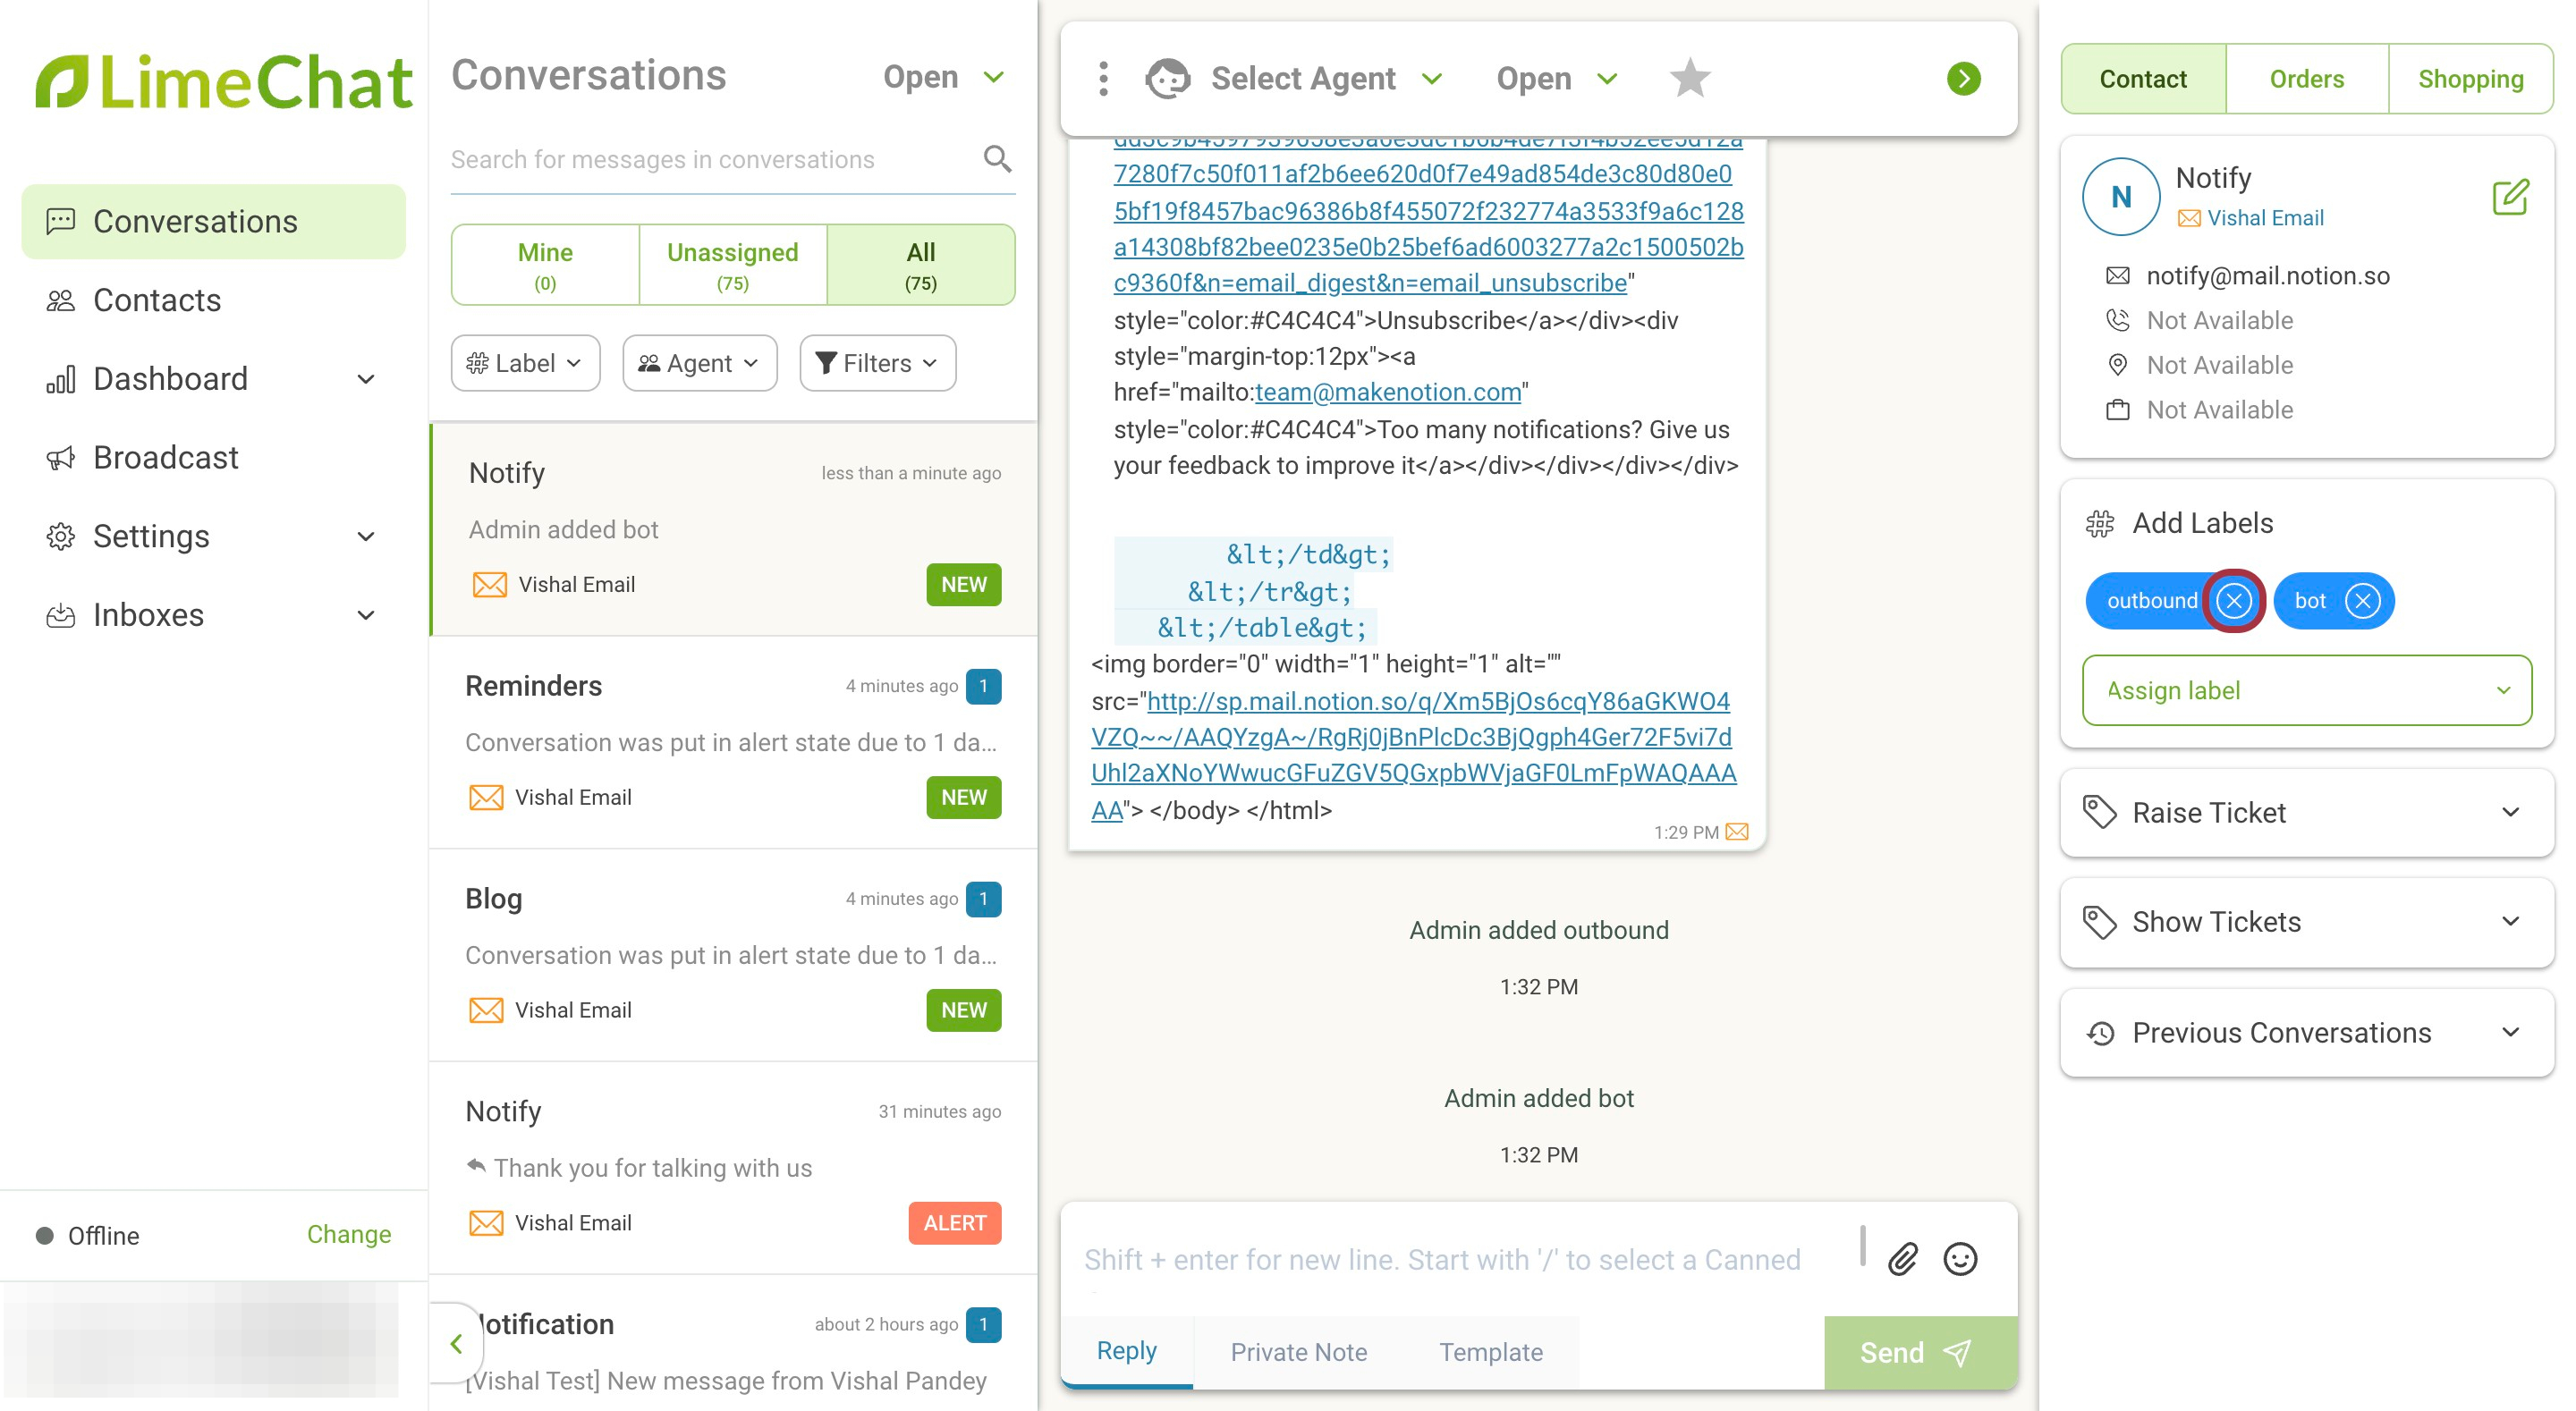
- Automatically (by the bot) — Labels are auto-assigned to all the conversations handled by the bot.
Note:
- These labels come from the backend and not from the Settings section. The labels can be removed by clicking on the cross icon against the respective labels. The names of these labels cannot be edited.
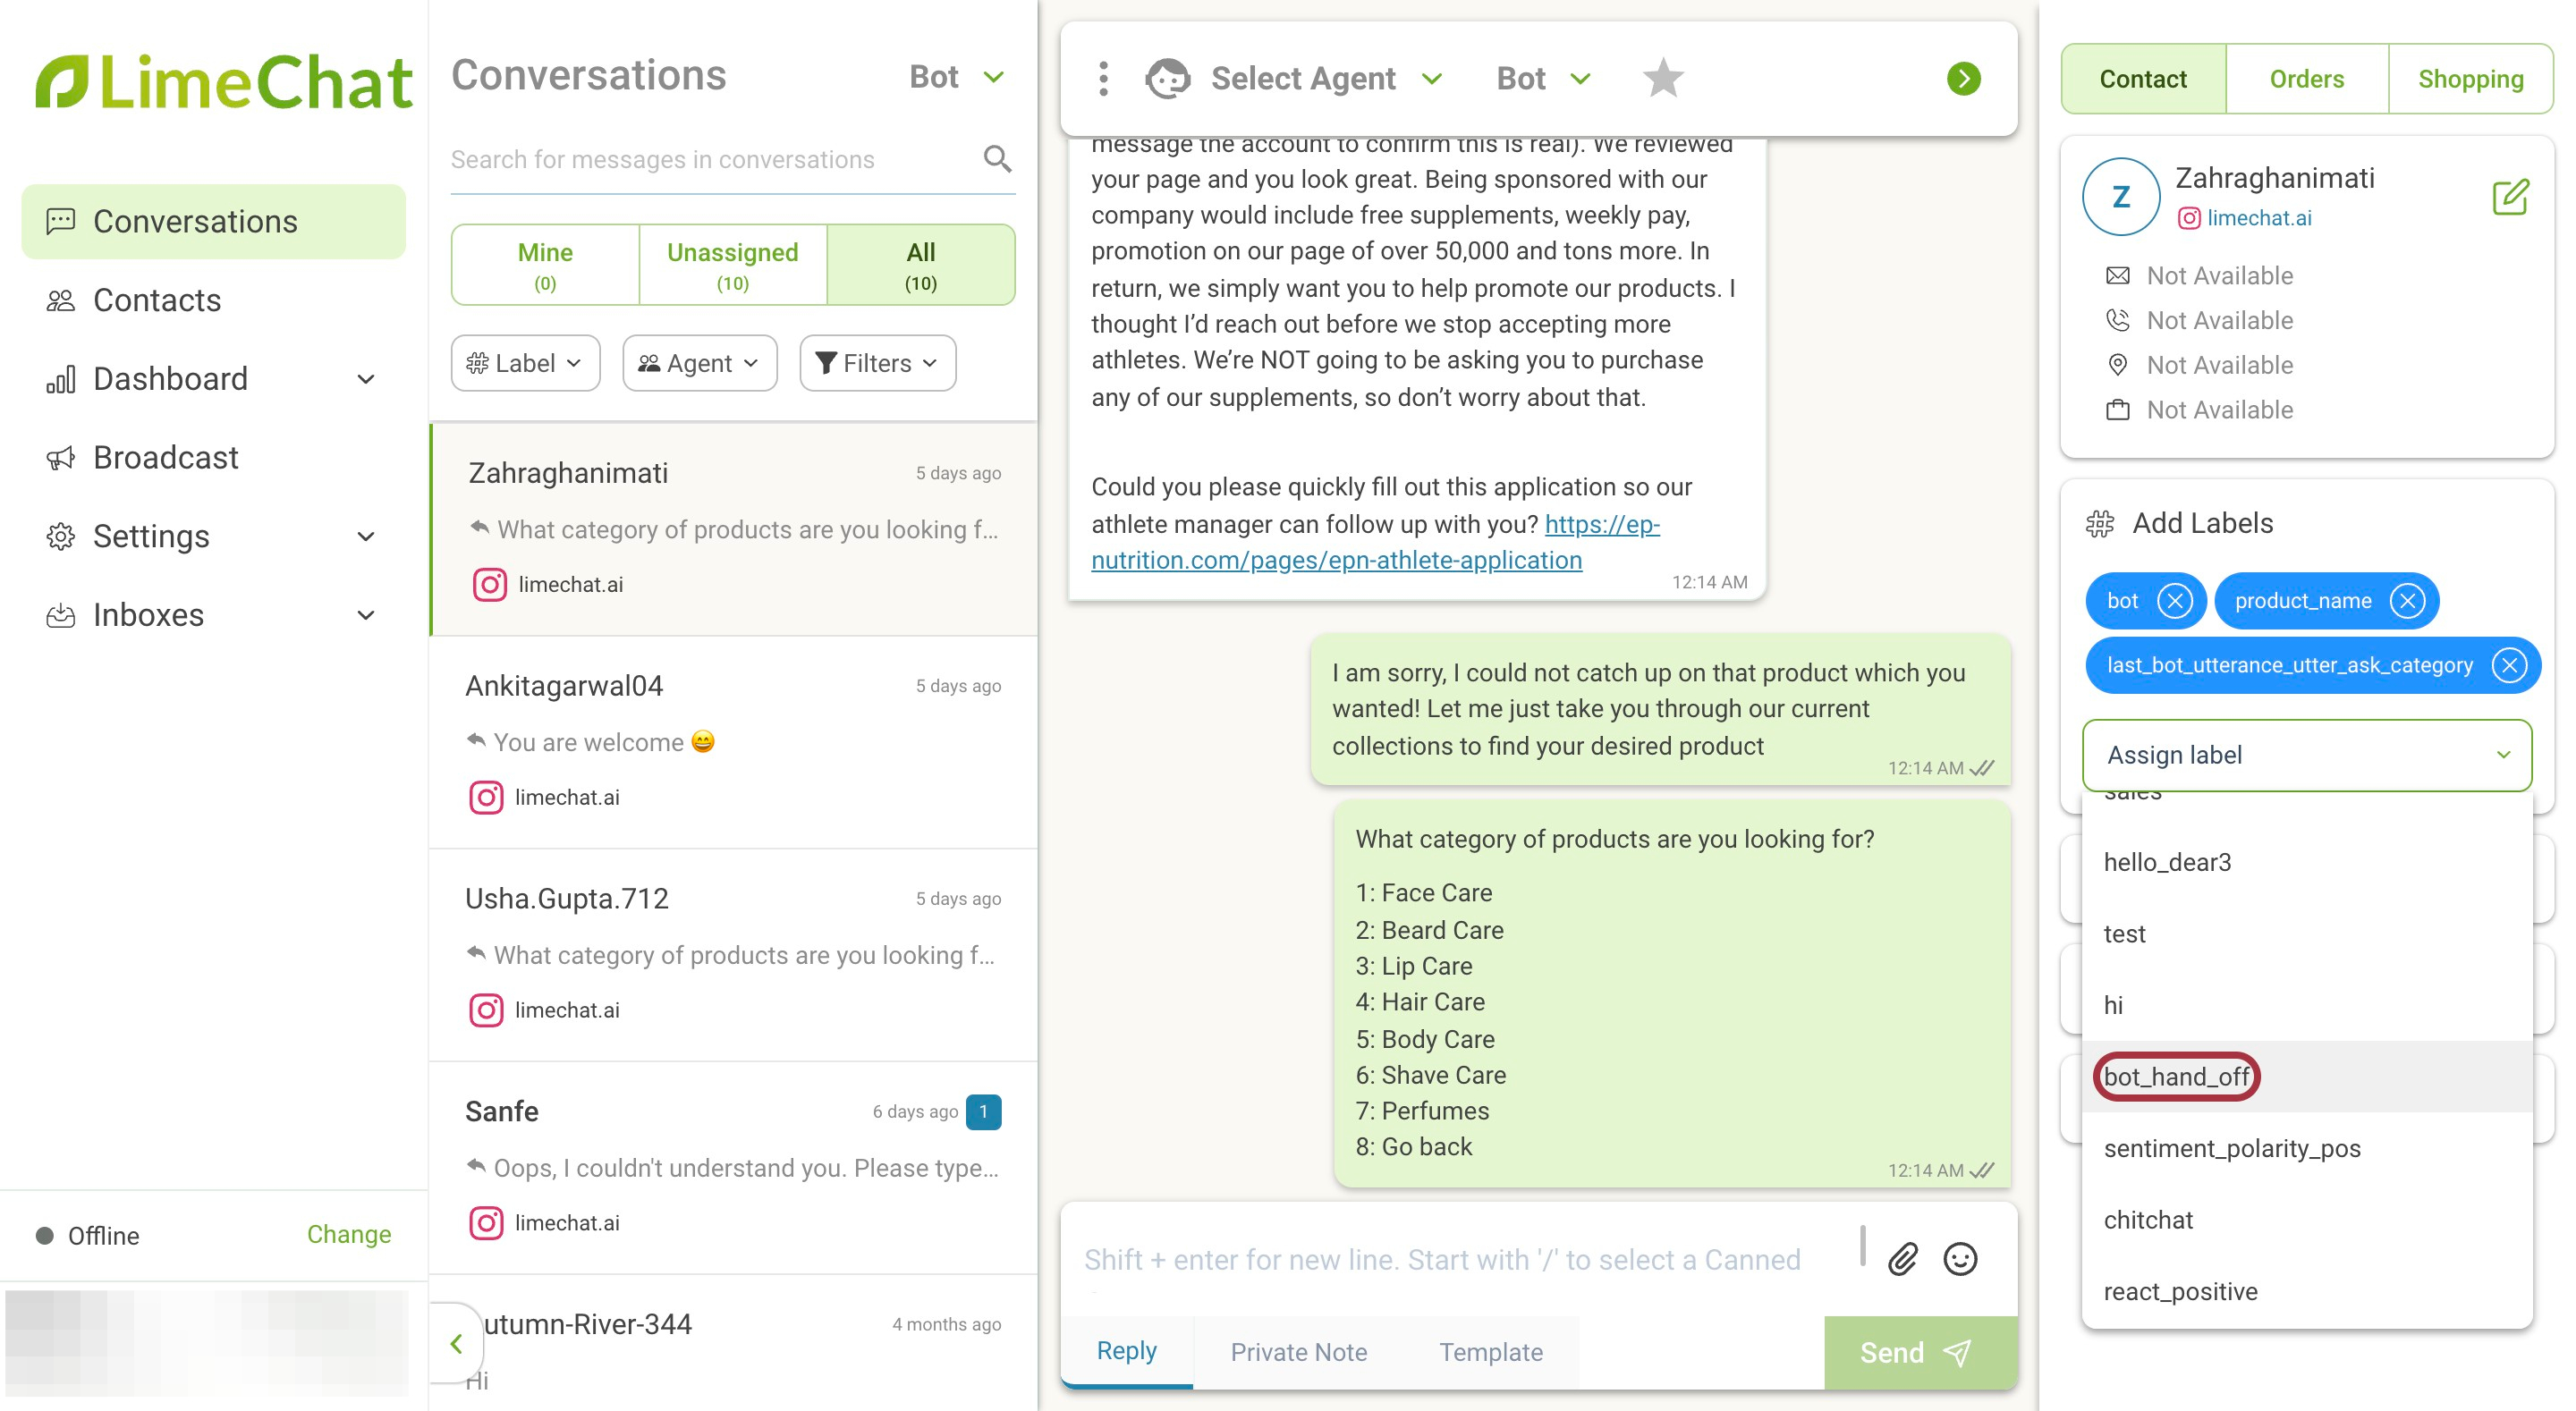
- Manually (by agents) — An agent can easily assign labels to any conversation by following the below steps:
Steps:
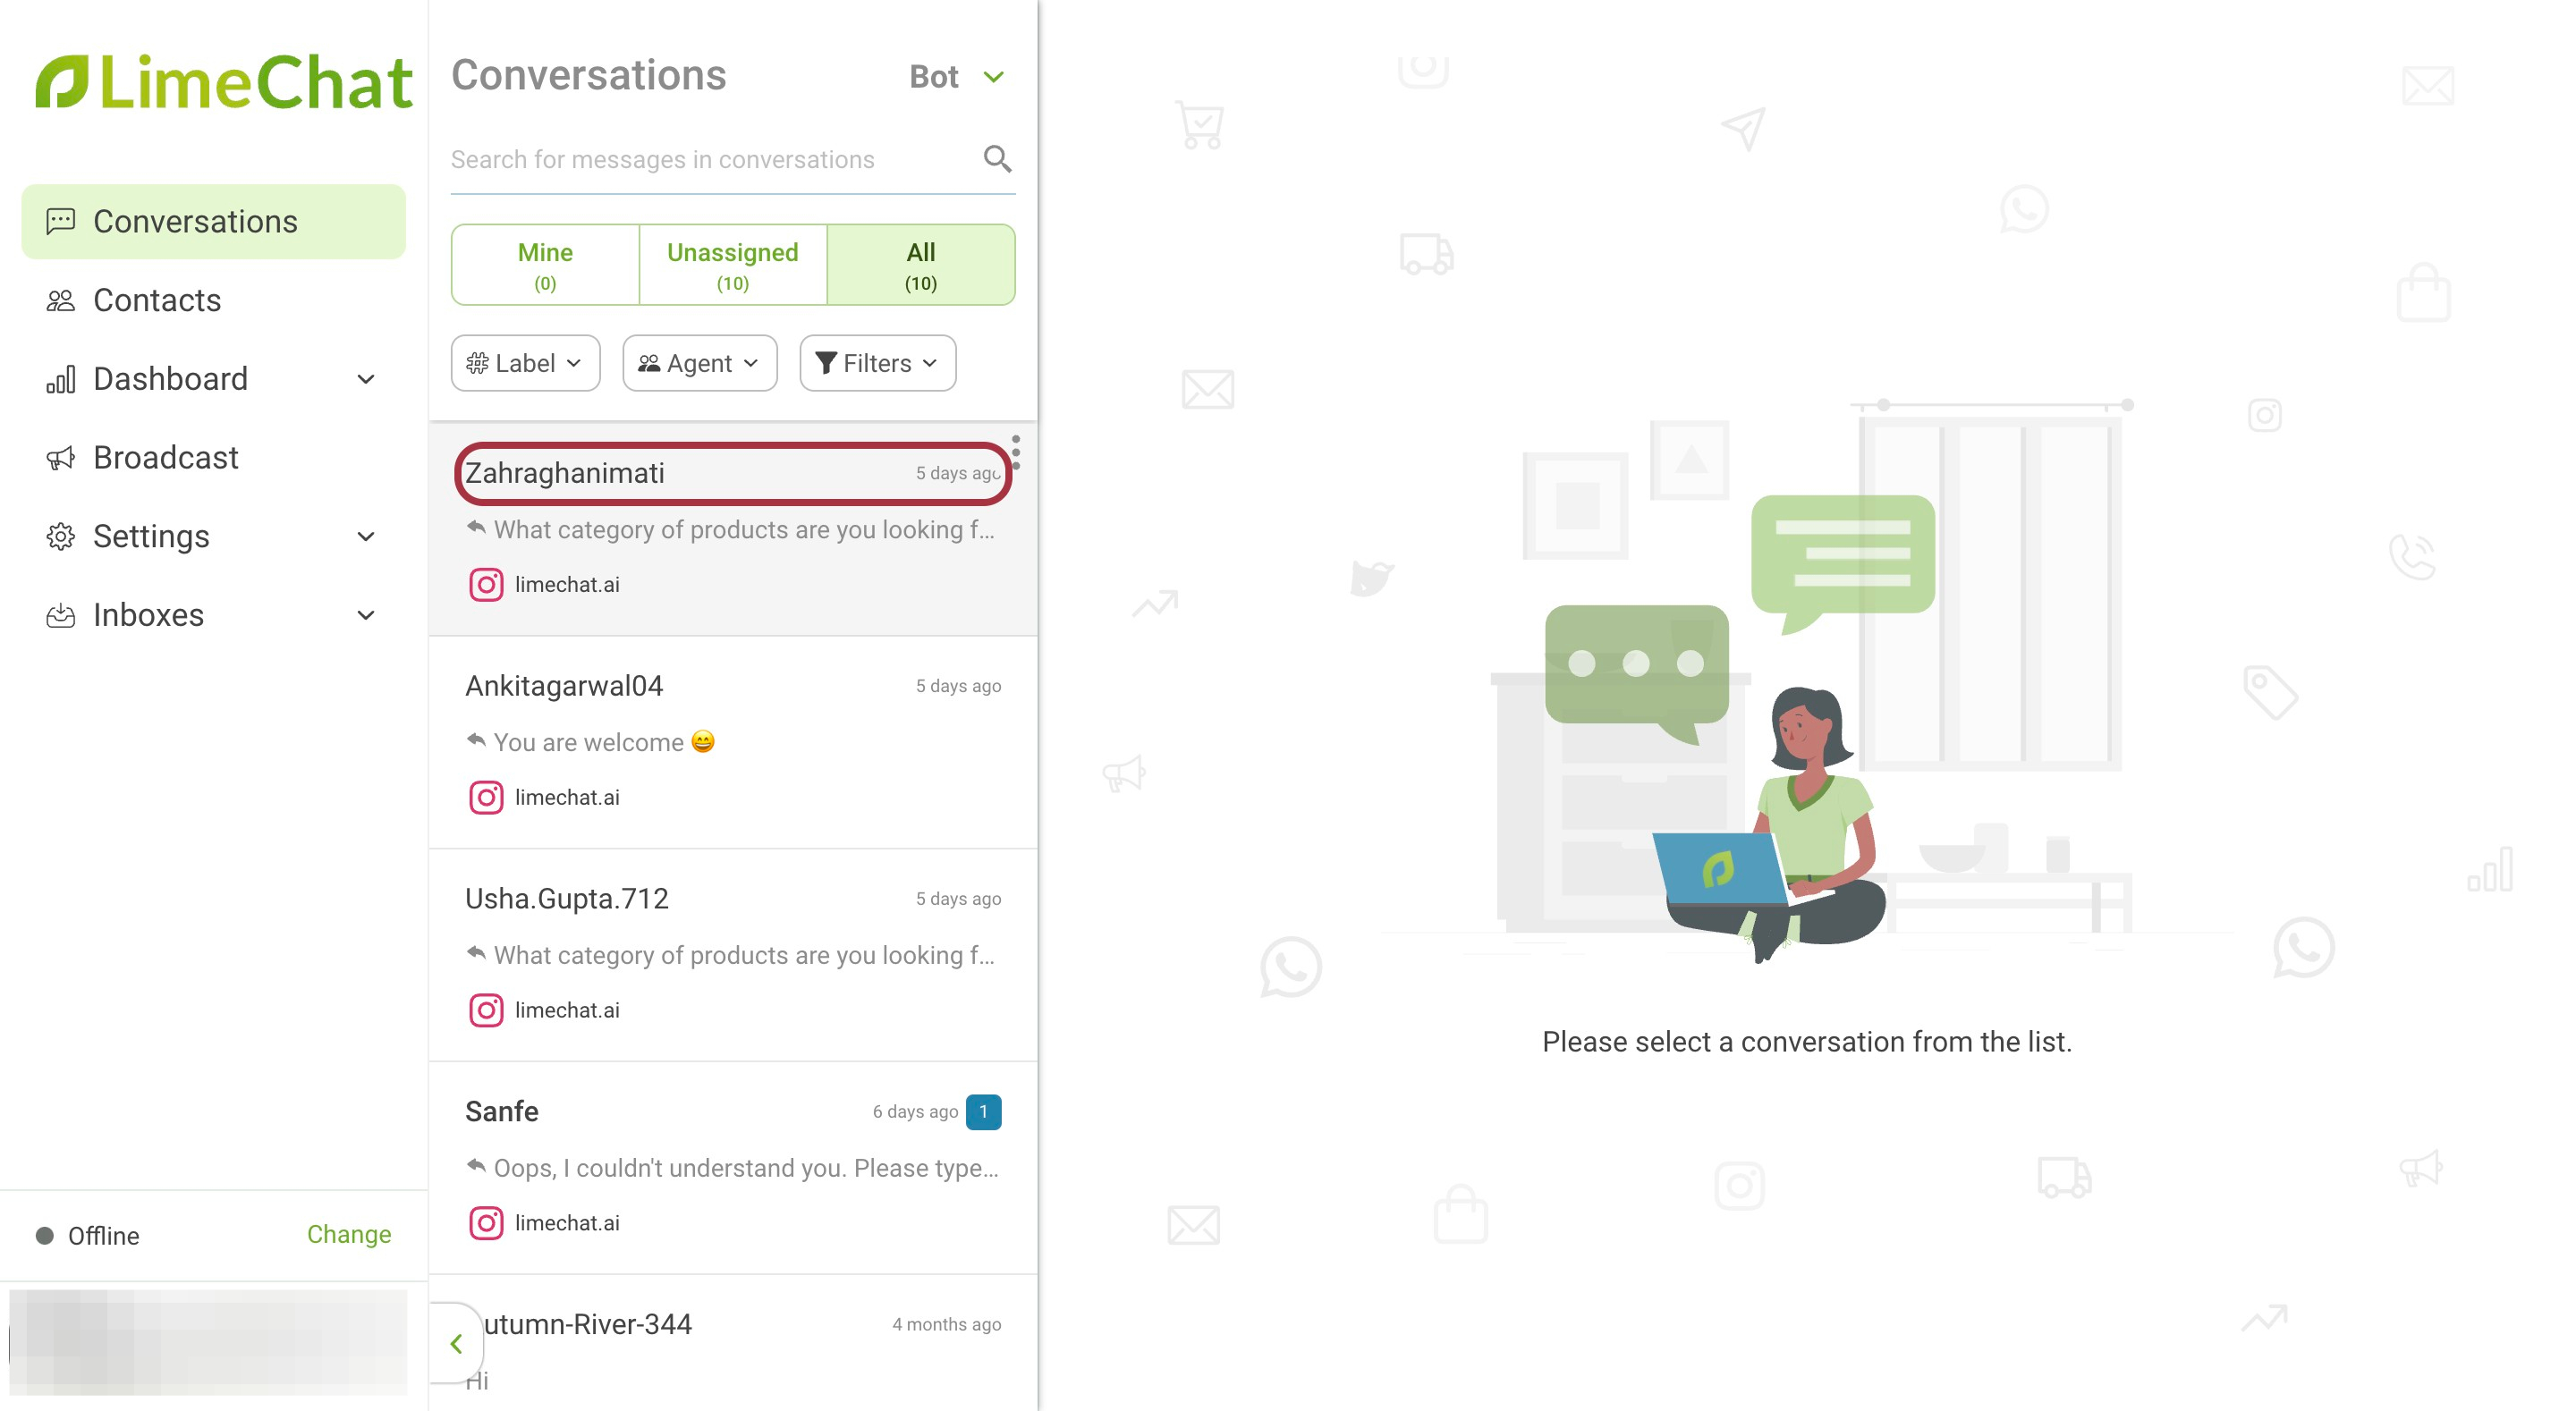
- Click on Conversations.
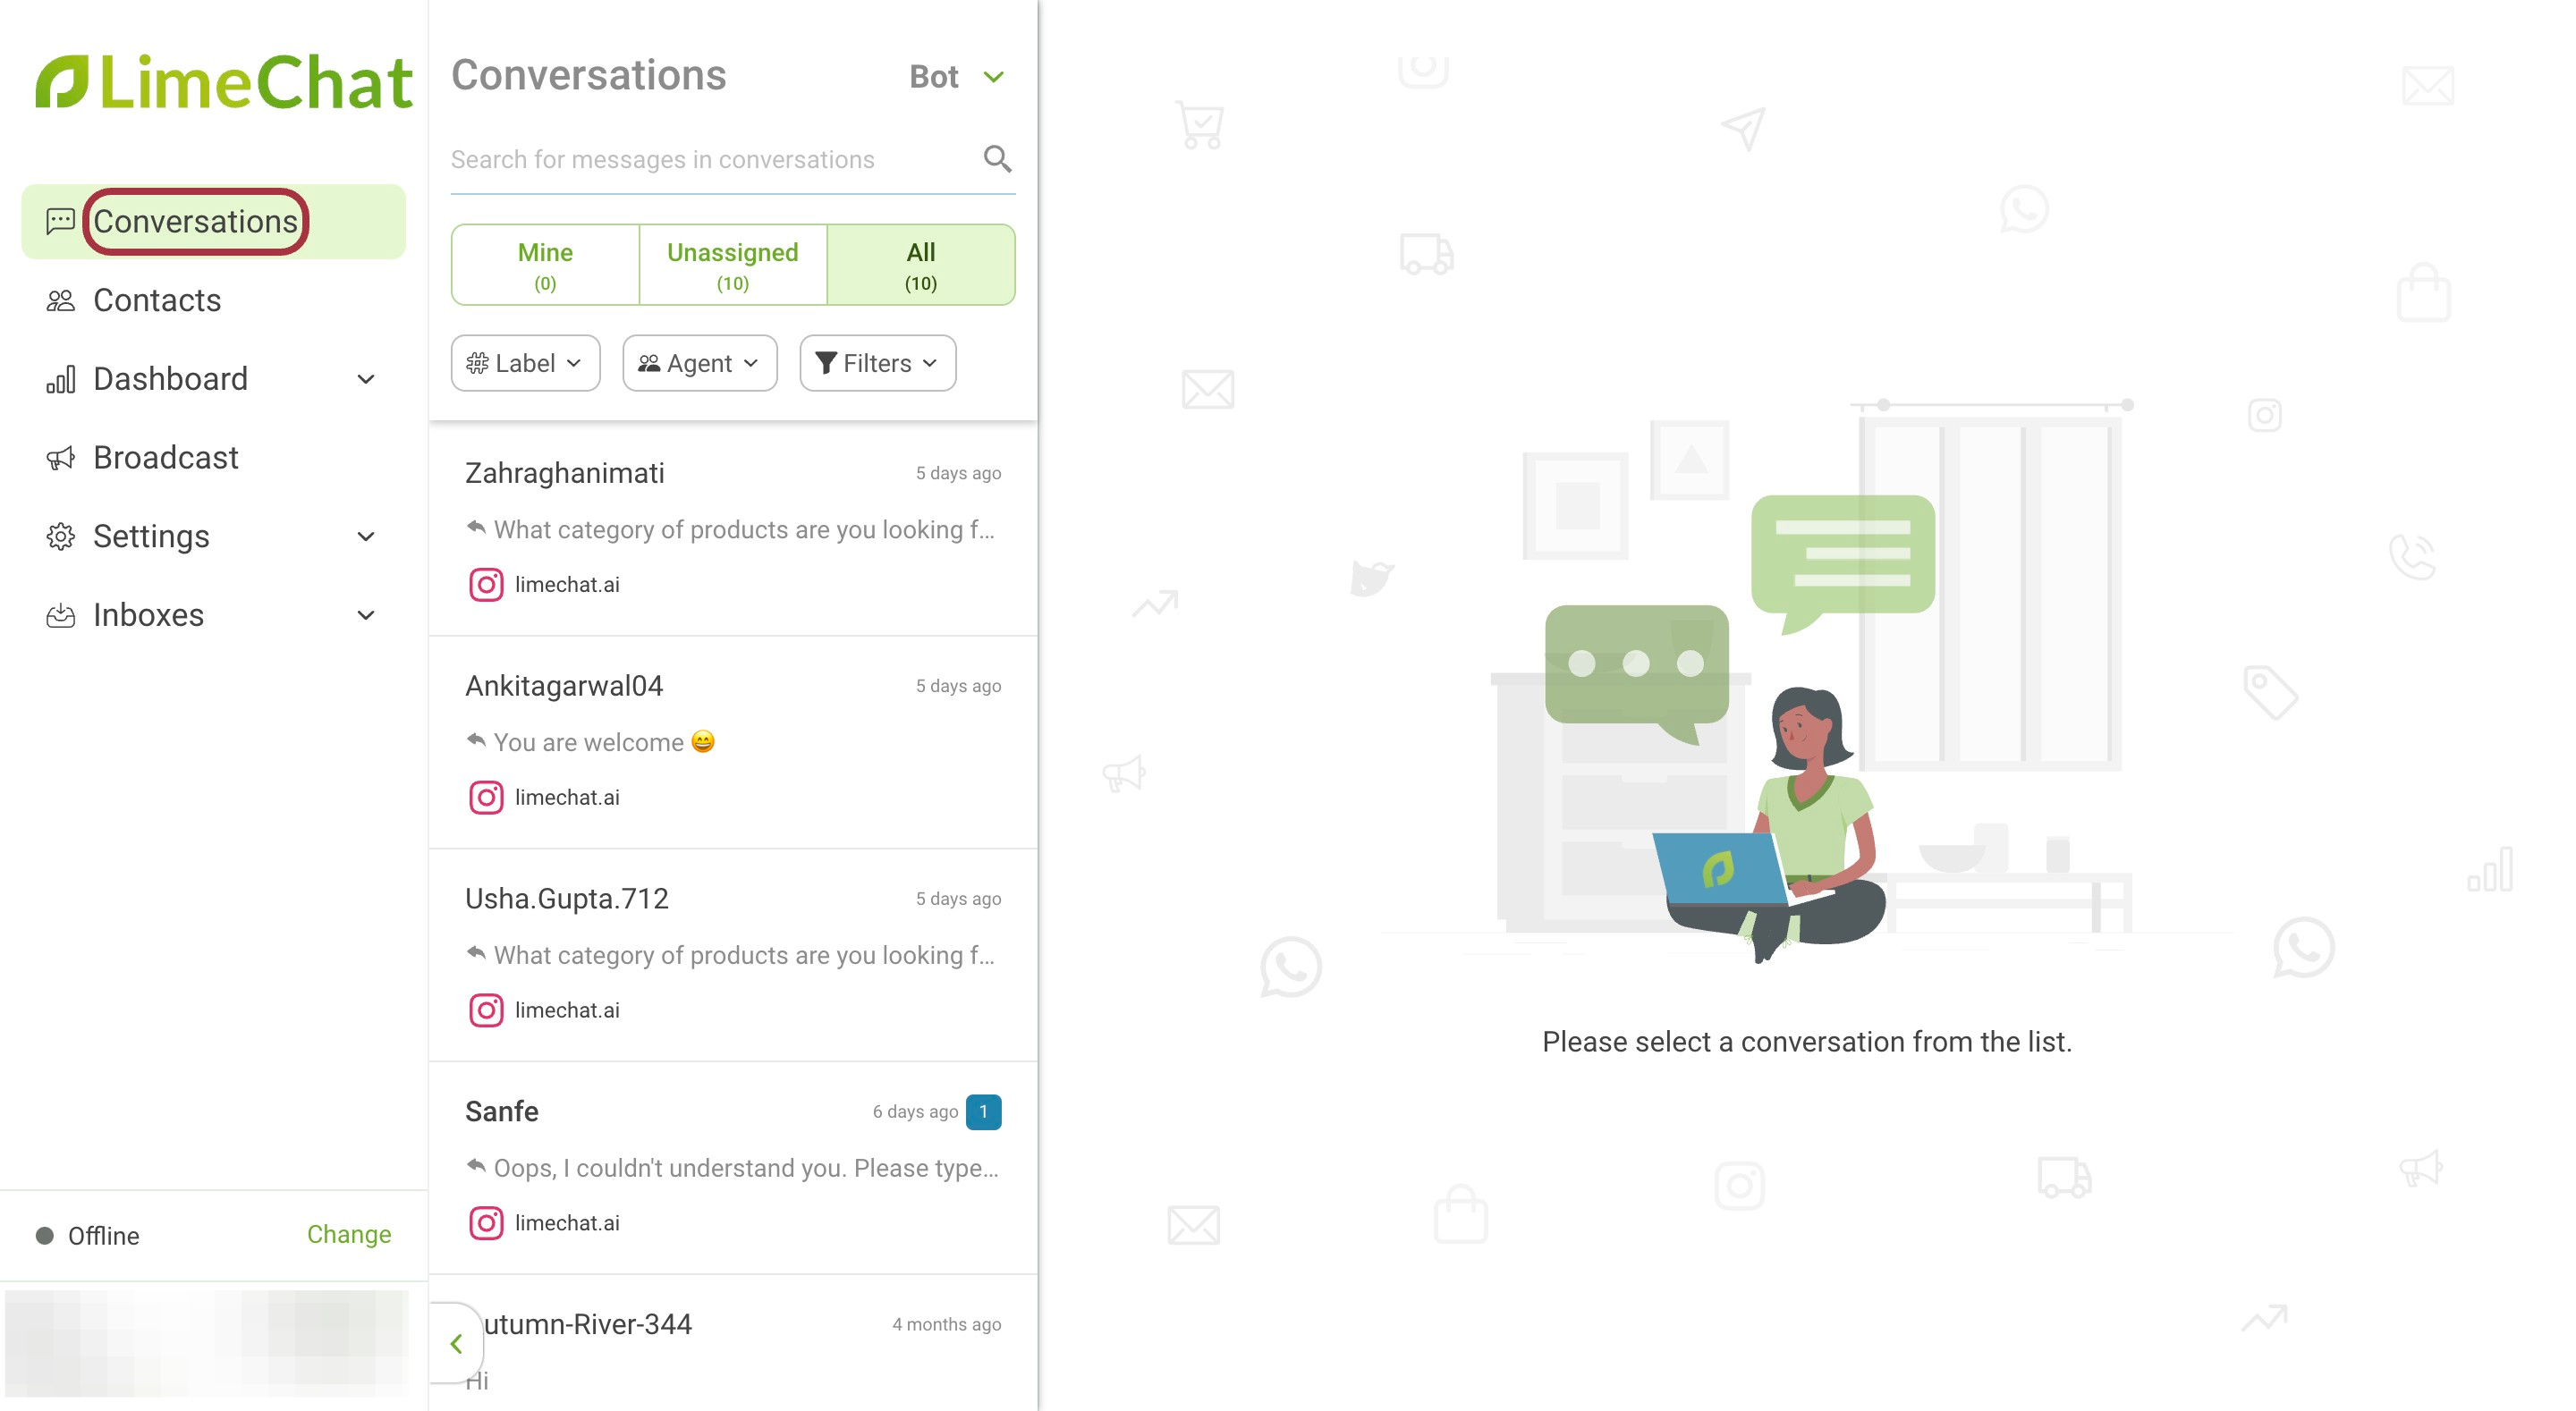
- Click on the conversation for which label/s has/have to be assigned.
- Click on Assign label in the right panel.
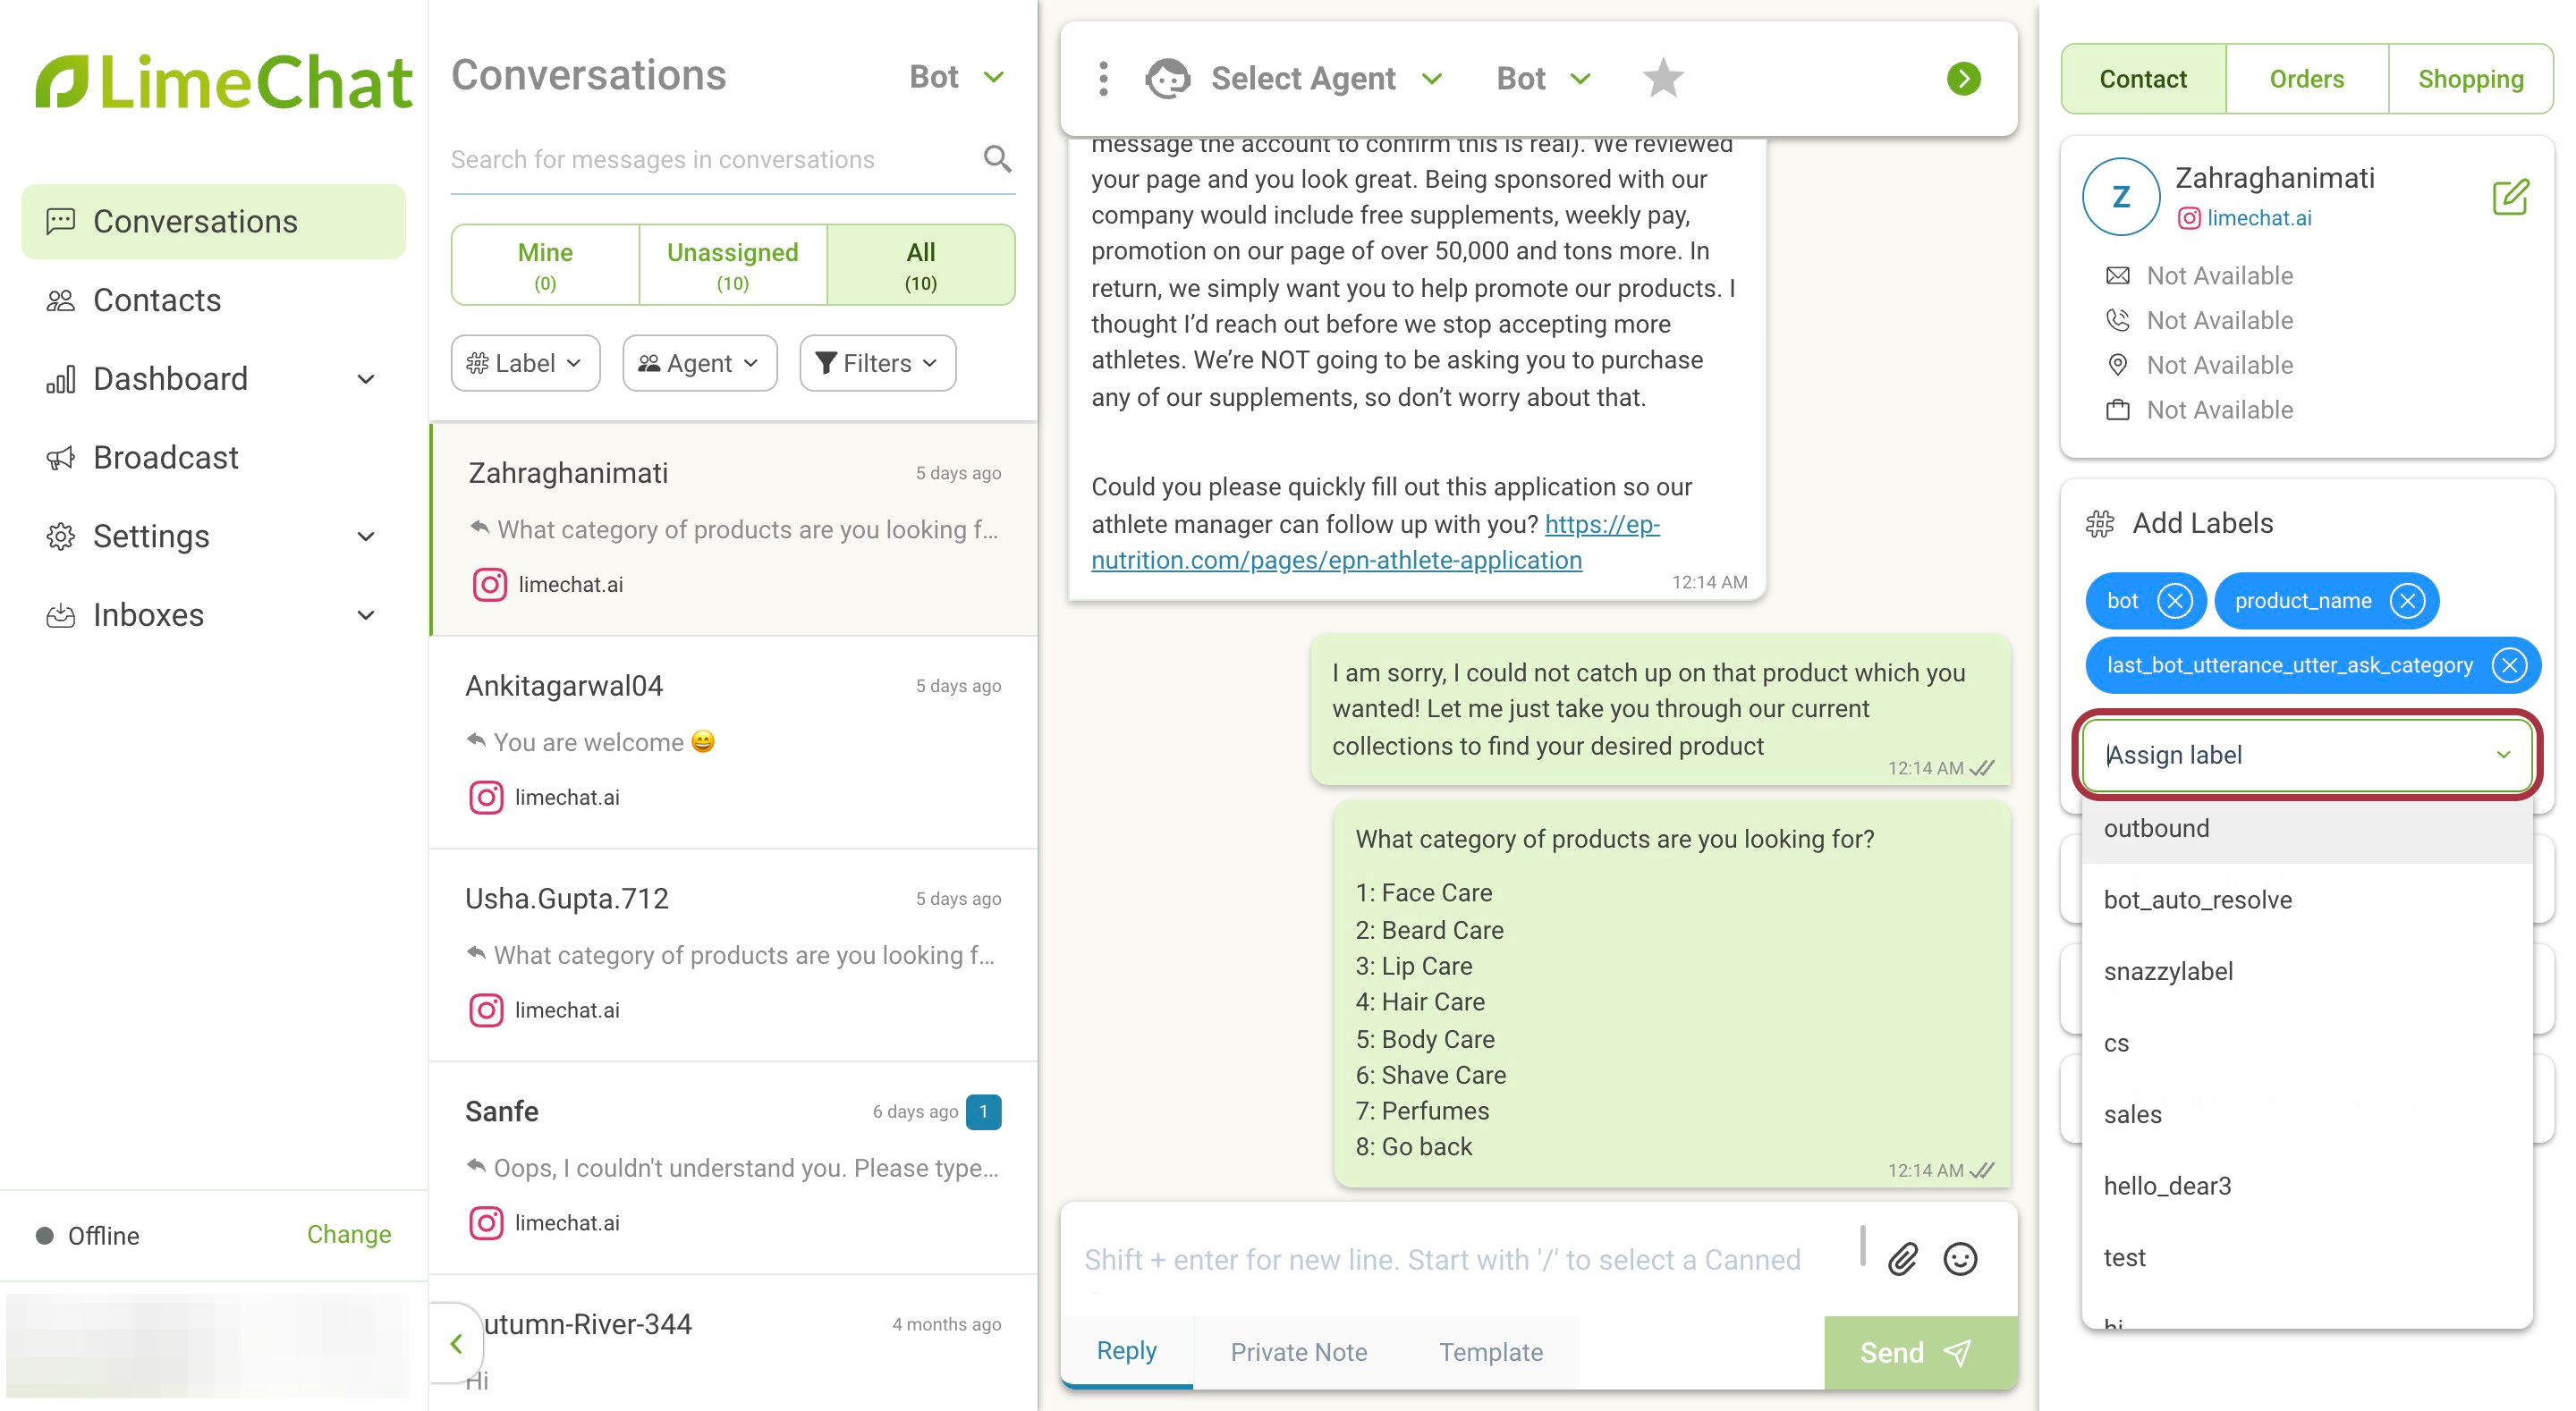
- Choose required label/s from the dropdown.
Note:
- While assigning labels to conversations, make sure the relevant labels are only assigned. For example, if the conversation is about order_cancellation, then add labels pertaining to order cancellation only.
- To remove the labels assigned by bot/agent, click on the cross icon against the respective label.