Outbound Messaging via WebEngage using LimeChat API
Overview
WebEngage allows sending WhatsApp campaign messages via webhooks. If you want to send a WhatsApp campaign to a segment/journey created on WebEngage, you just need to call LimeChat’s API and set up the webhook!
Steps to create a webhook campaign on WebEngage
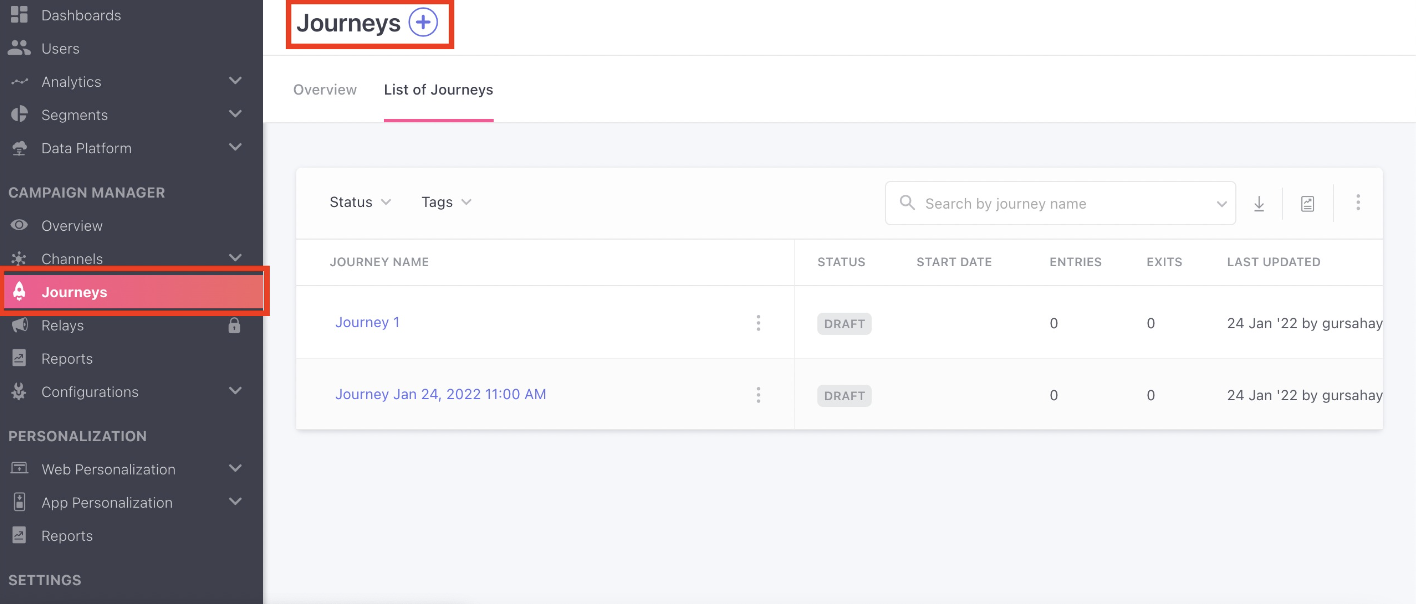
Create a journey in WebEngage.
Drag and drop Trigger condition from the left panel to the journey builder area. Configure Trigger condition.
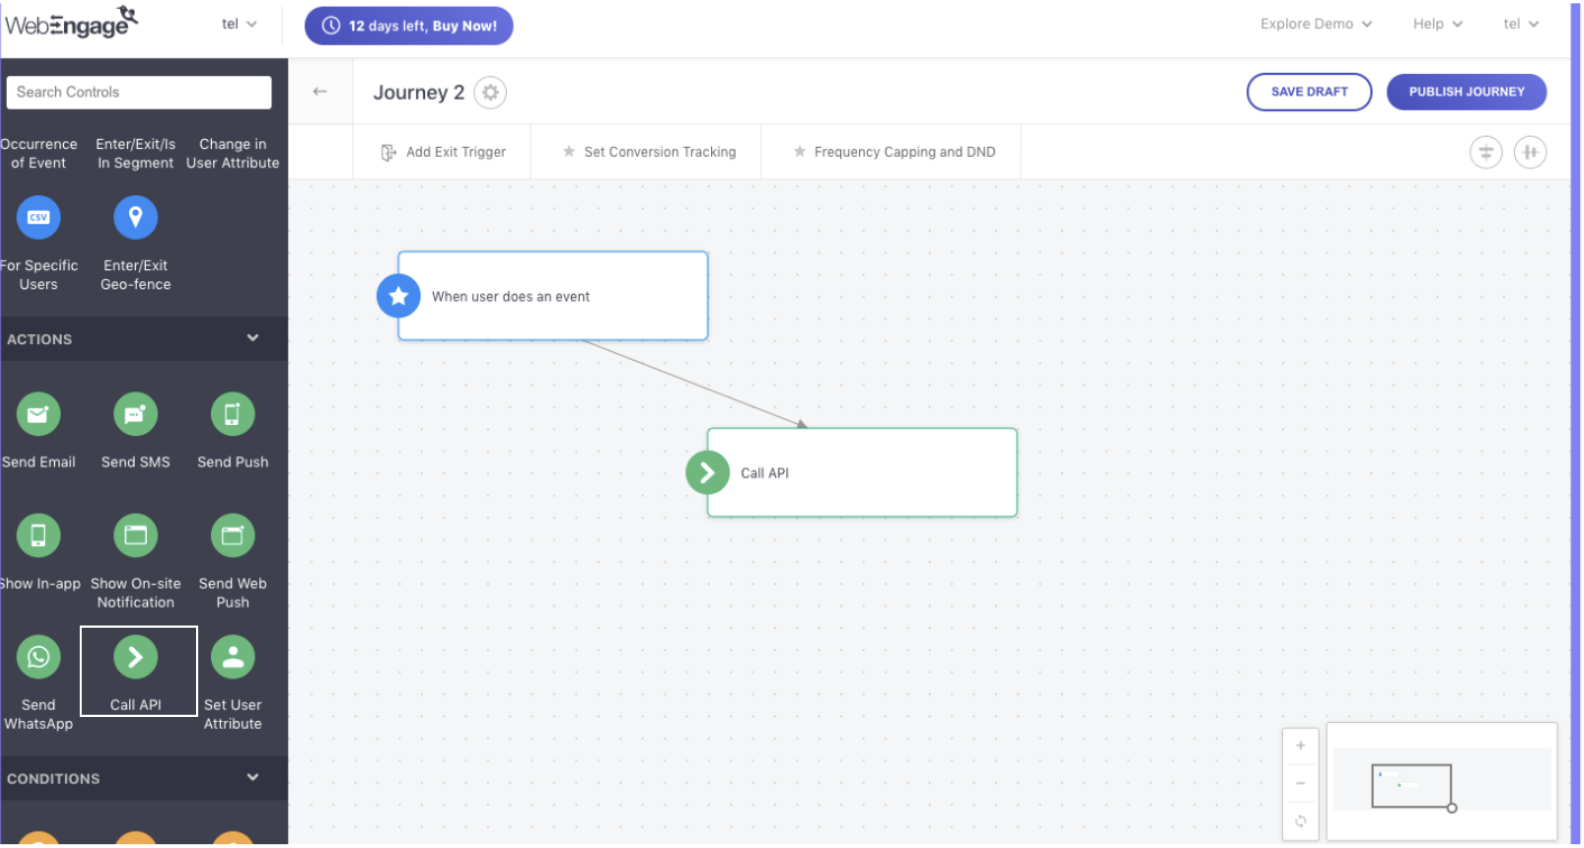
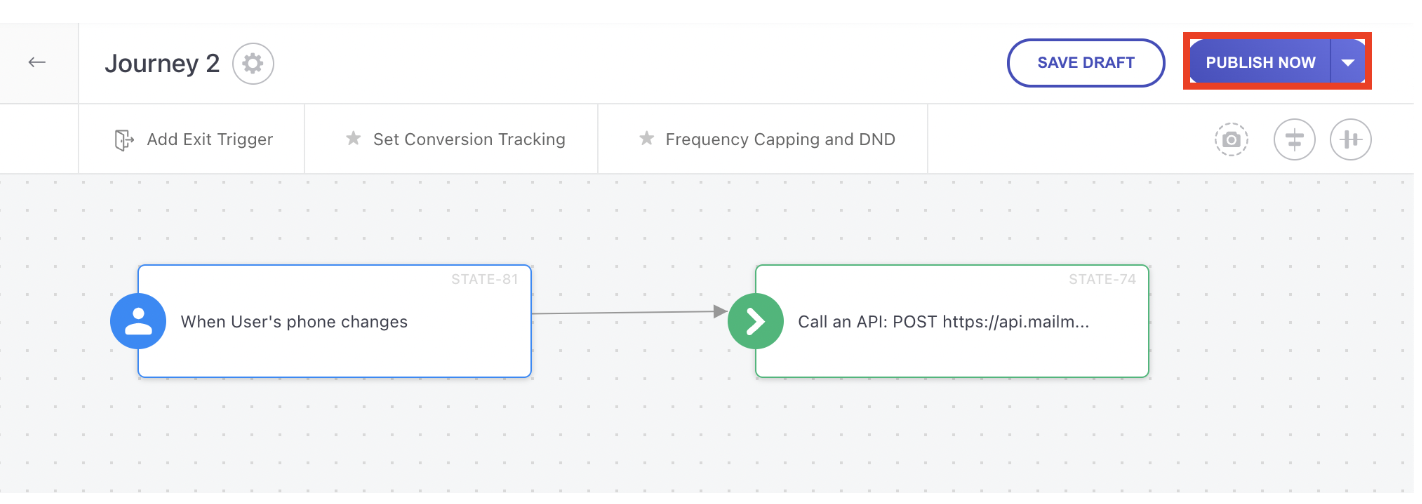
Create the desired journey. From the actions menu on the left side, select Call API. Drag and drop it in the journey builder area. Connect the respective actions and triggers with arrows. Click Call API to set up the webhook.
If you have already added the LimeChat webhook, then select it from the dropdown. Otherwise, you have to set up a new webhook. (Steps to add new webhook are described in the last section.)
After mapping, click on Continue. Test your webhook.
Click on the green strip to call the API.
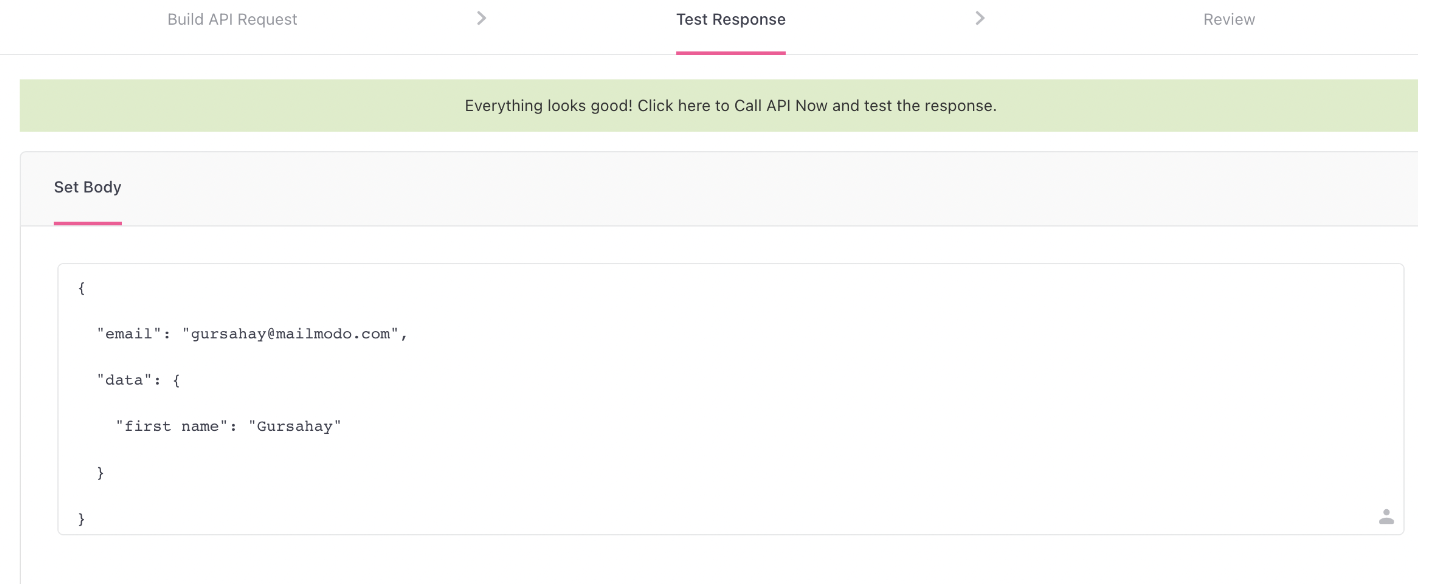
You should receive 200 success code. Upon successful testing, save the webhook.
Publish the journey.
Set Up a new Webhook in WebEngage Dashboard
For setting up API call, follow the below mentioned steps.
Click on Call API.
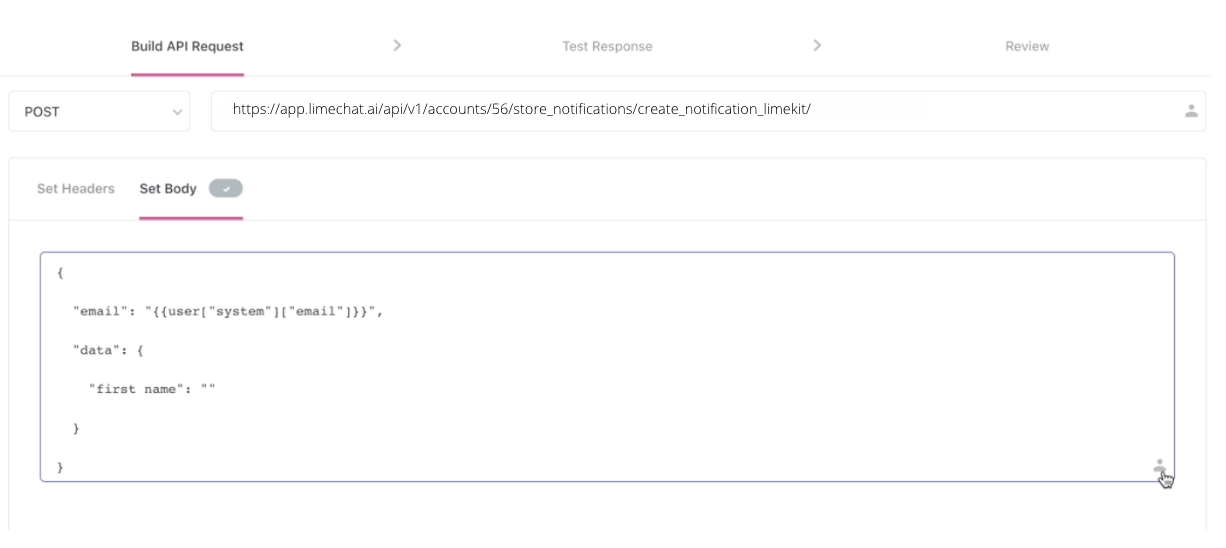
Under Build API Request tab, select request type as POST.

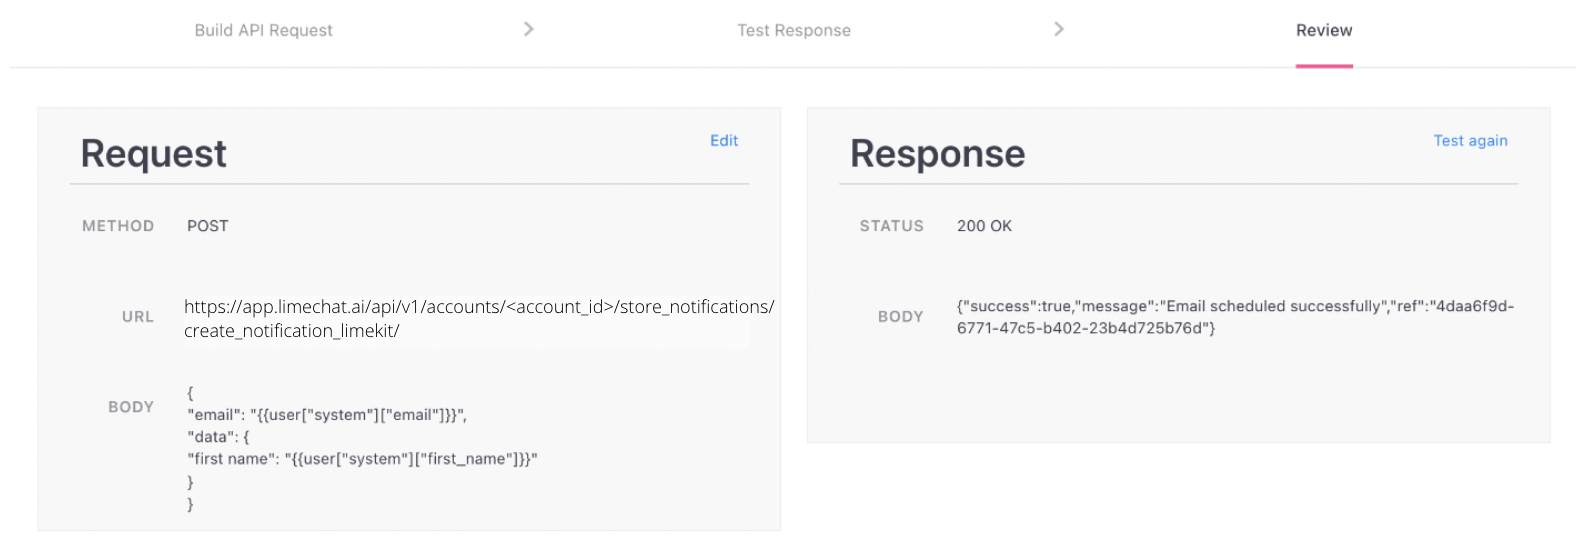
Enter Destination URL -https://app.limechat.ai/api/v1/accounts/`<account_id>`/store_notifications/create_notification_limekit/
info
💡 Account_id, you can find it on the Limechat Dashboard. Refer to the screenshot below.(Please make sure to change the account_id.)

- Click on Set Header to add header parameters
👉 Under Header Parameter, you need to put an API access token
Key -
api_access_token
Value - The Access token you will get following the below steps.
How to get an Access token?
The API access token can be found on the LimeChat dashboard. Follow the below steps:
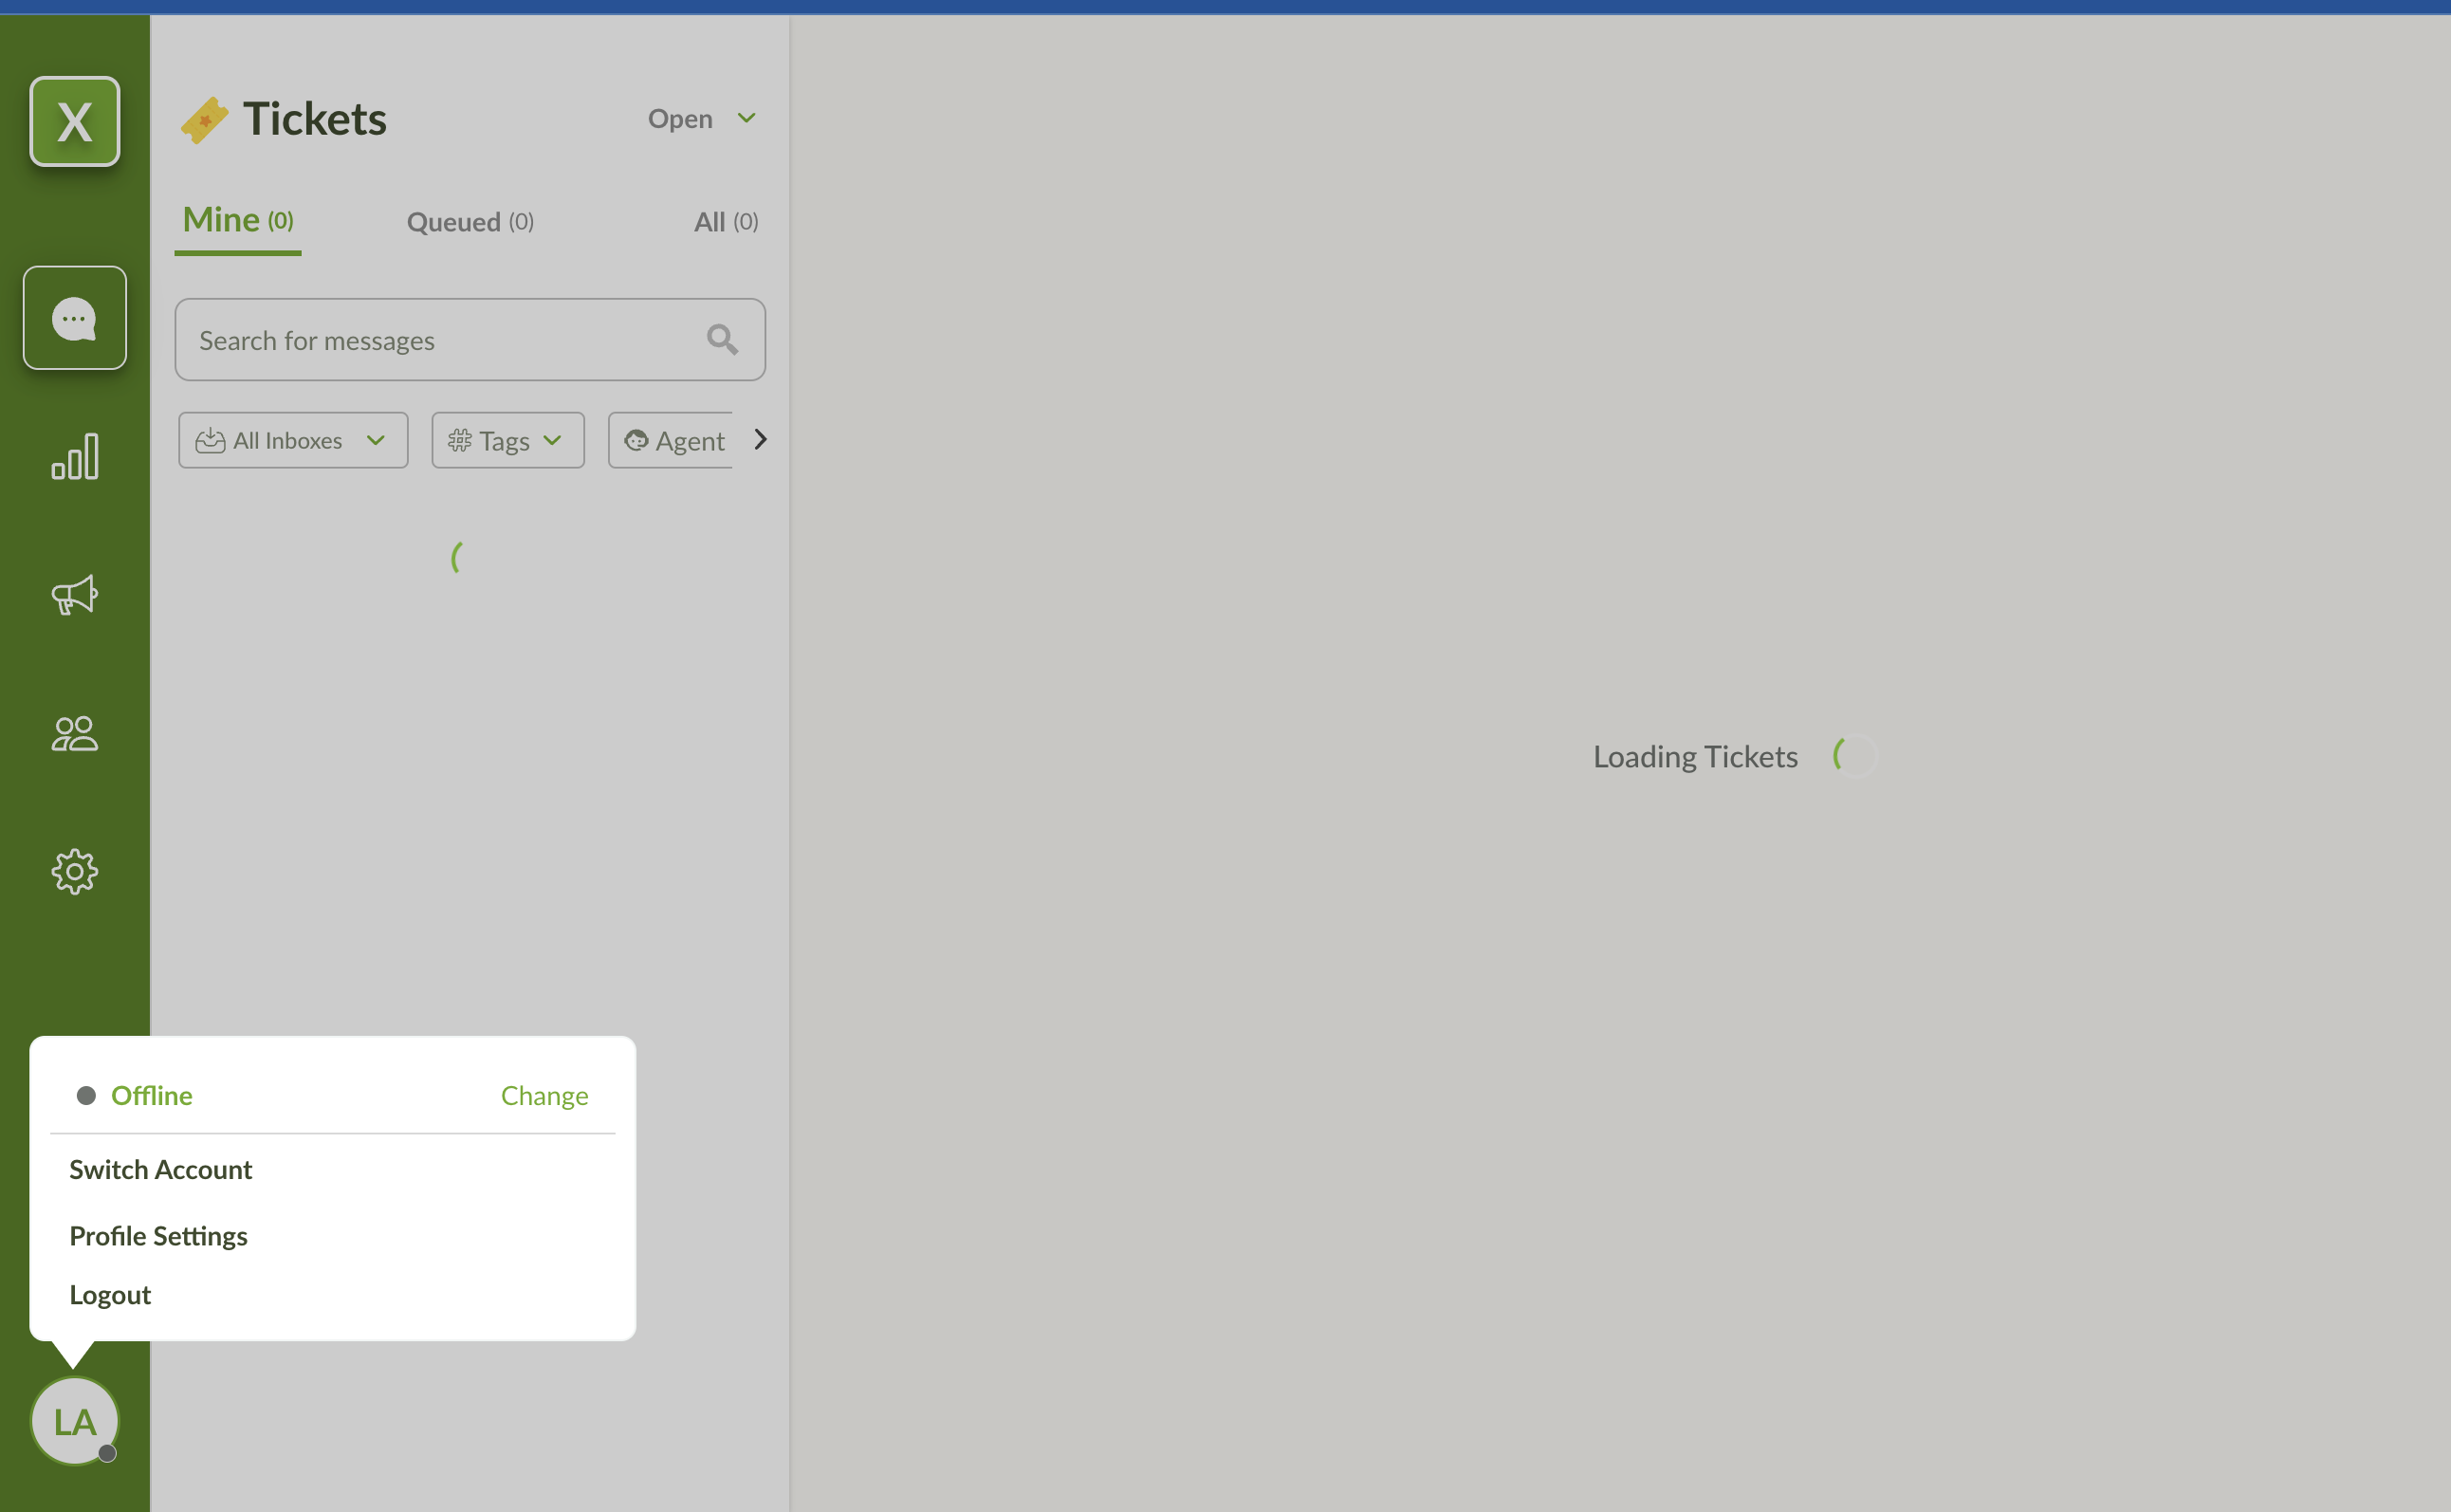
Login to the LimeChat dashboard.
At the extreme bottom left, click on the profile picture and then click on Profile Settings.
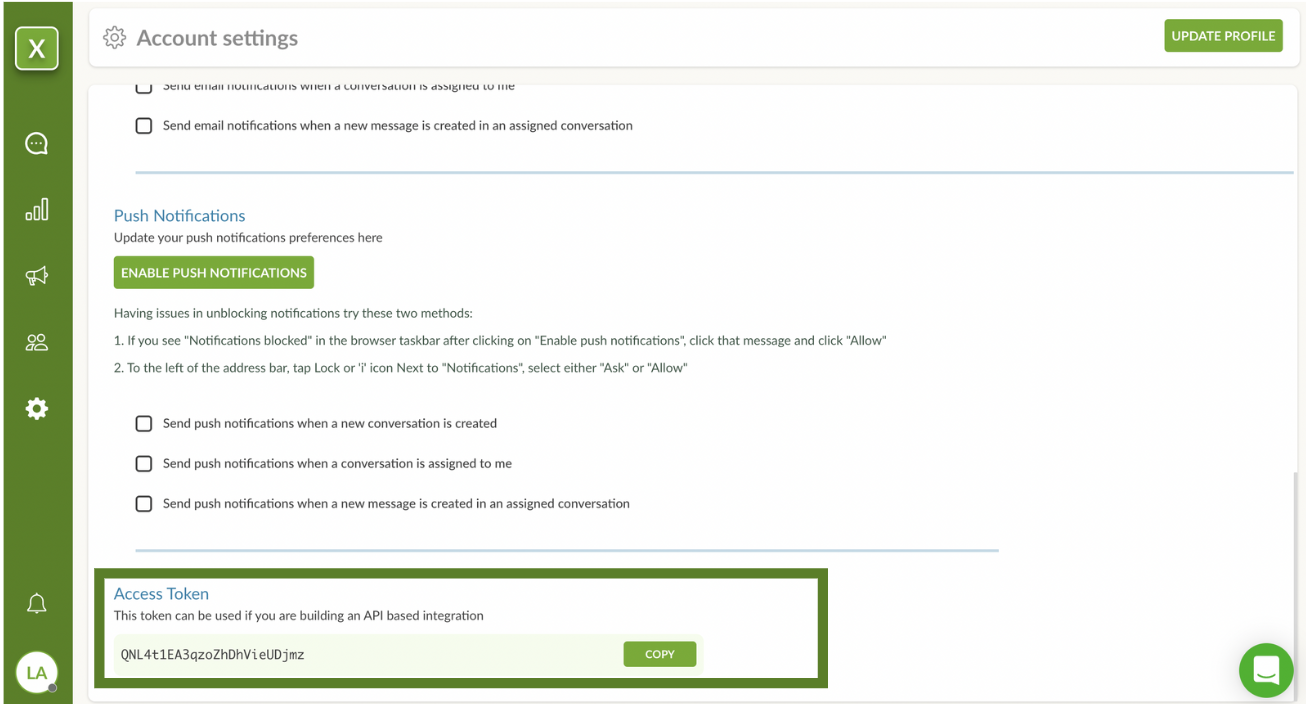
Scroll down to the bottom of this page to copy the Access token.
- Click Set Body. The Body content would be in the JSON format. Paste this in the Request Body field. Shown below is the Body content.
info
💡 “phone”, “template_id”, & “template_attributes” are the mandatory fields.
{
  "phone": "919123456789", // (Required) Standard format ("919123456789") no spaces and special characters
  "template_id": "112", // (Required) template id of the template which you want to send out. you can find this right beside the template name on the LC Dashboard  in Settings > Templates
  "first_name": "Akshay", // (Optional). If provided, the conversation in the dashboard will store this for ease of use to agents.
  "email": "[abcxyz@](mailto:akshay.murkute@limechat.ai)[gmail.com](http://gmail.com/)", // (Optional). If provided, the conversation in the dashboard will store this for ease of use to agents.
  "template_attributes": [
    "Akshay",
    "[https://app.limechat.ai/](https://app.limechat.ai/)"
  ], // (Required)
  "status": "closed", // (Optional), this will define the status of the newly created conversation. It accepts following values: ["open", "closed", "resolved"]
  "additional_attributes": {}, // (Optional) accepts an JSON object to store additional attributes about the conversation in LC Database
  "contact_additional_attributes": {}, // (Optional) accepts an JSON object to store additional attributes about the contact created in LC Database
  "label": "" // Optional. This denotes the type of store notification: abandoned-checkout, re-order, etc. If provided, this label will be applied to the conversation in the dashboard. This would be helpful for analytics.
}