Web Widget (Non-Shopify)
How to add Website Widget?
- Login to app.limechat.ai. Go to the LimeChat dashboard.
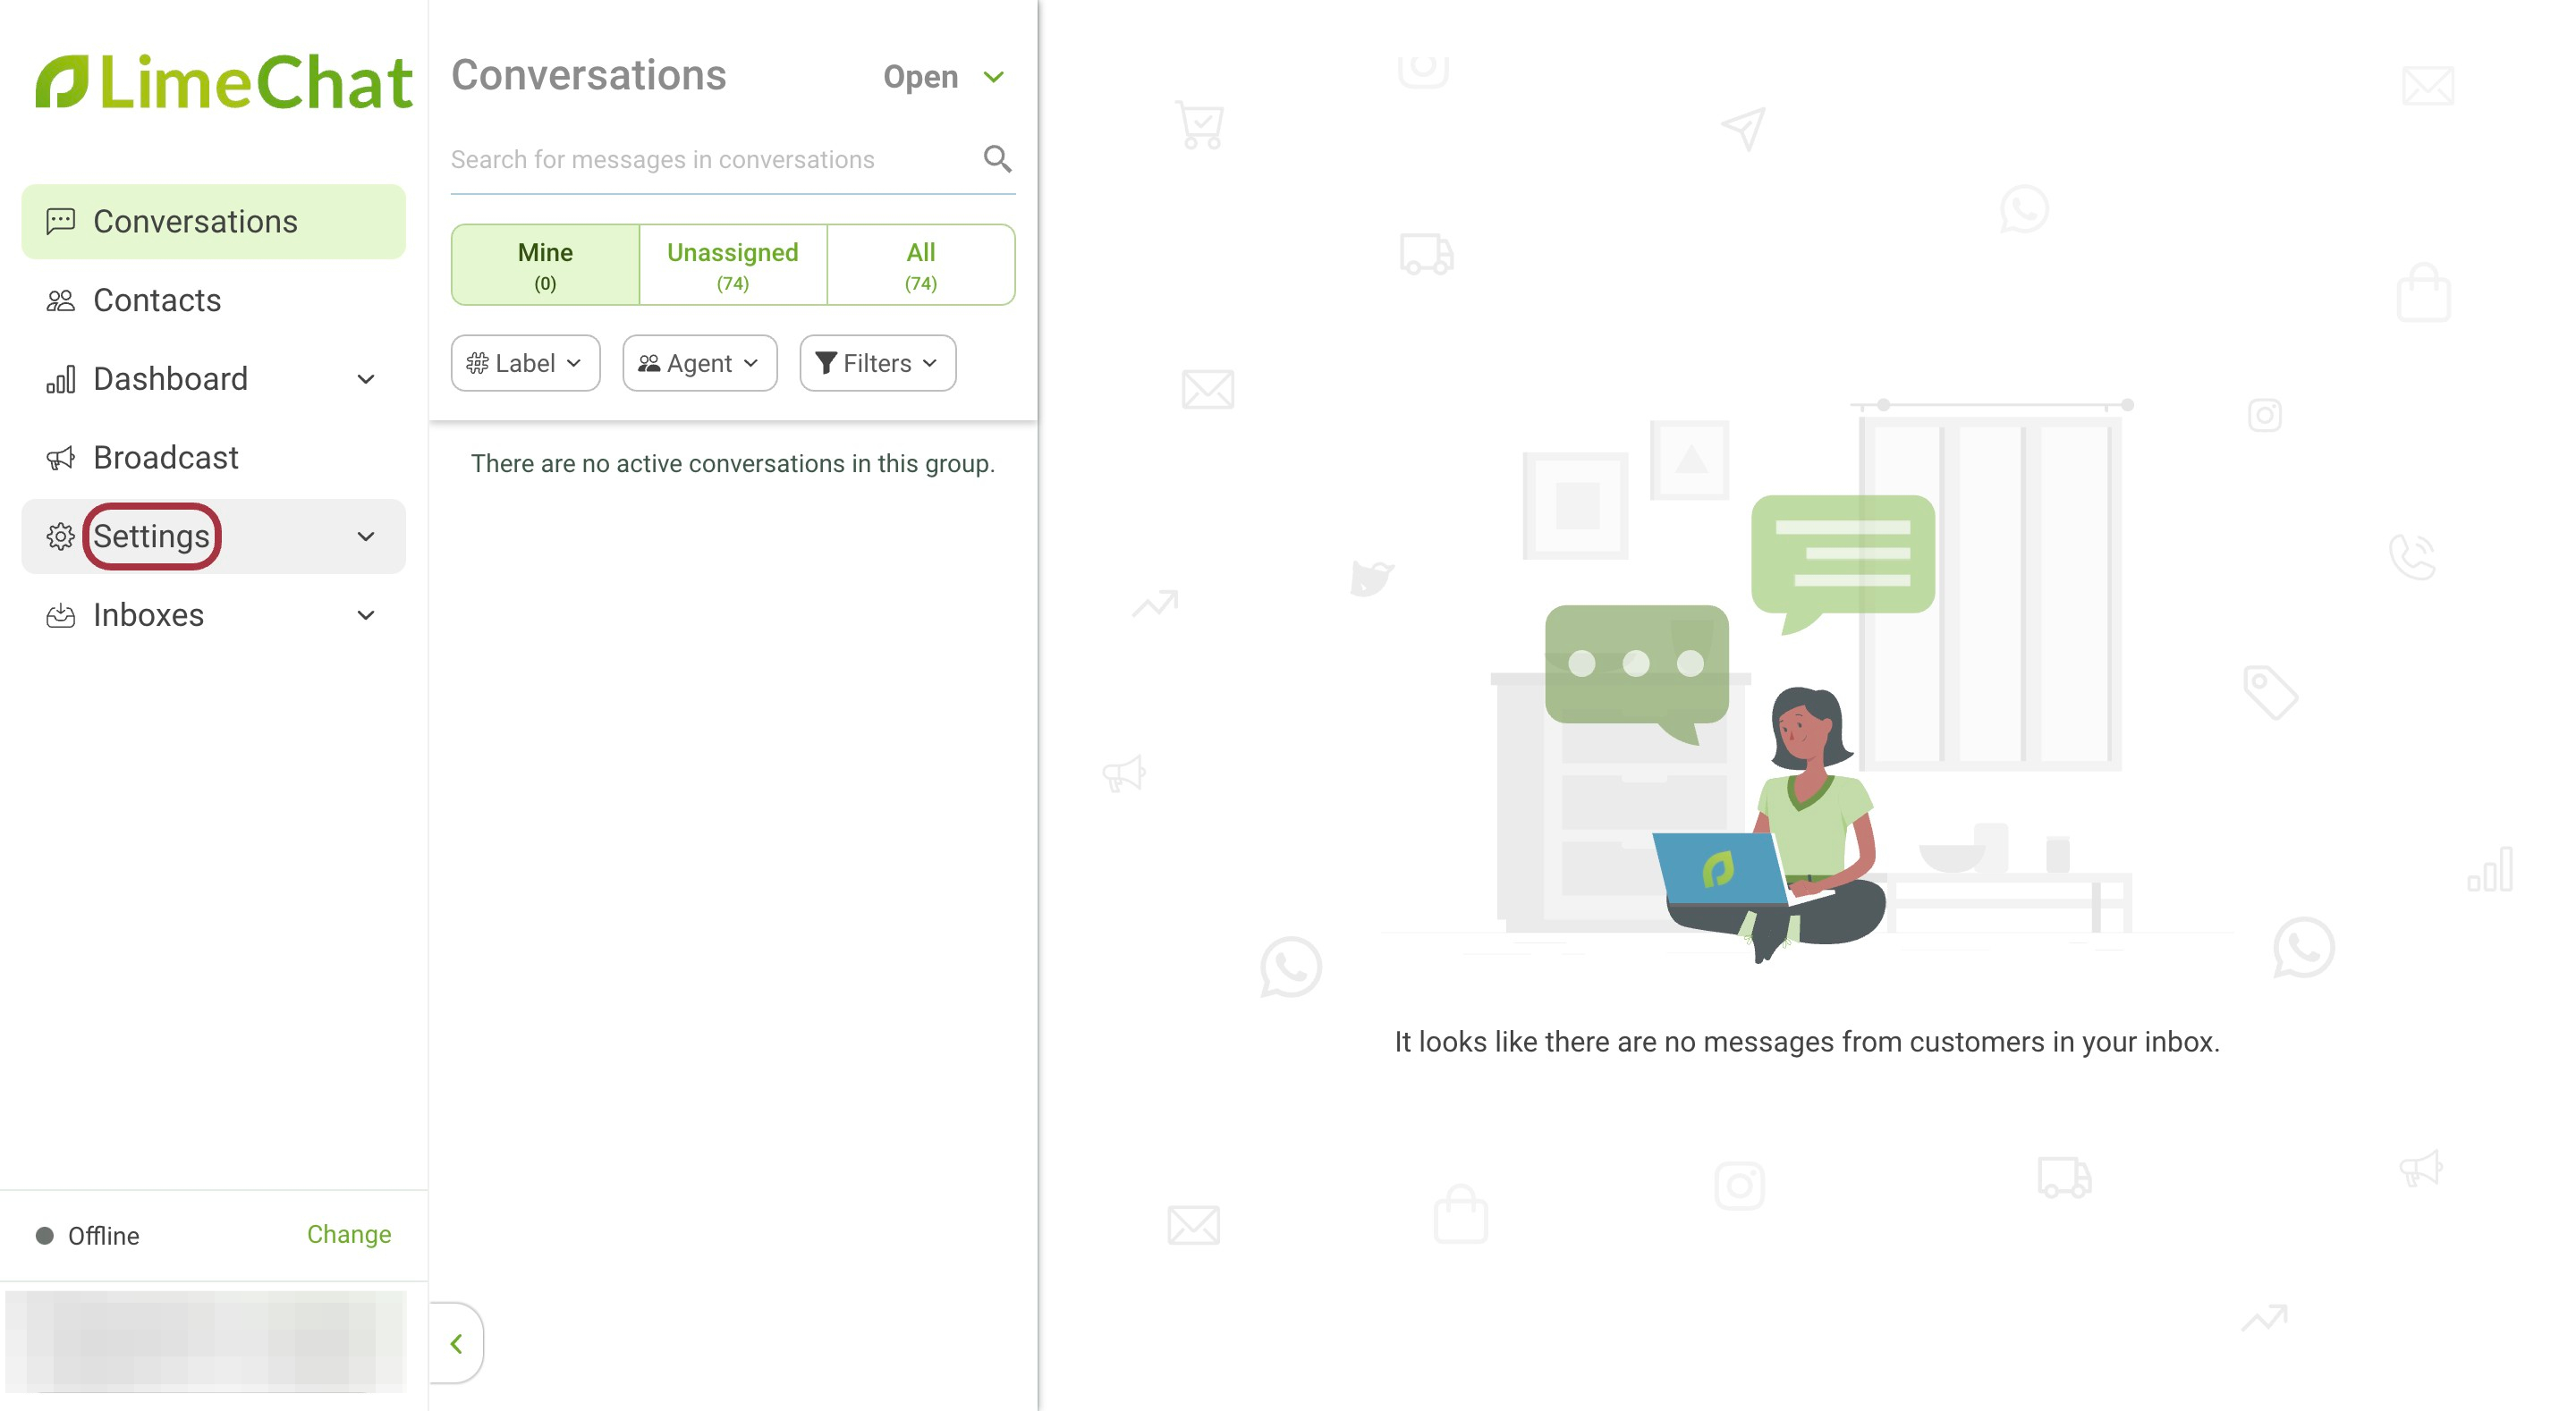
- Go to Settings.
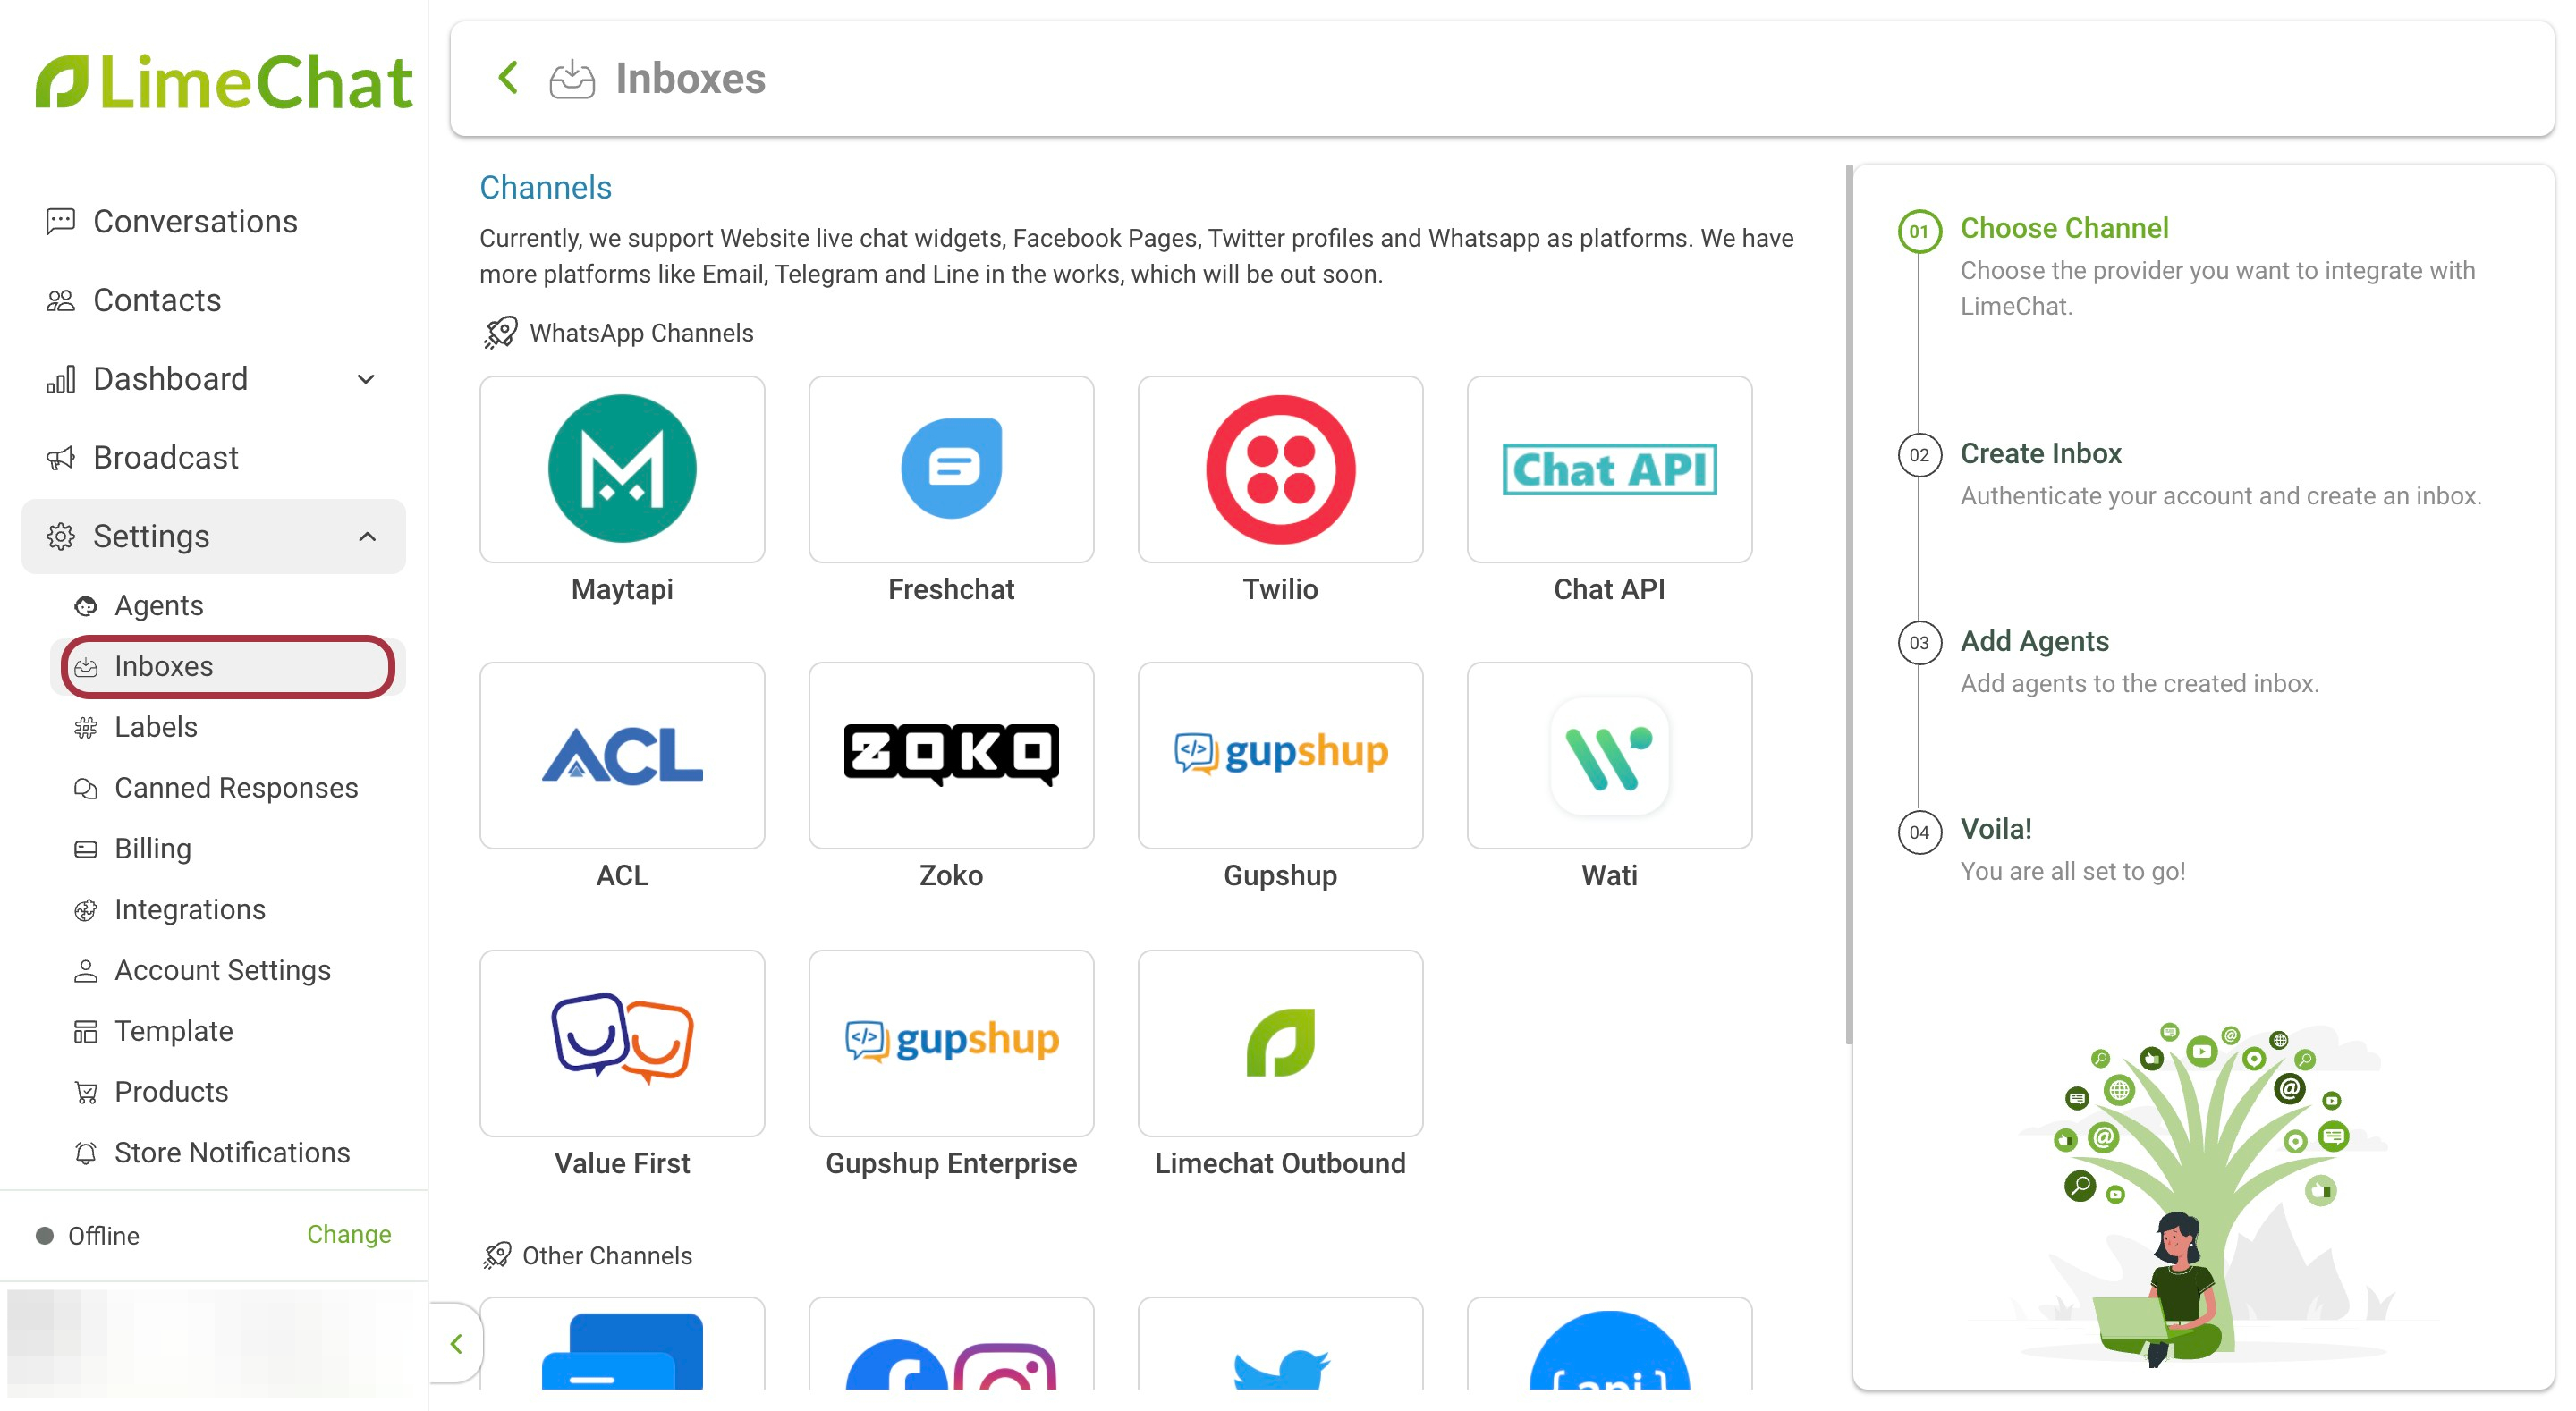
- Go to Inboxes.
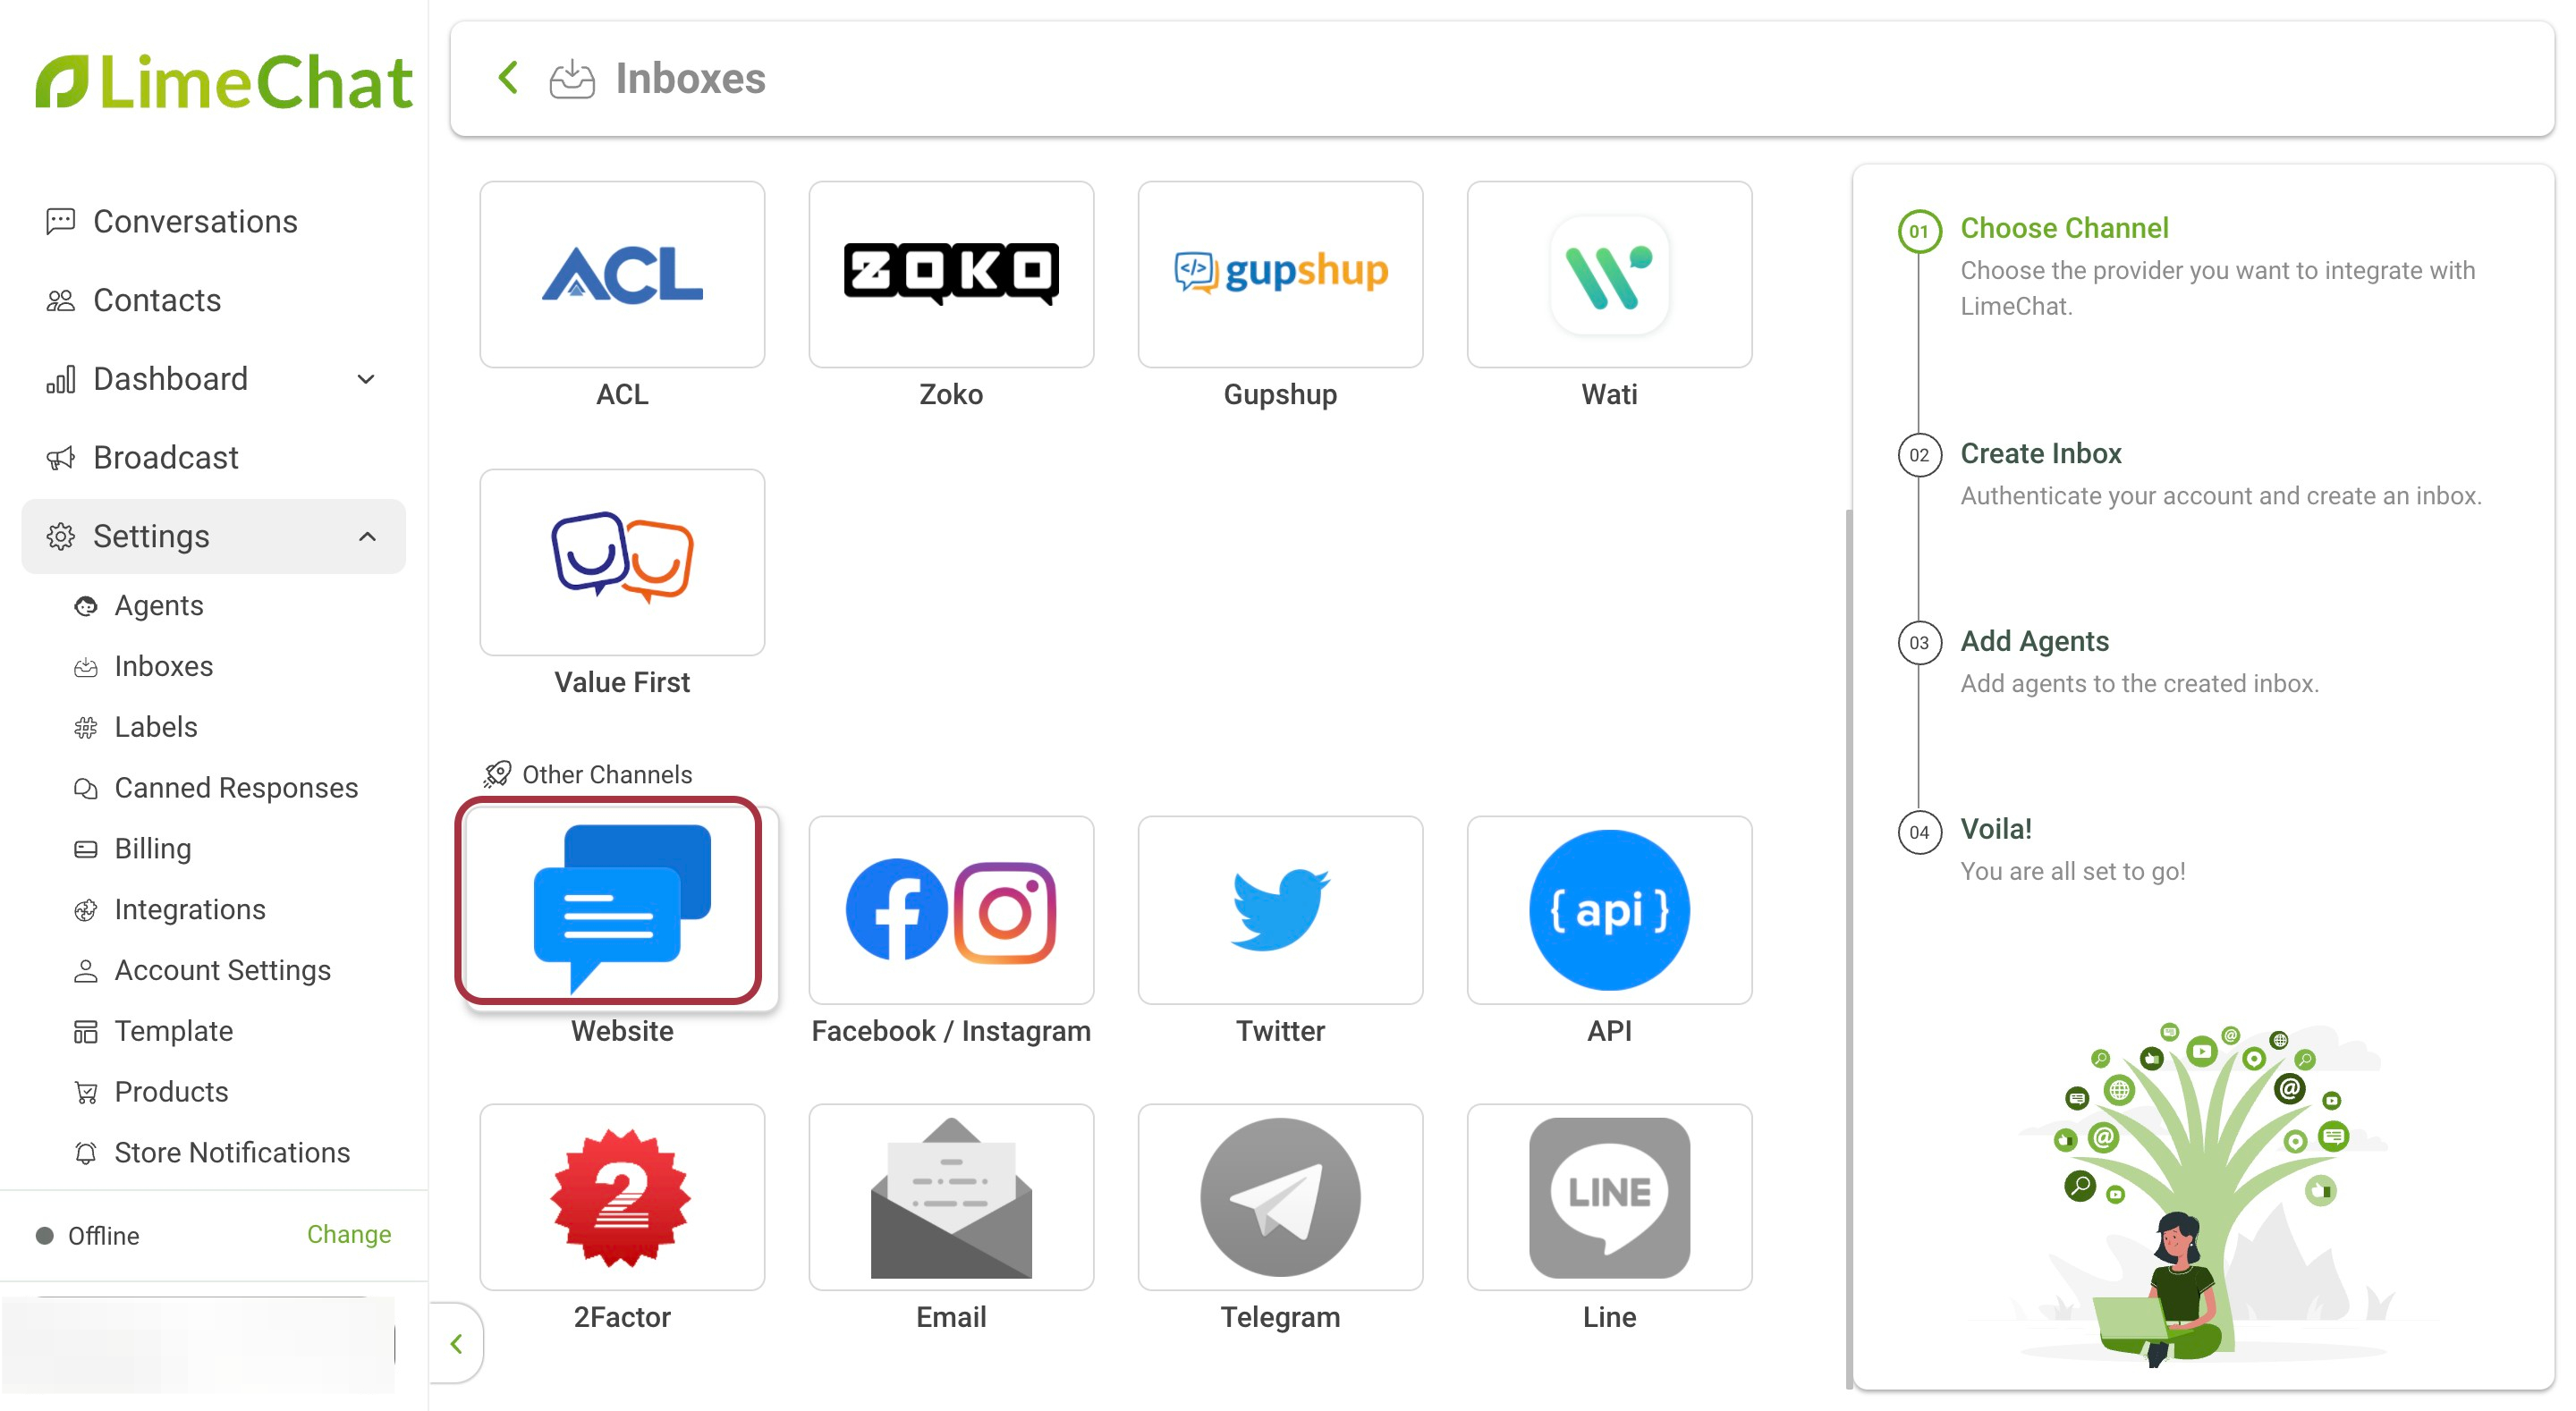
- Scroll down and click on Website.
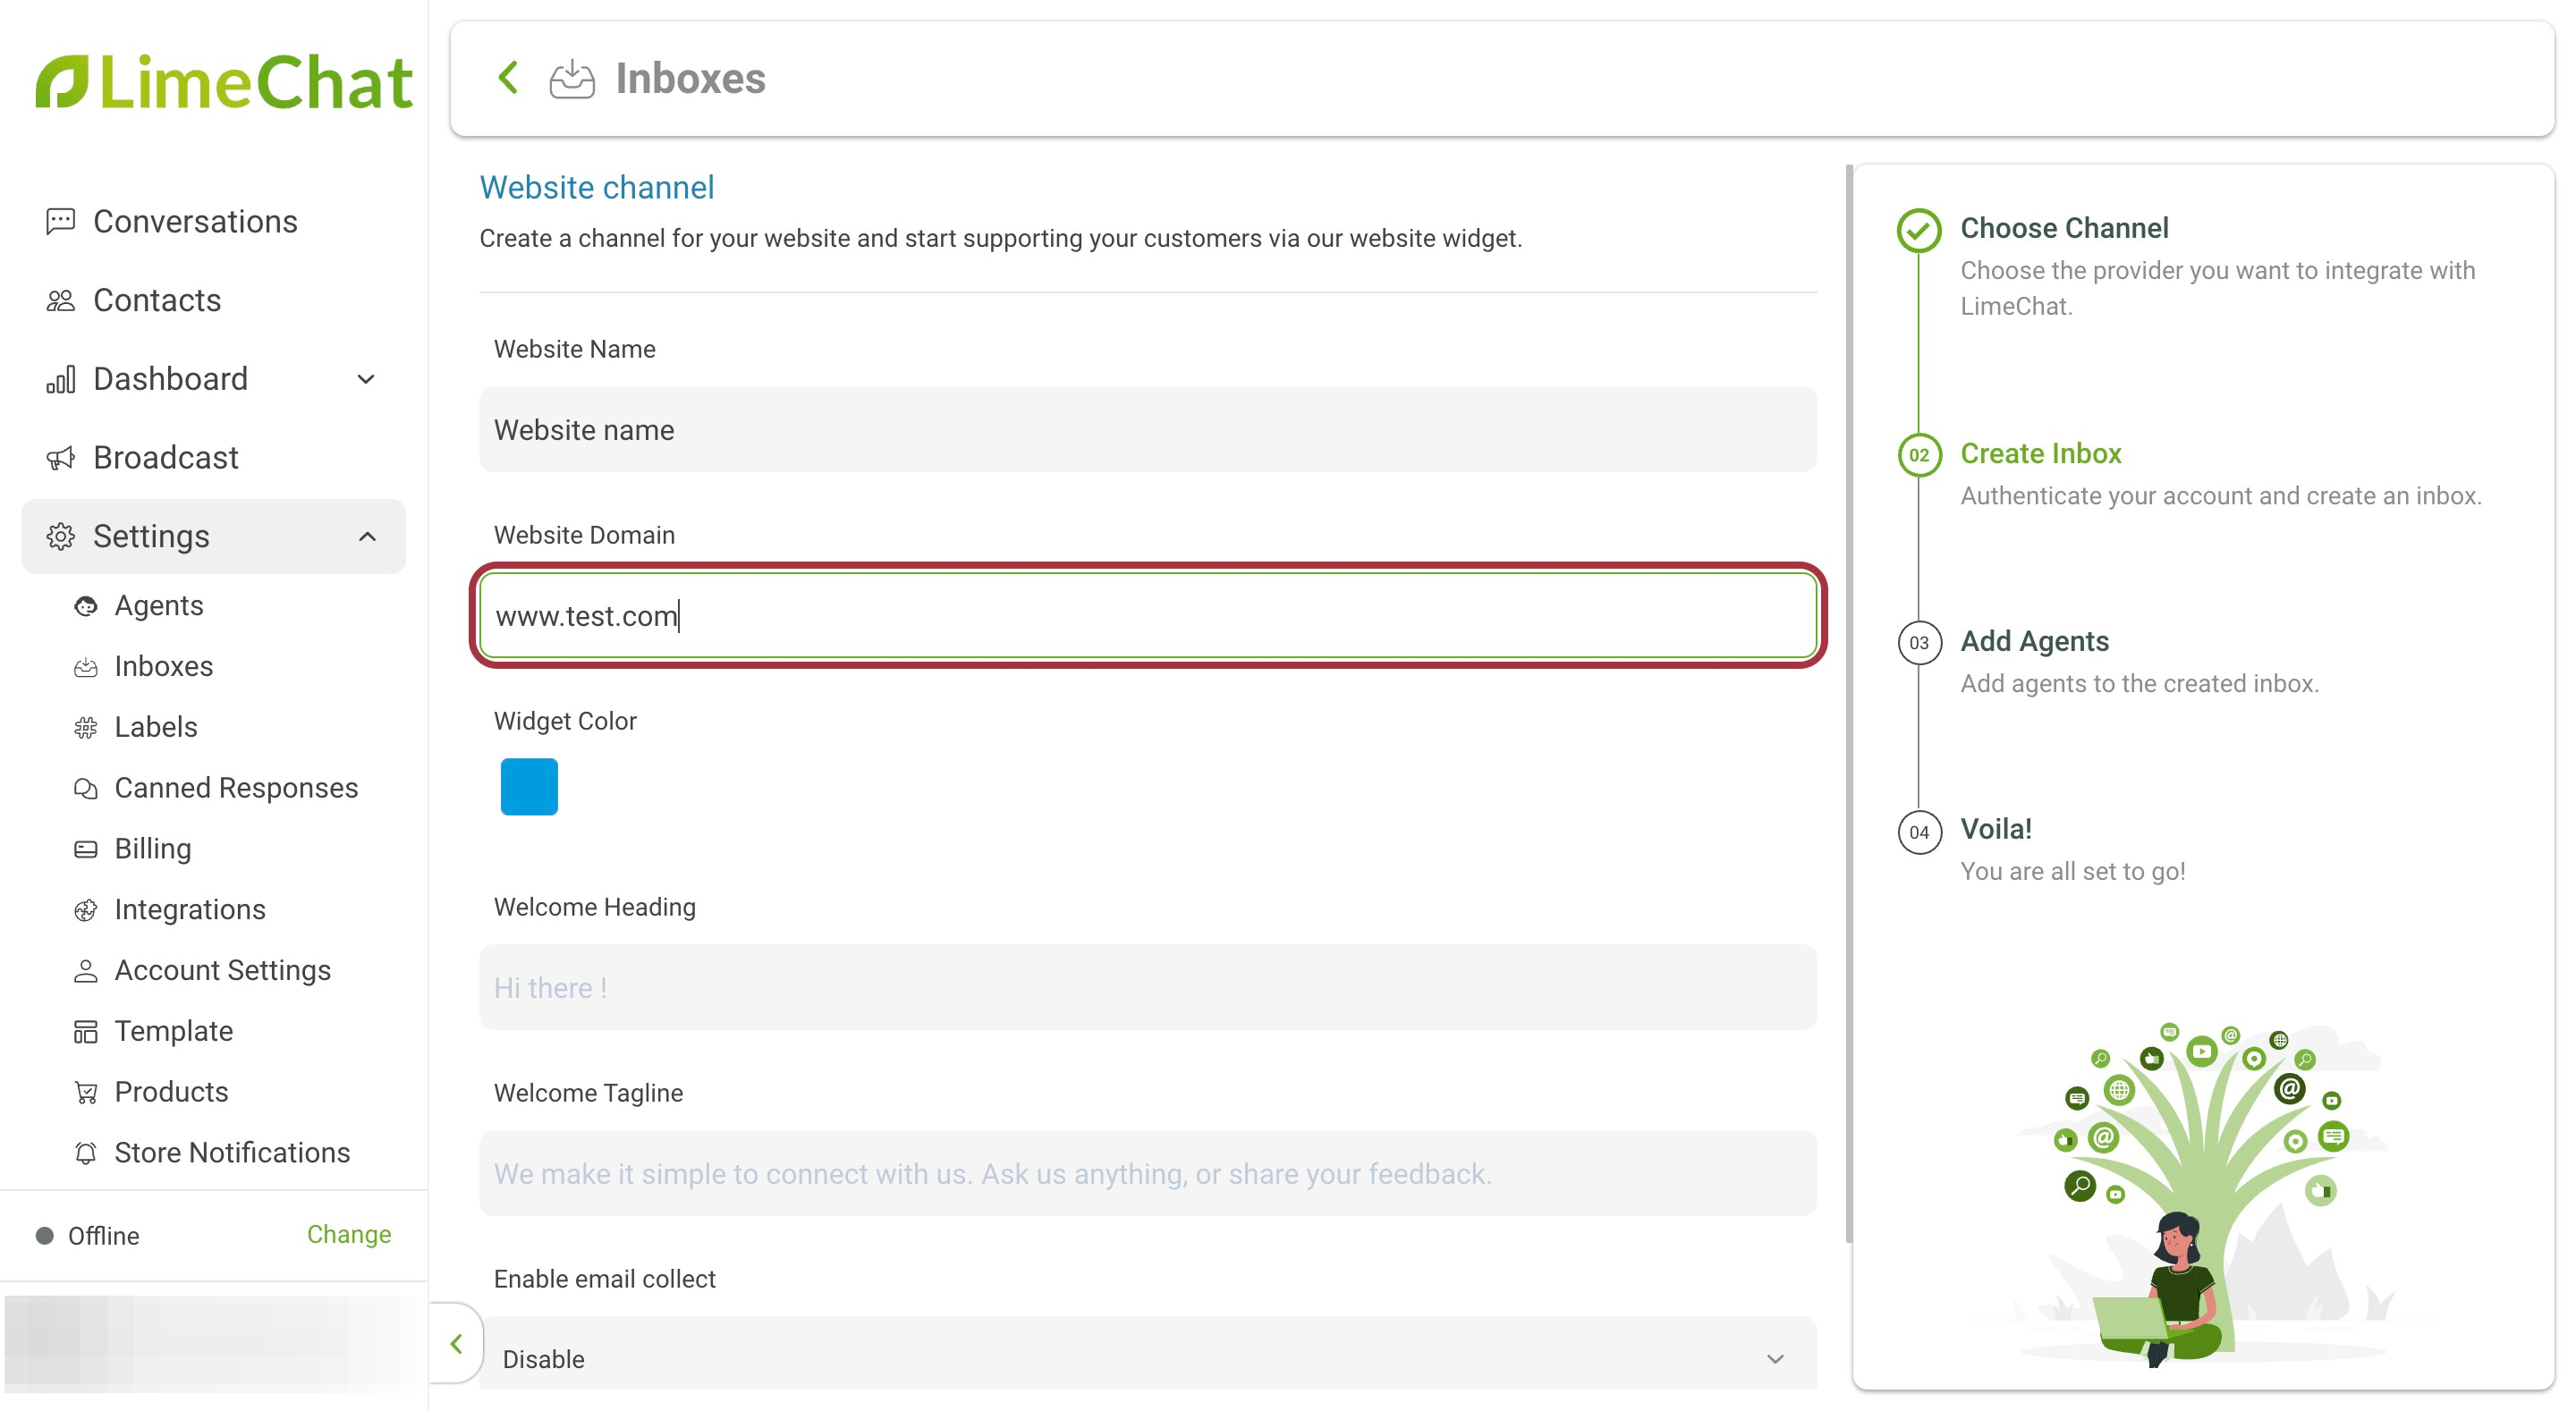
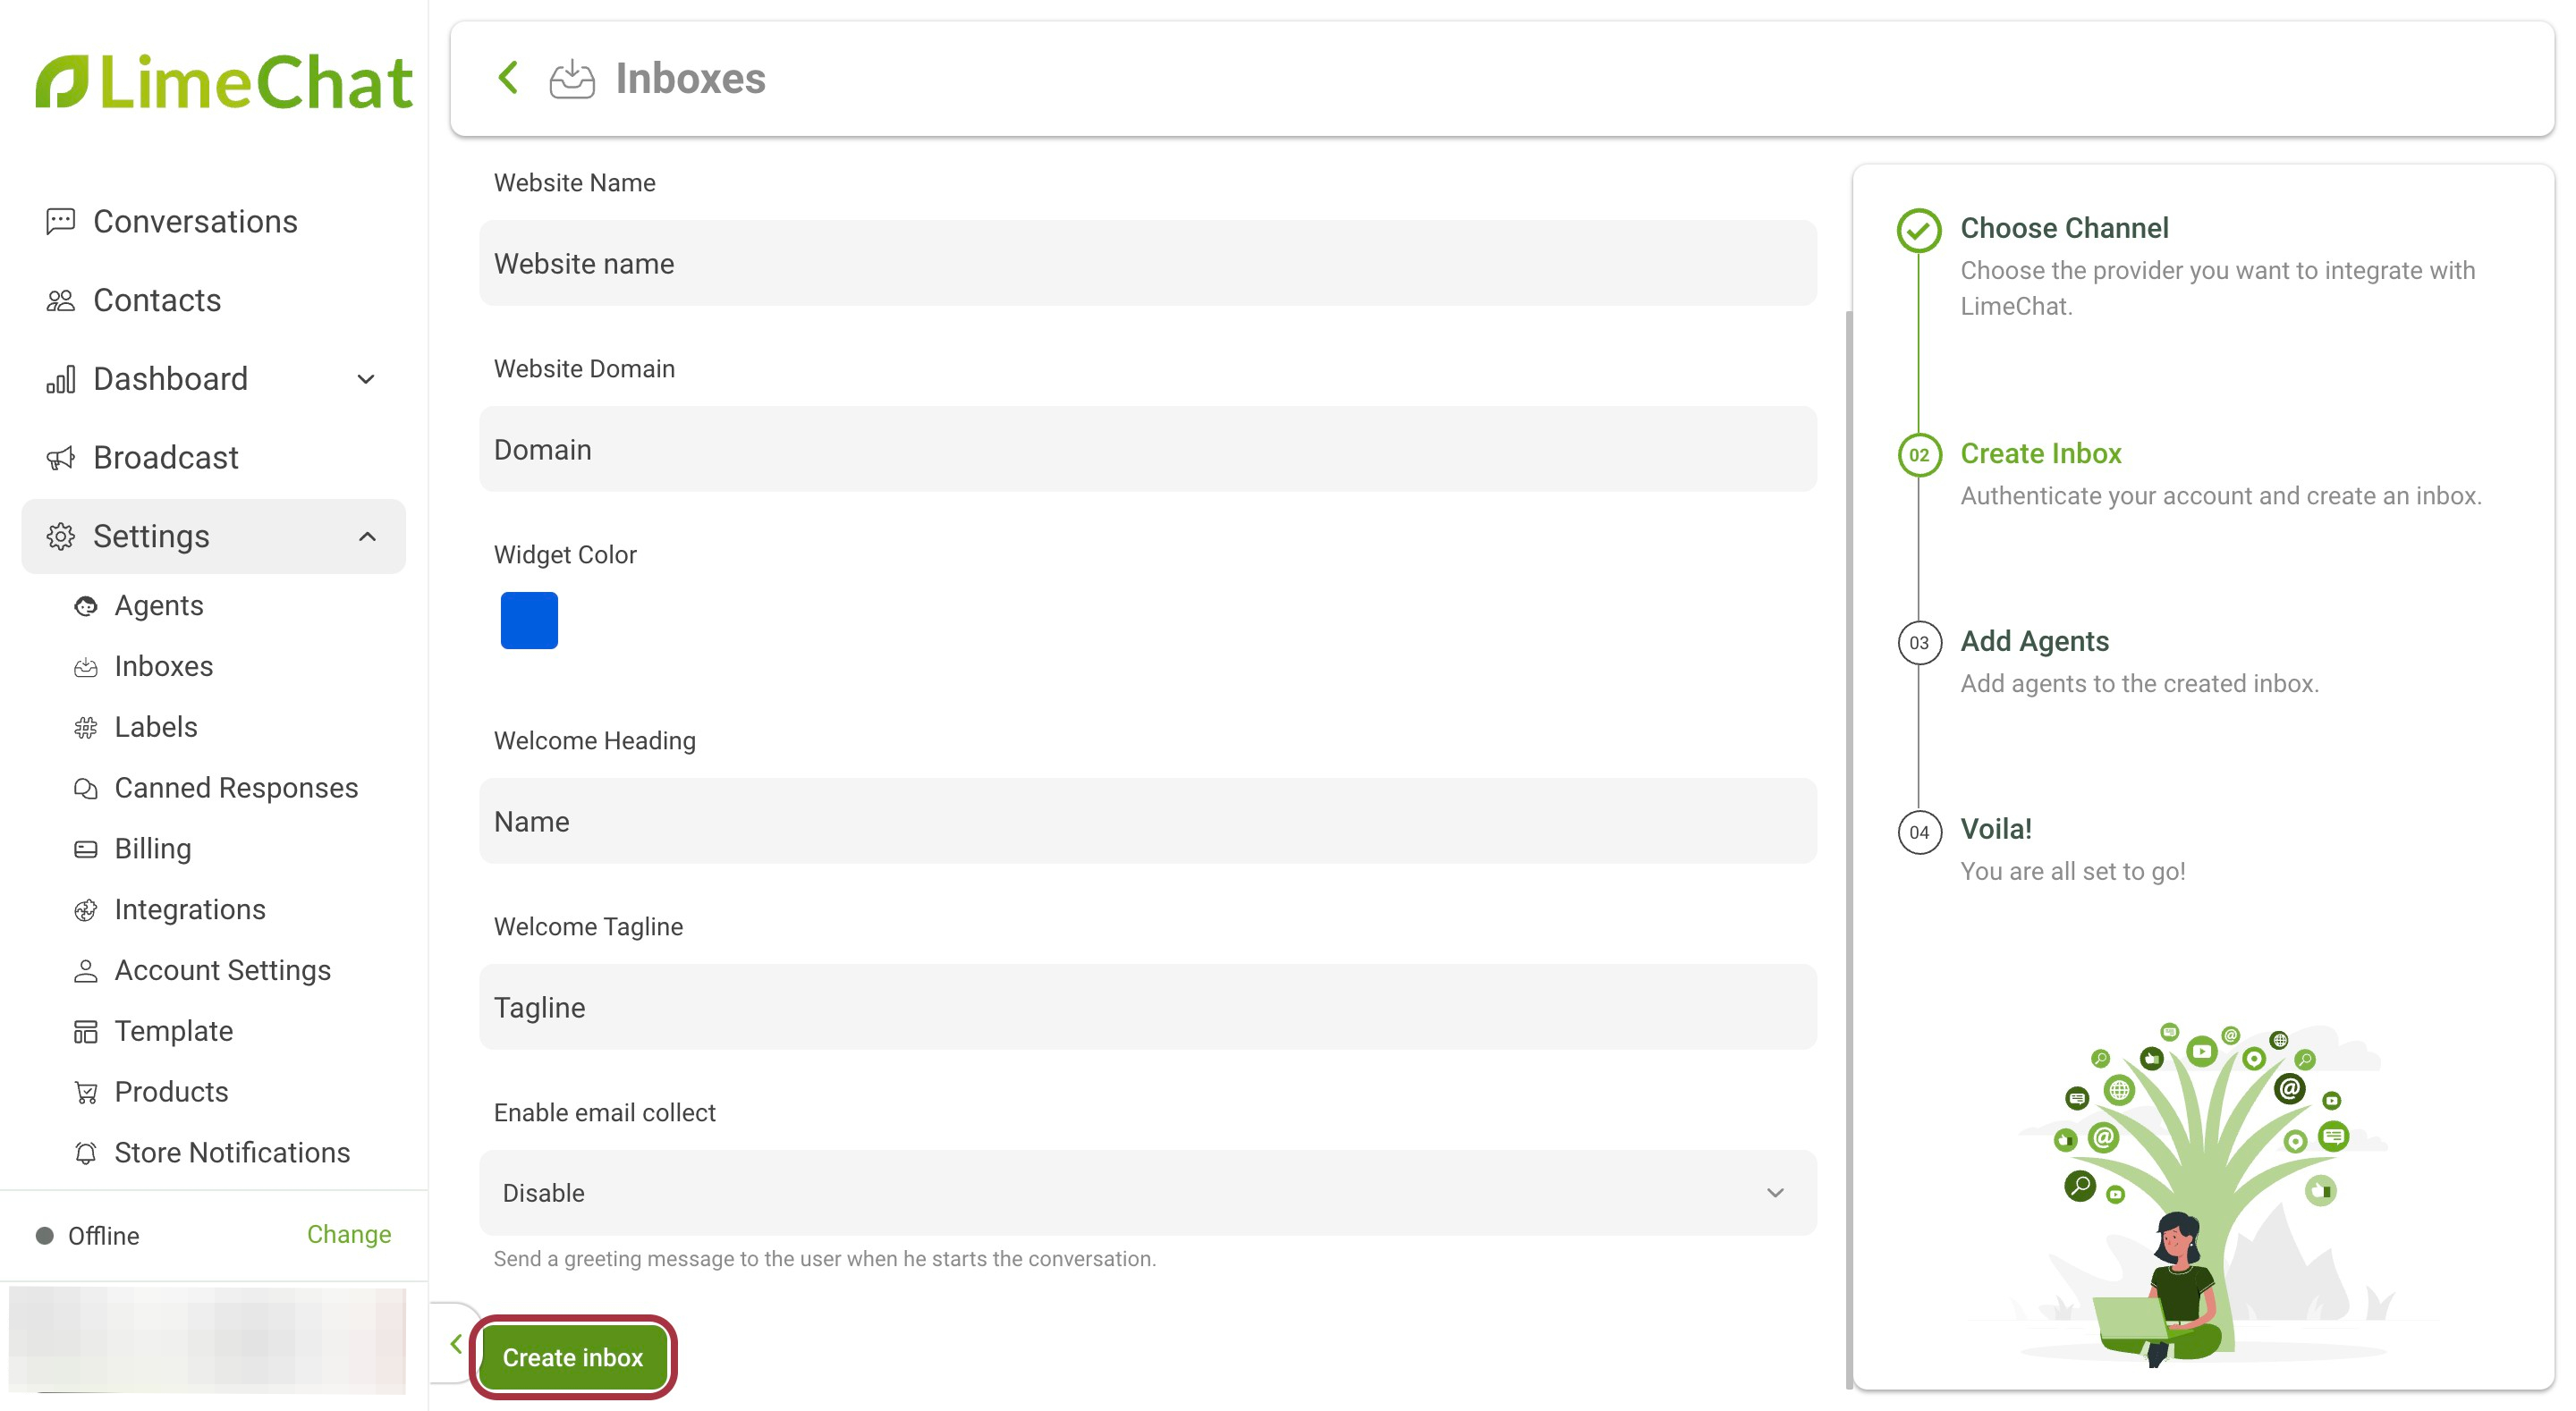
- Enter the Website Name.
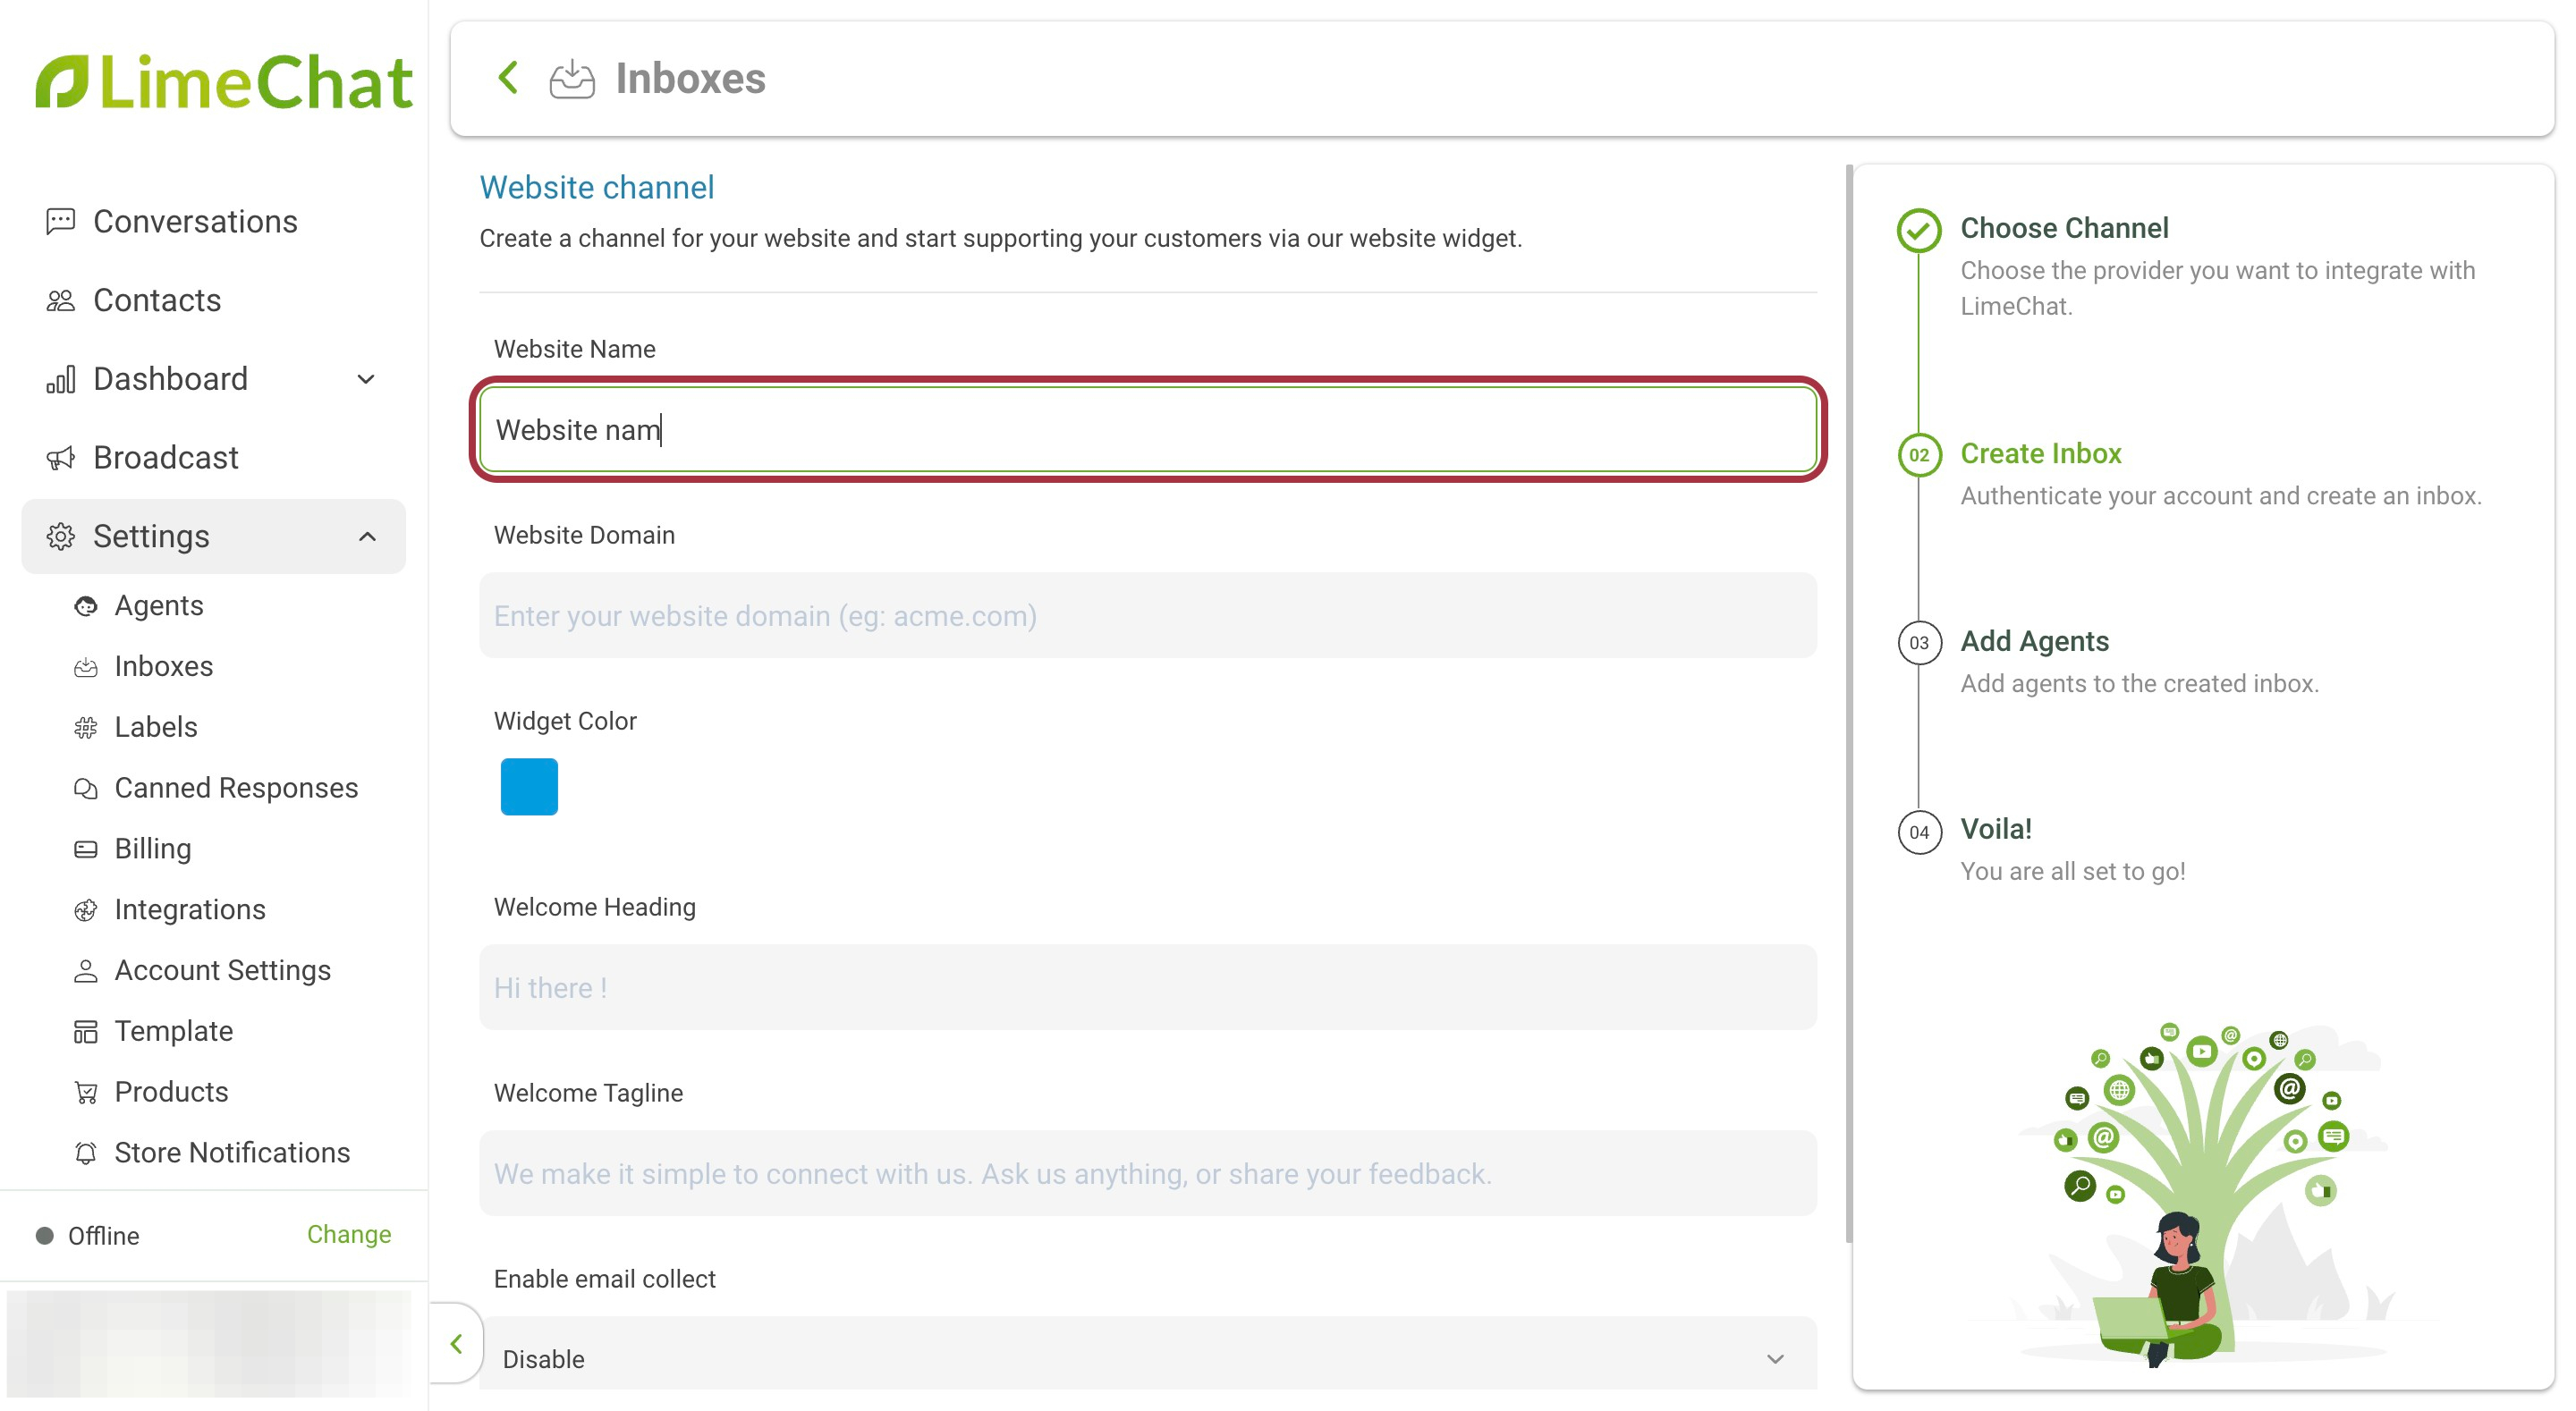
- Enter the Website Domain.
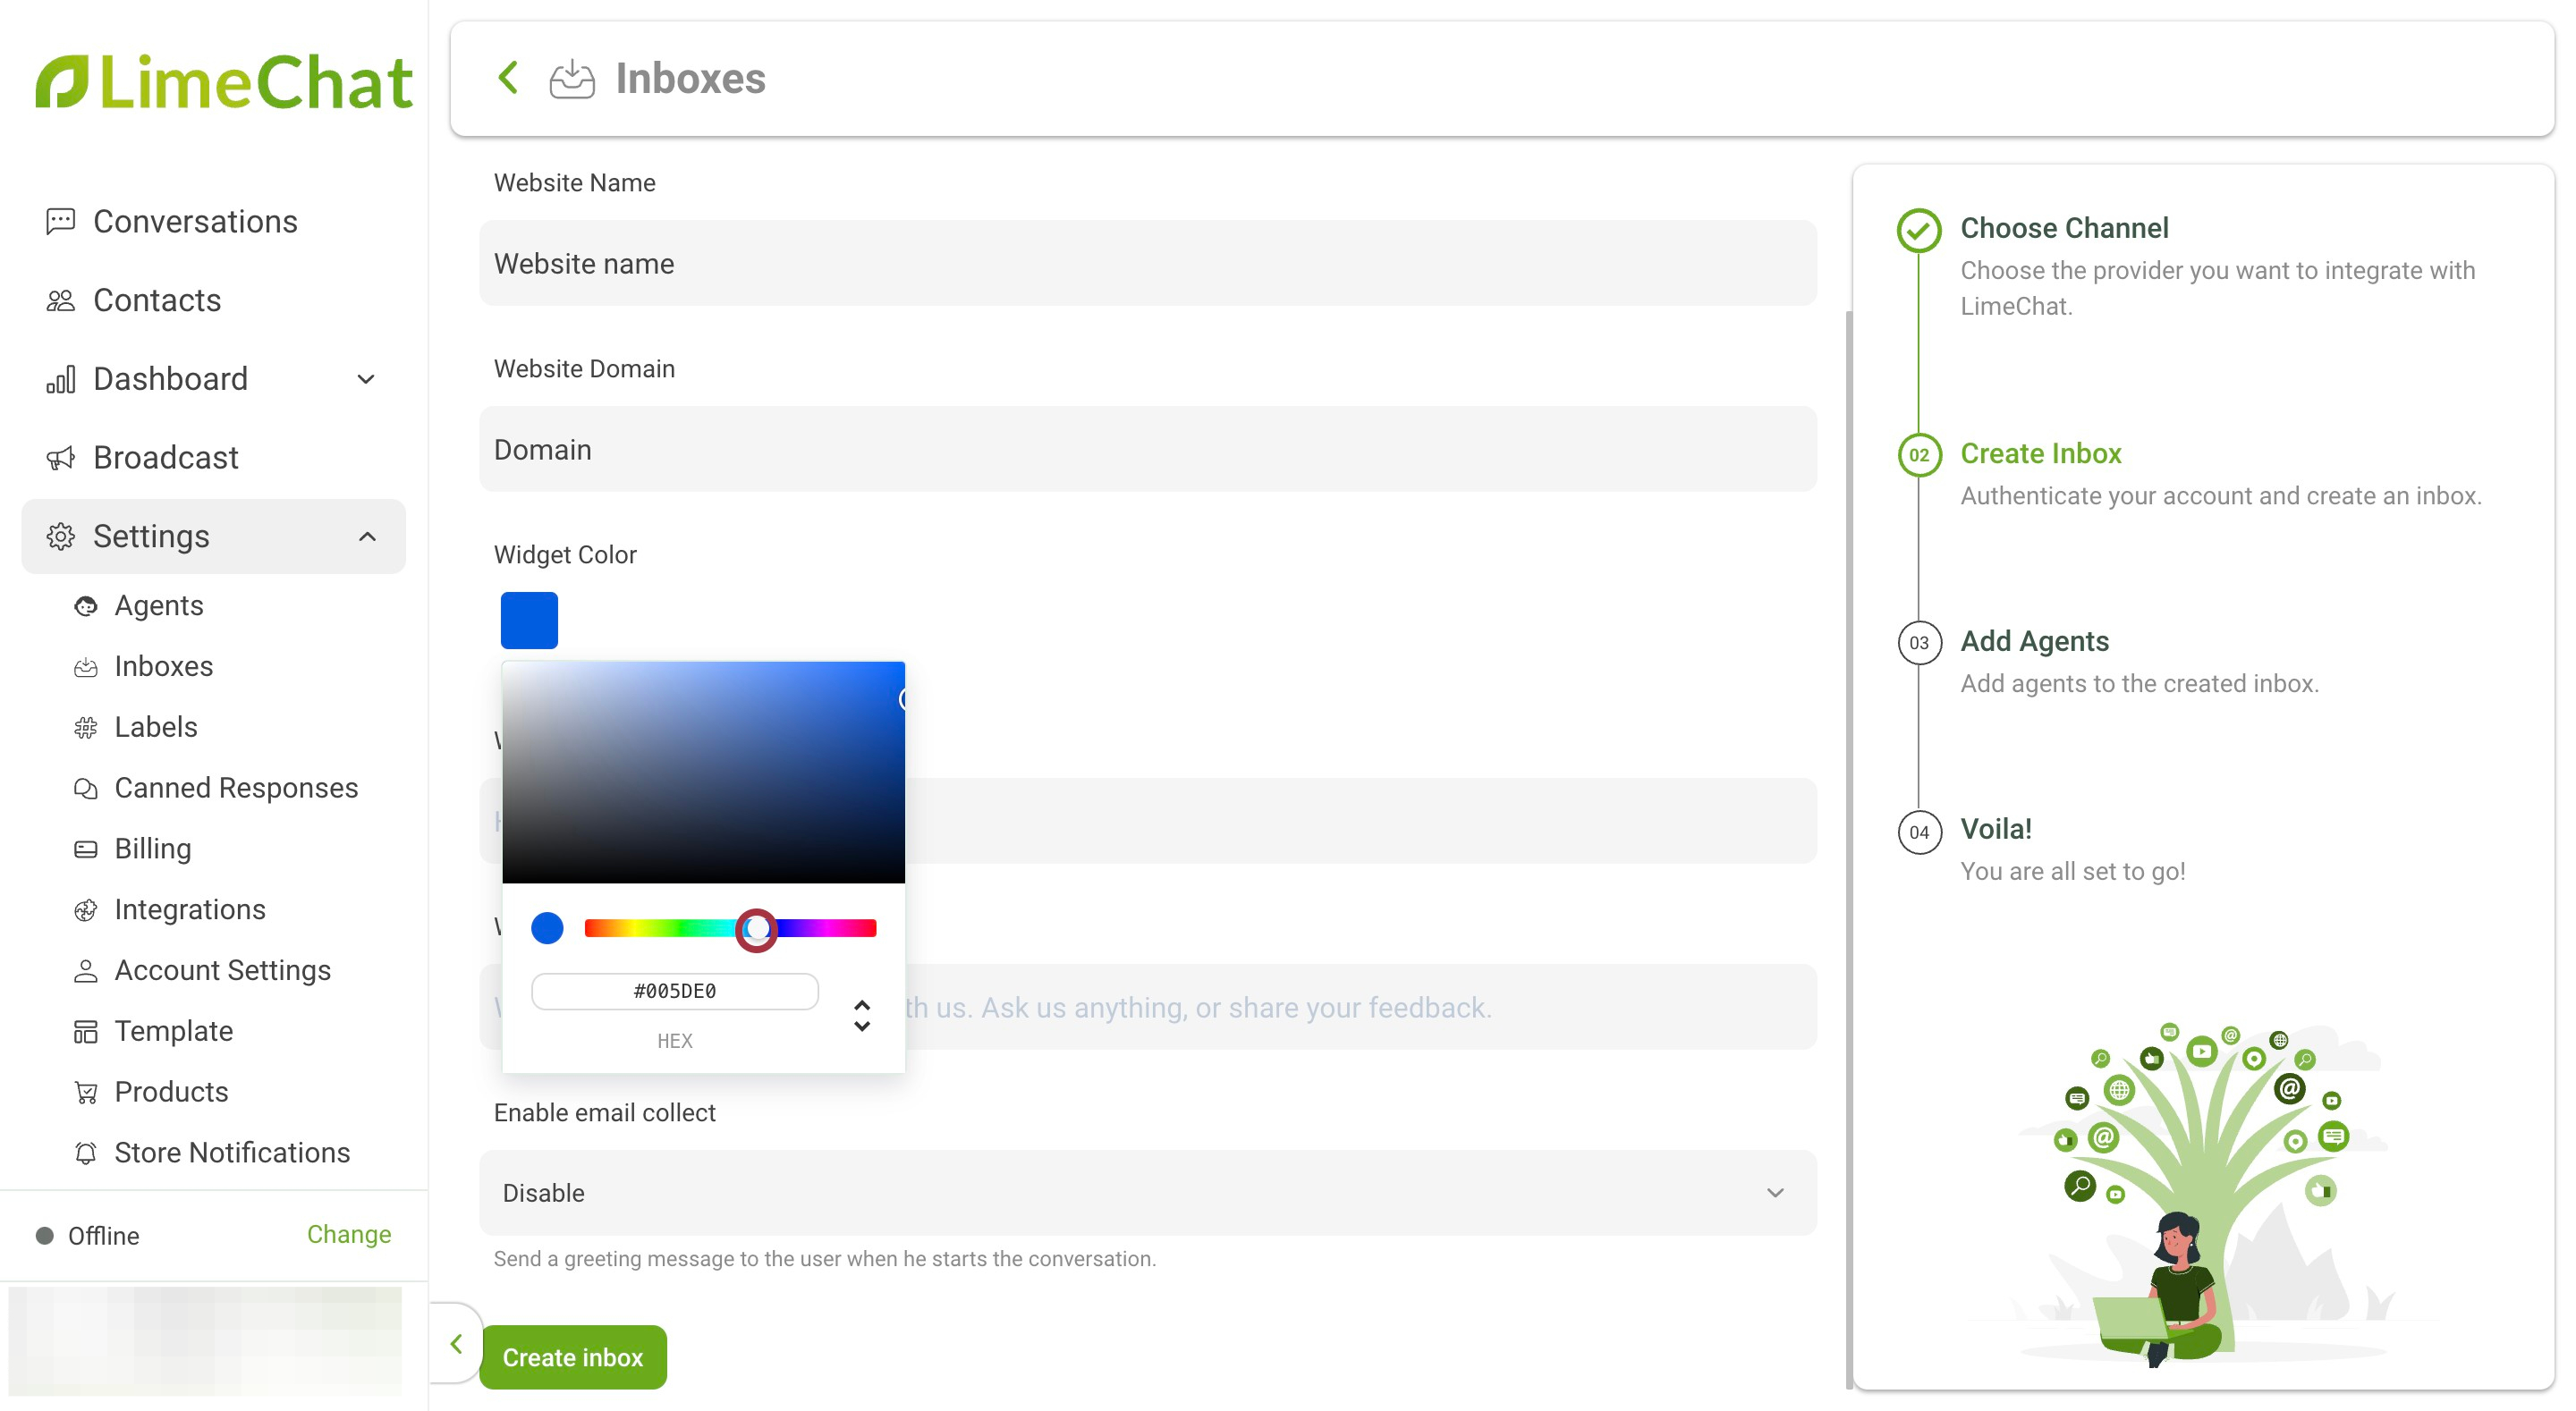
- Select the Widget Color.
Note:
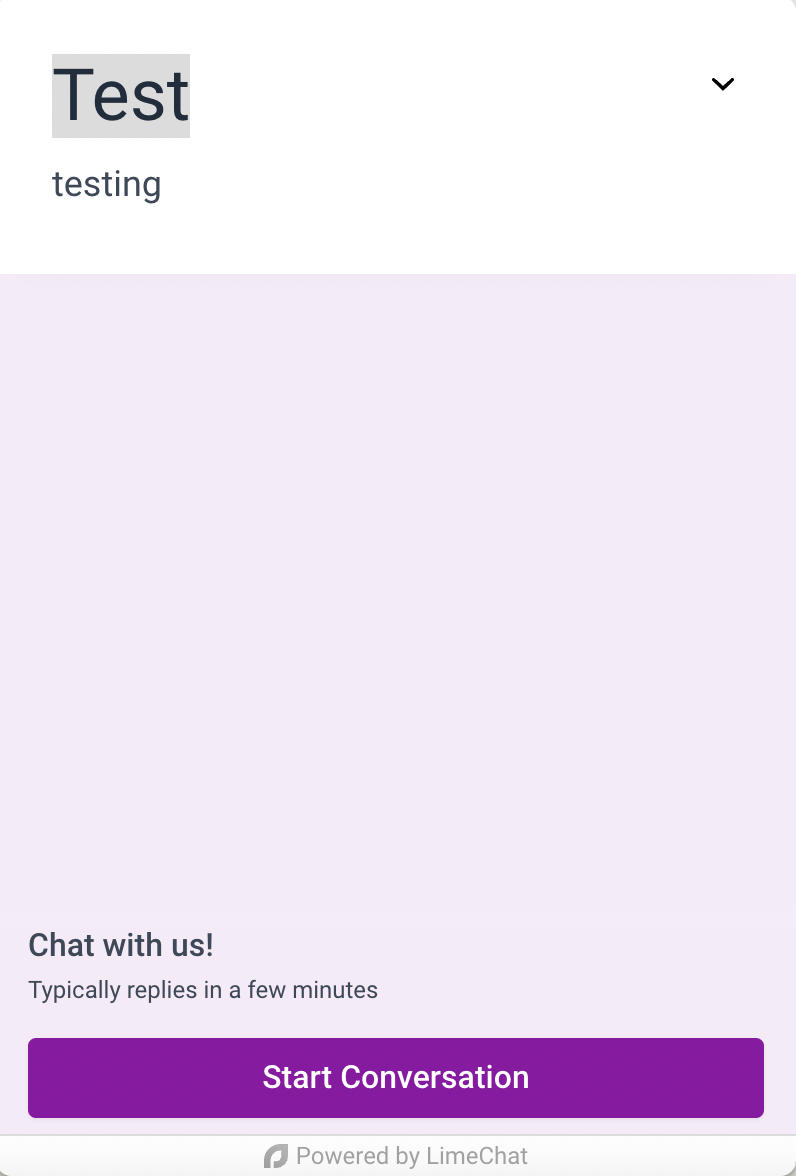
In the screenshot below, Test represents the Welcome Heading and the testing represents the Welcome Tagline. The Start Conversation Button color is the color that is selected for Widget Color option.
- Make sure the Enable email collect option is set to Disable
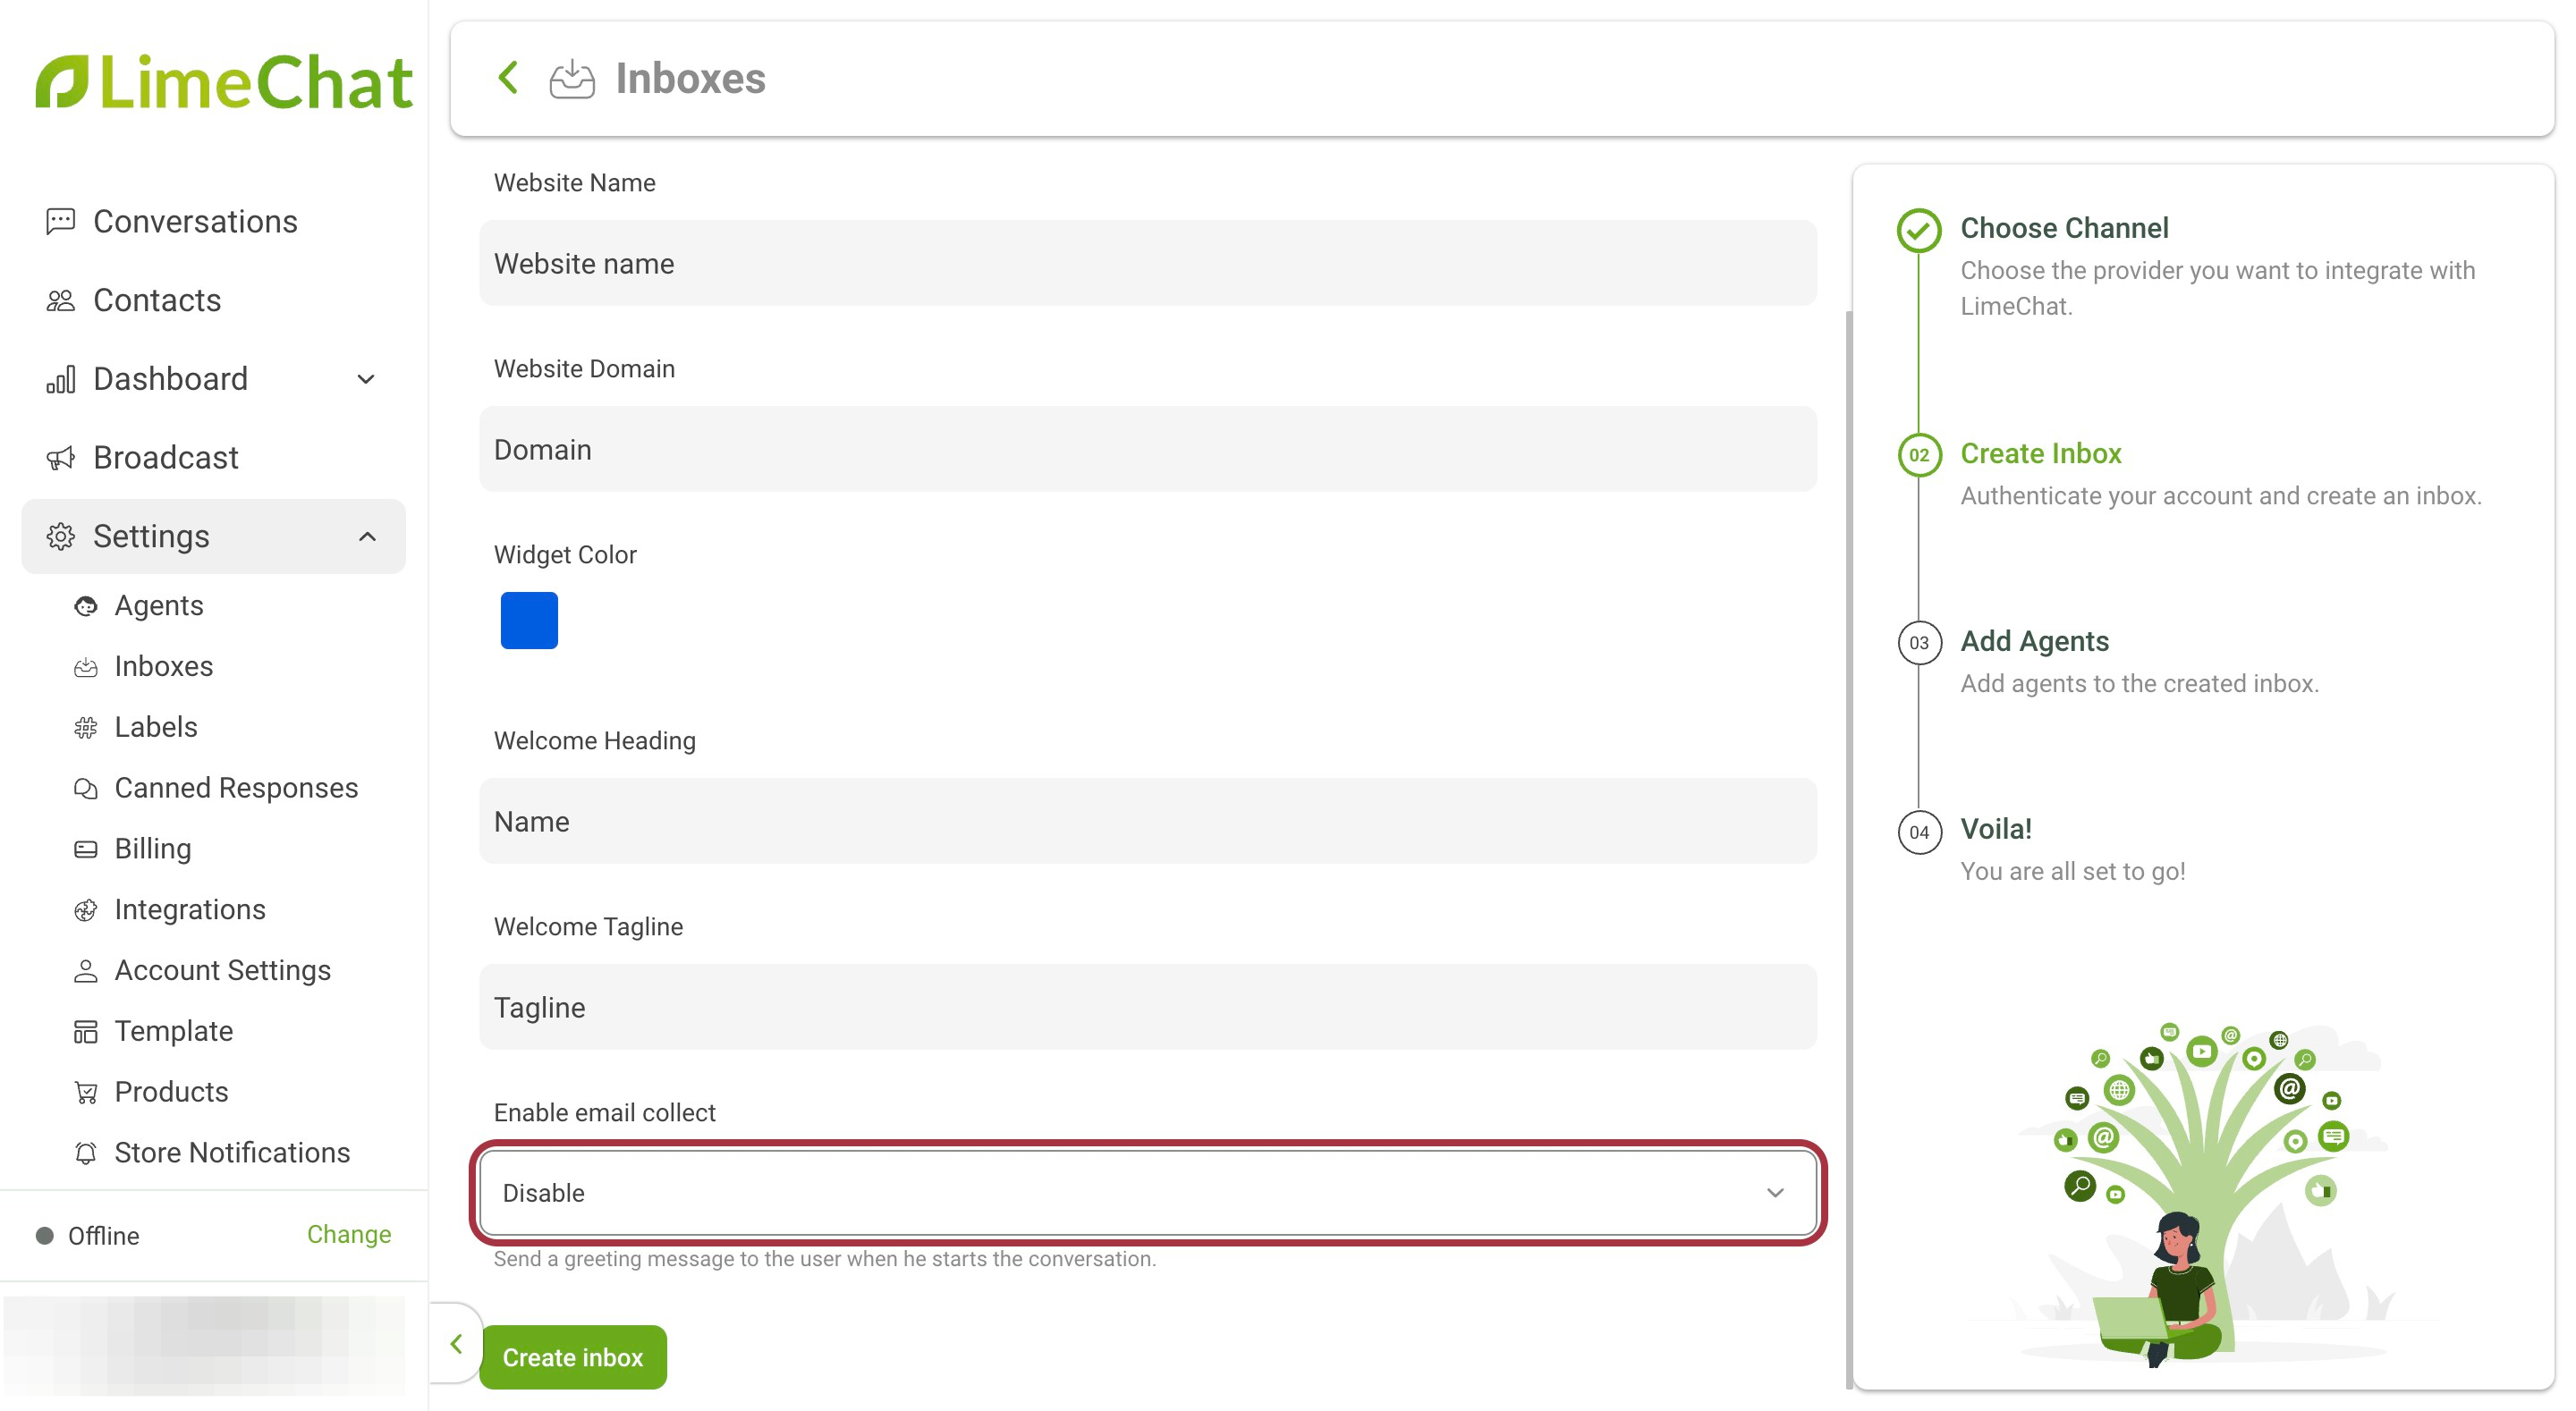
- Click on Create inbox.
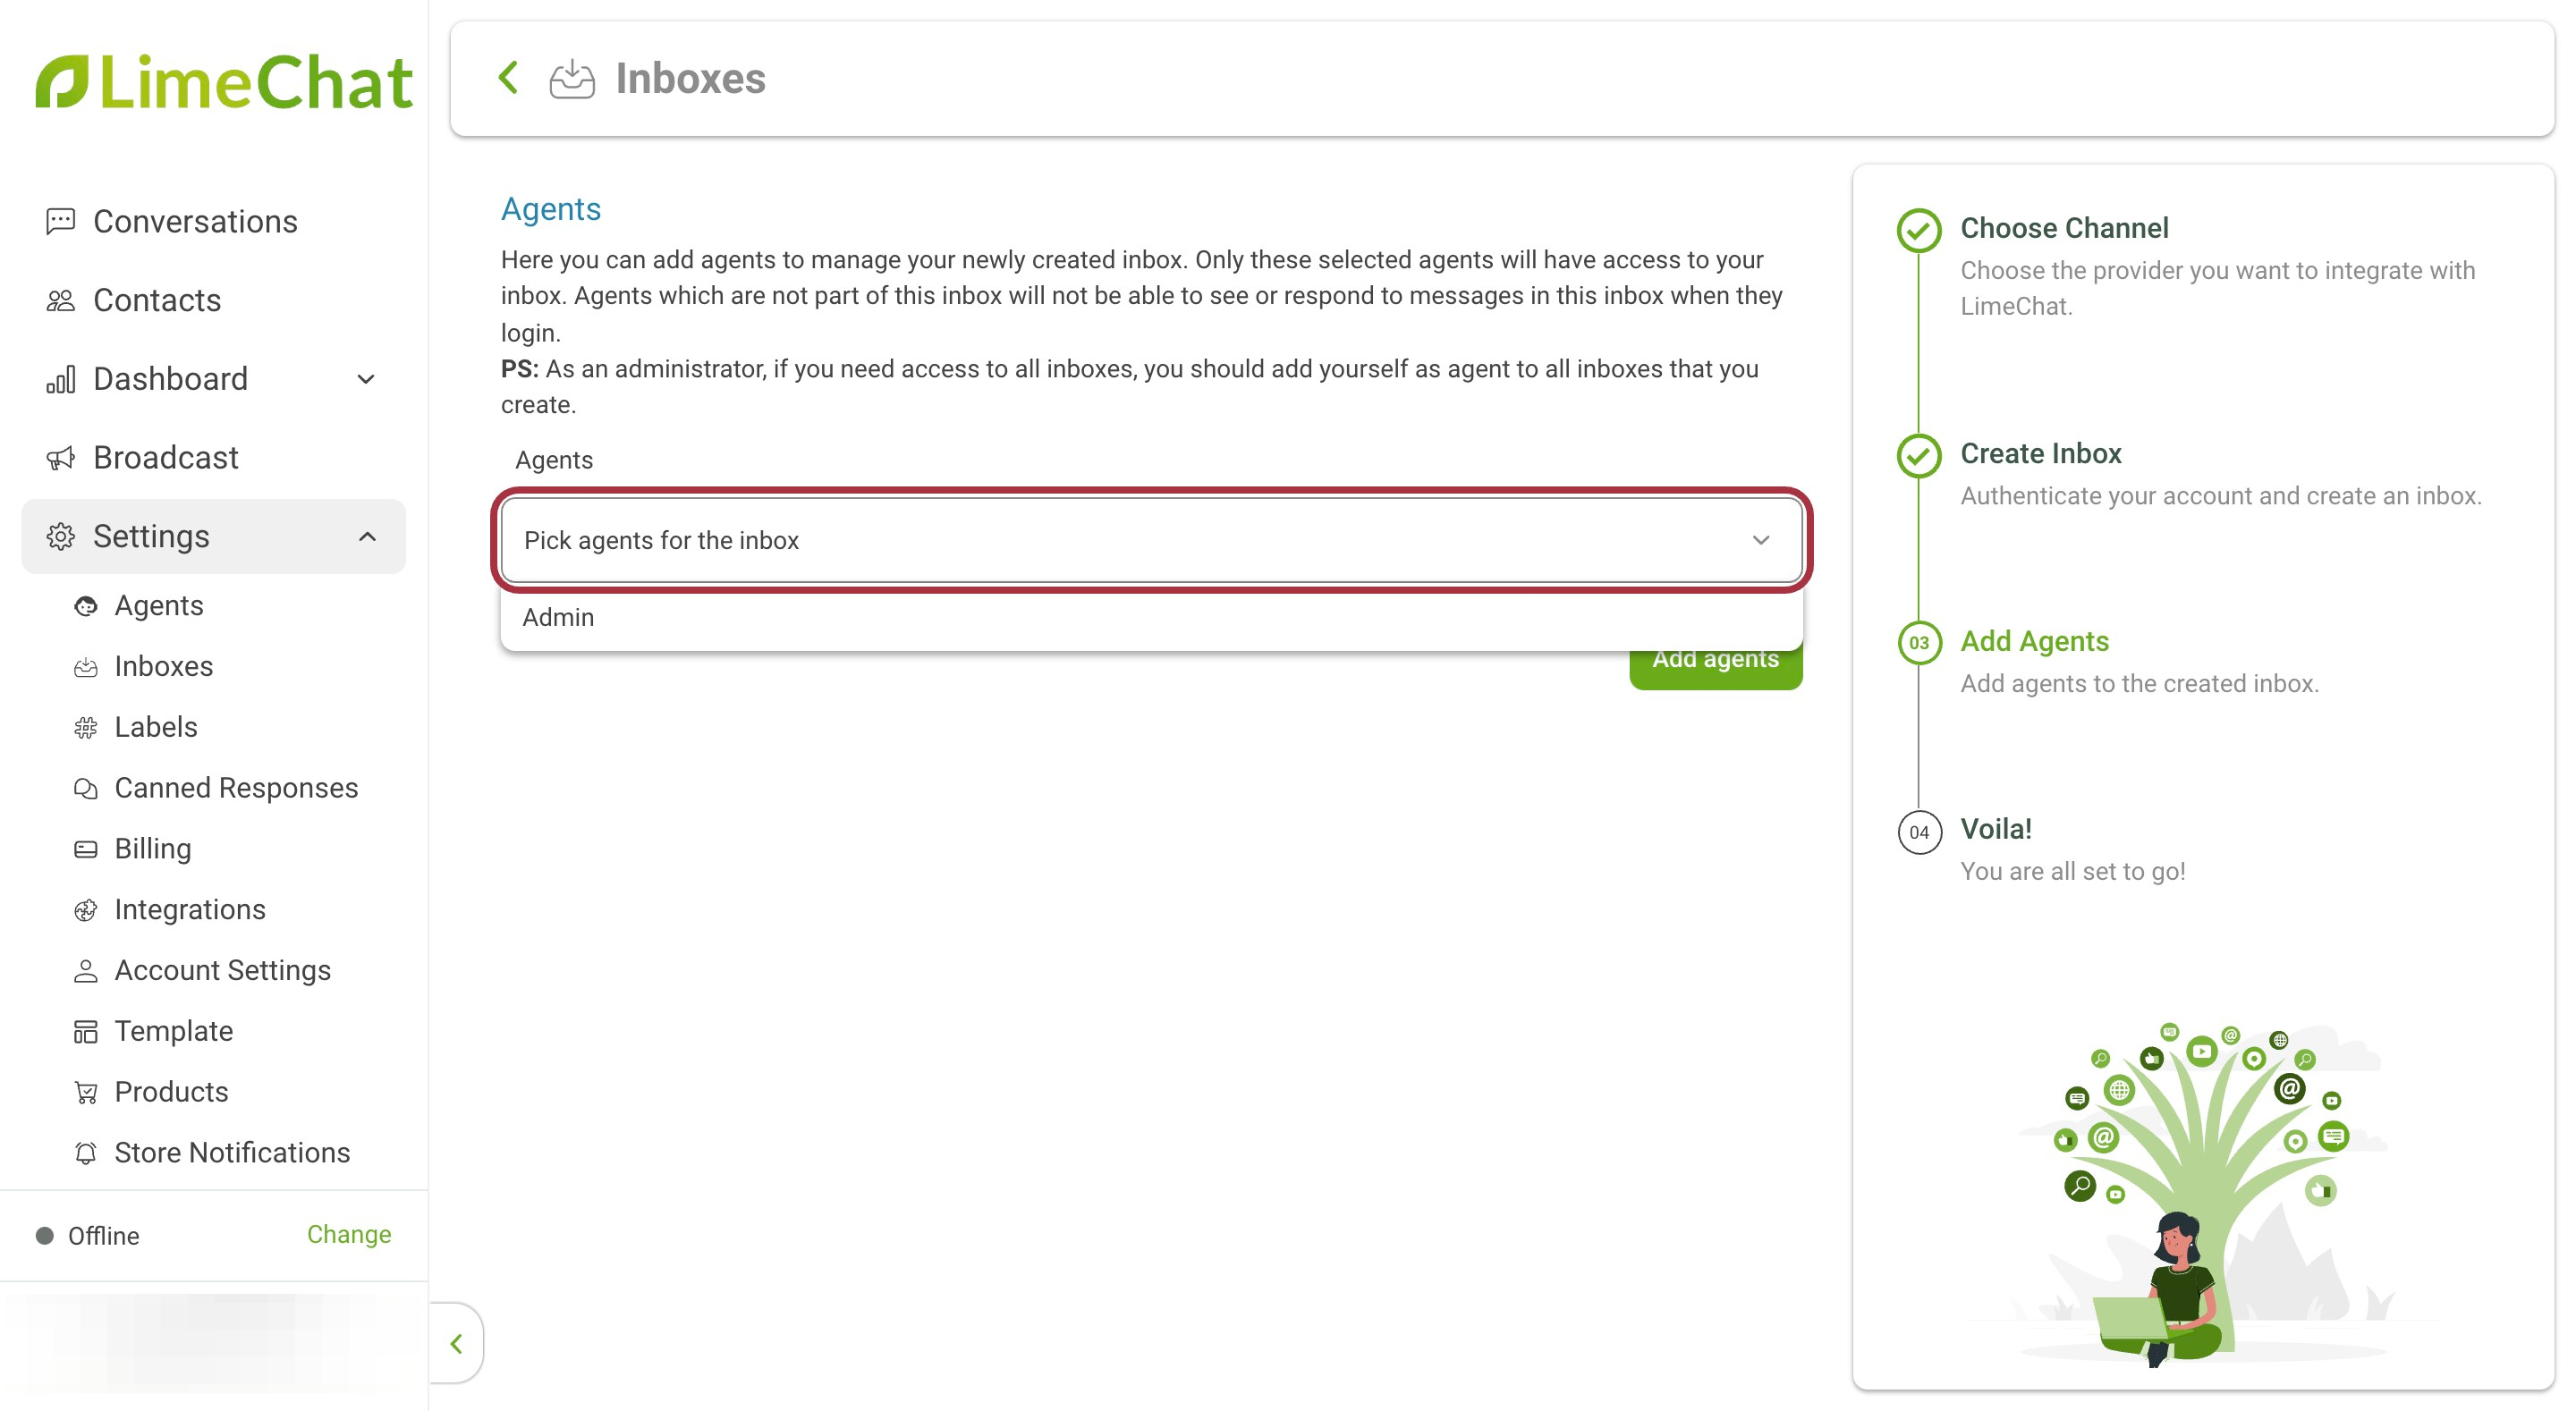
- Add the required agents to this inbox. All the chats received via this inbox (website) will be assigned to these agents.
Note:
- To add new Agents, go to Settings > Agents > Add Agent. All the Agents added will be available for selection in this step. Please refer to this link to add agents.
- Agents can be assigned later to the inboxes too. Please refer to this link to add agents to inbox later.
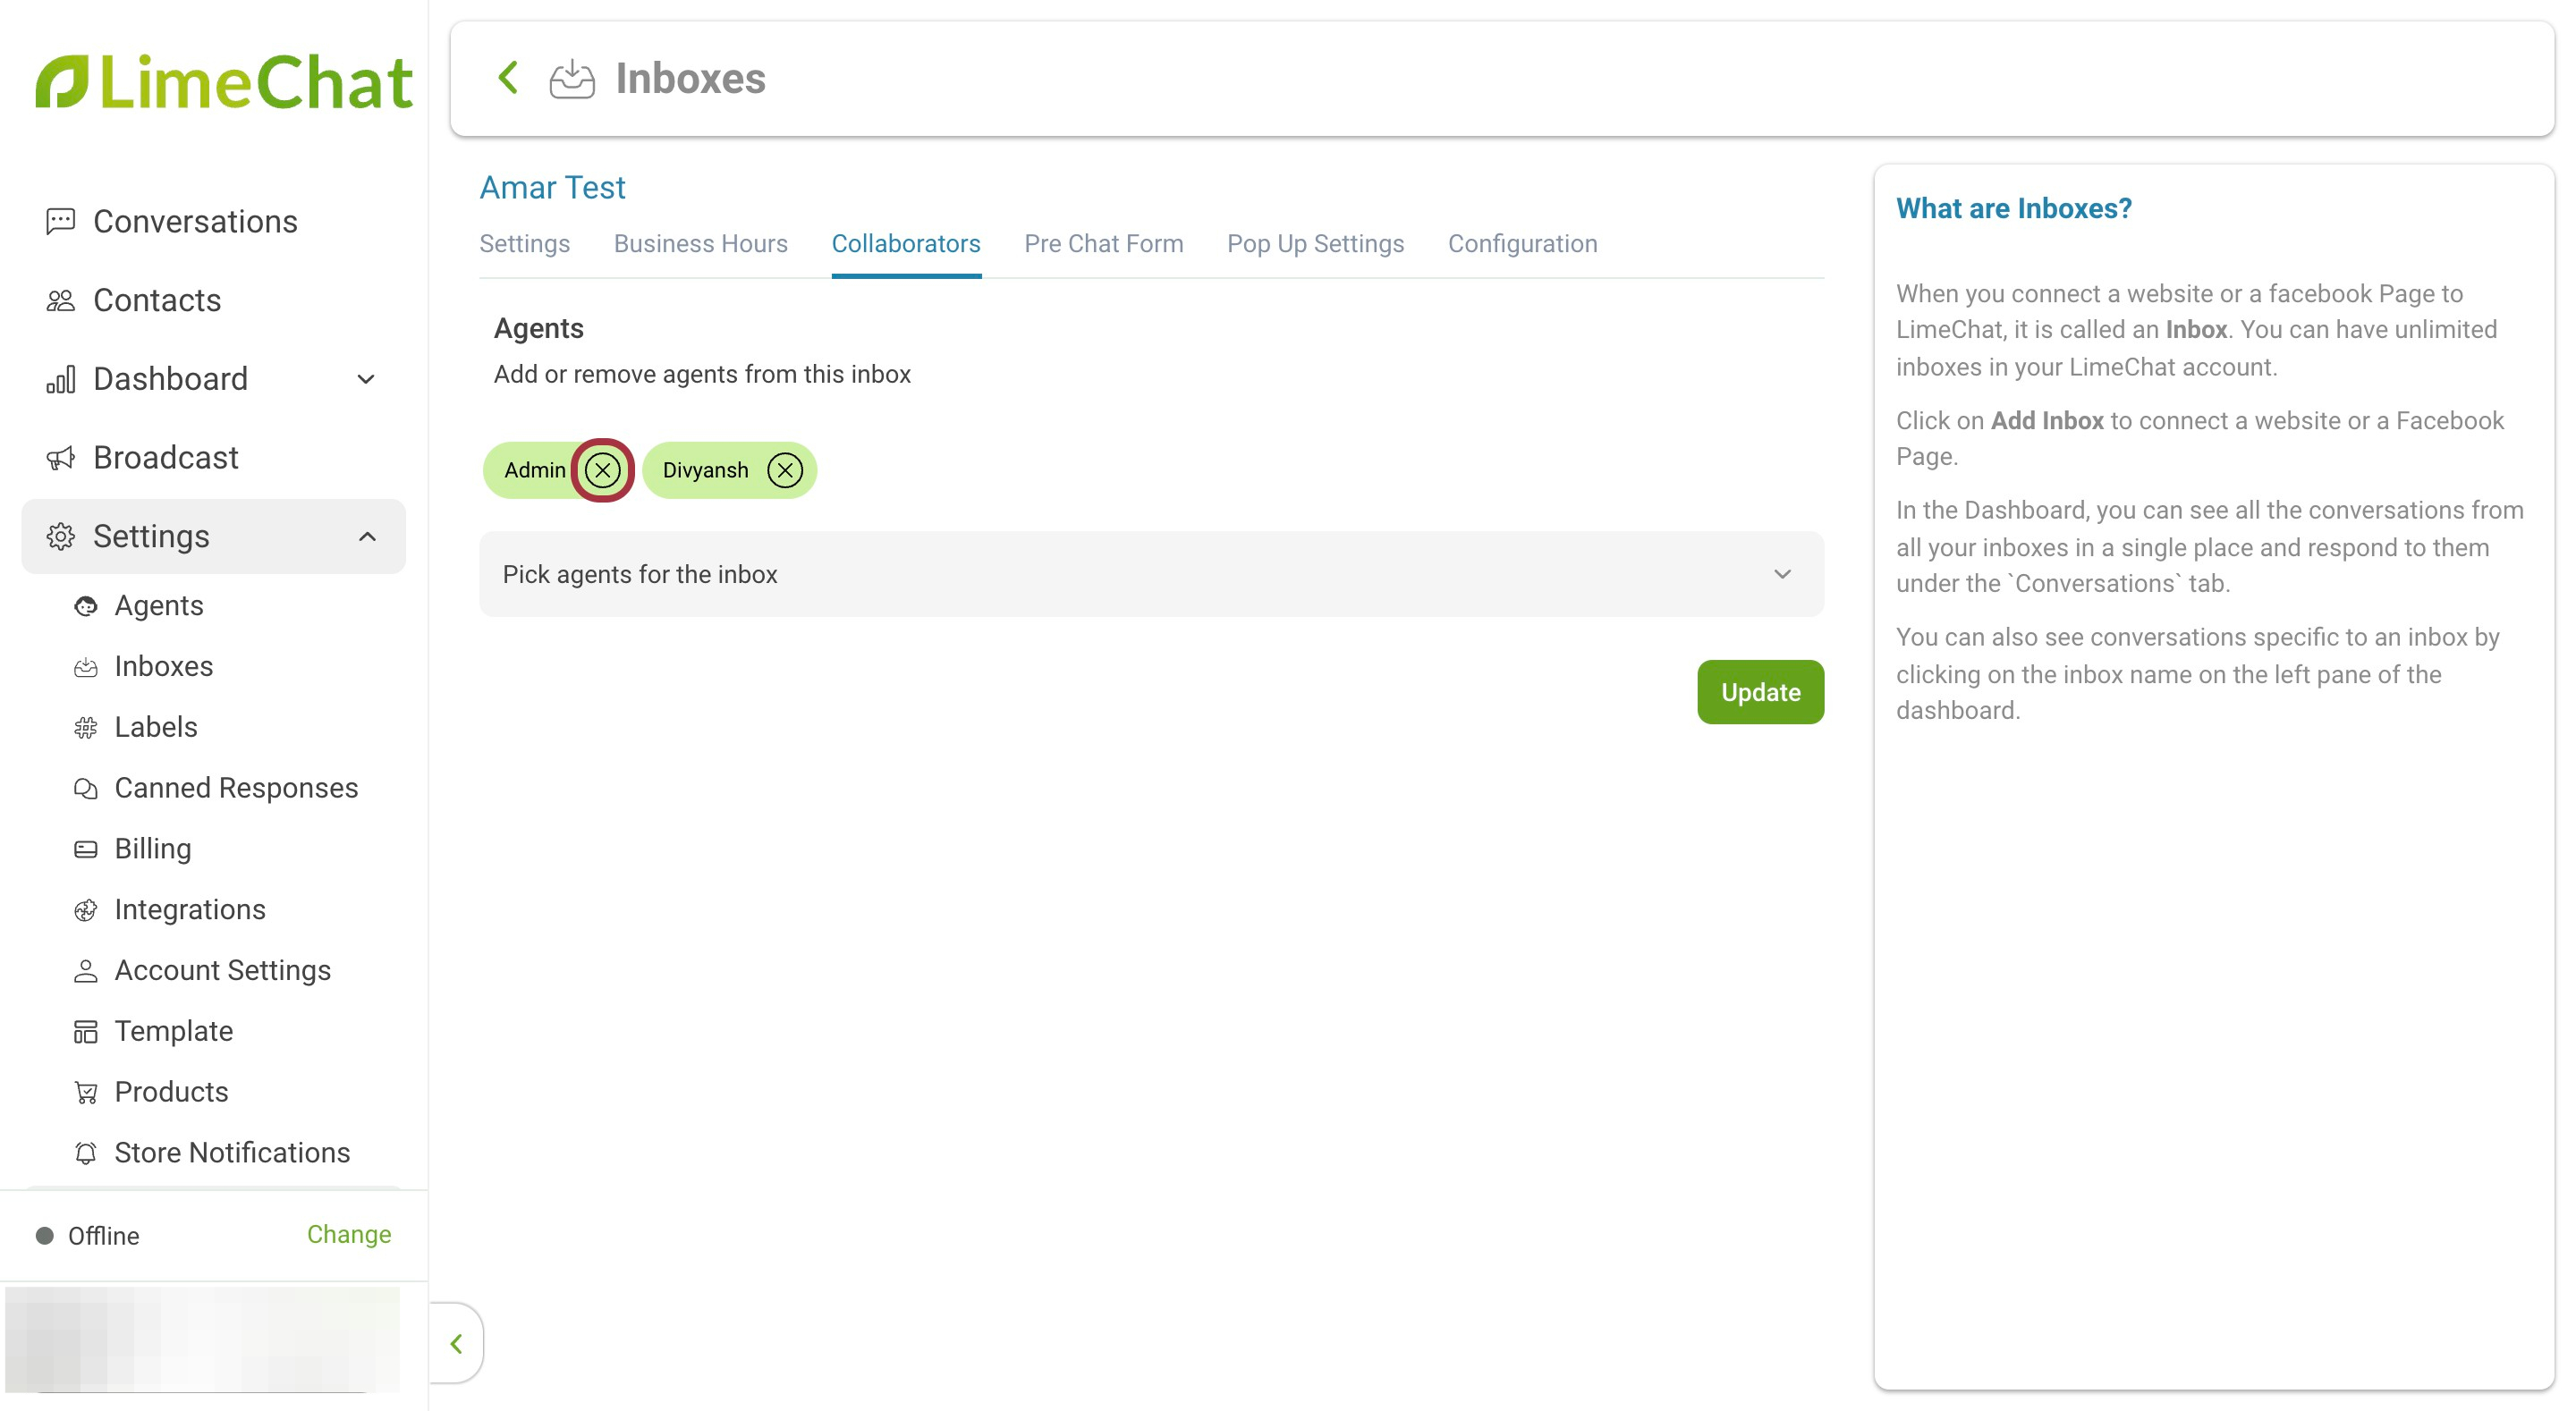
- In order to remove the selected Agents click on the cross icon against the respective Agent’s name.
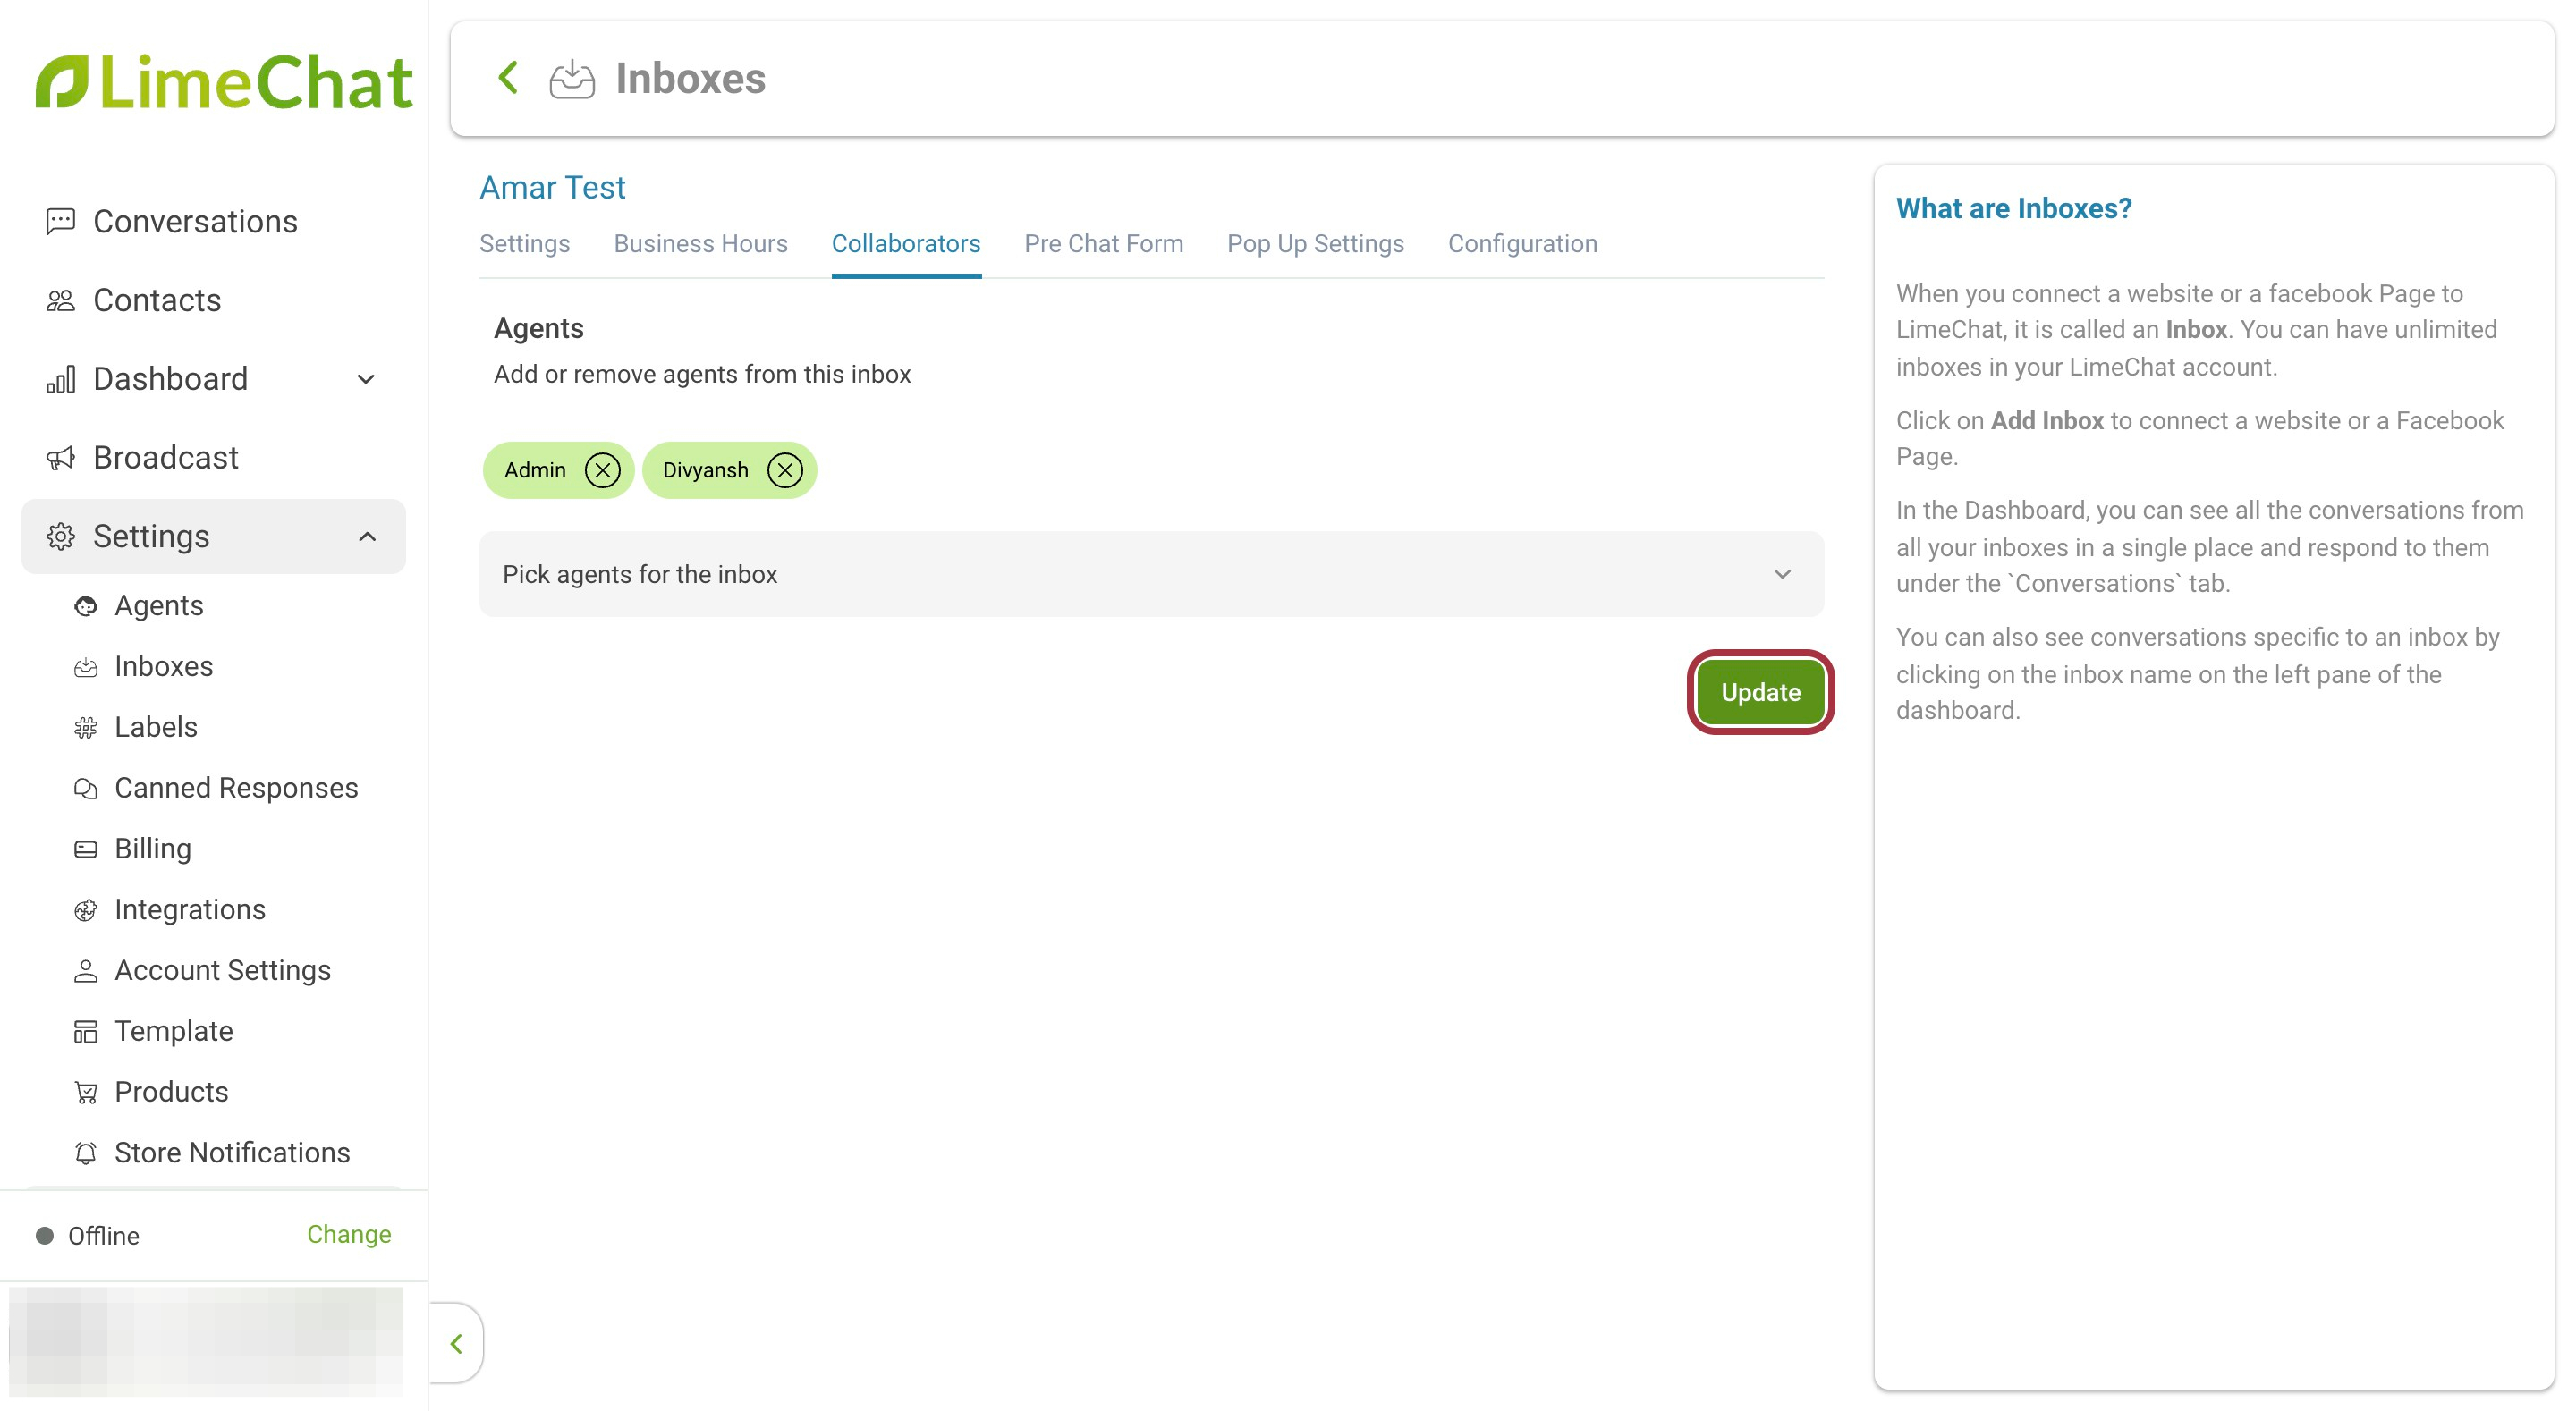
- Click on Update.
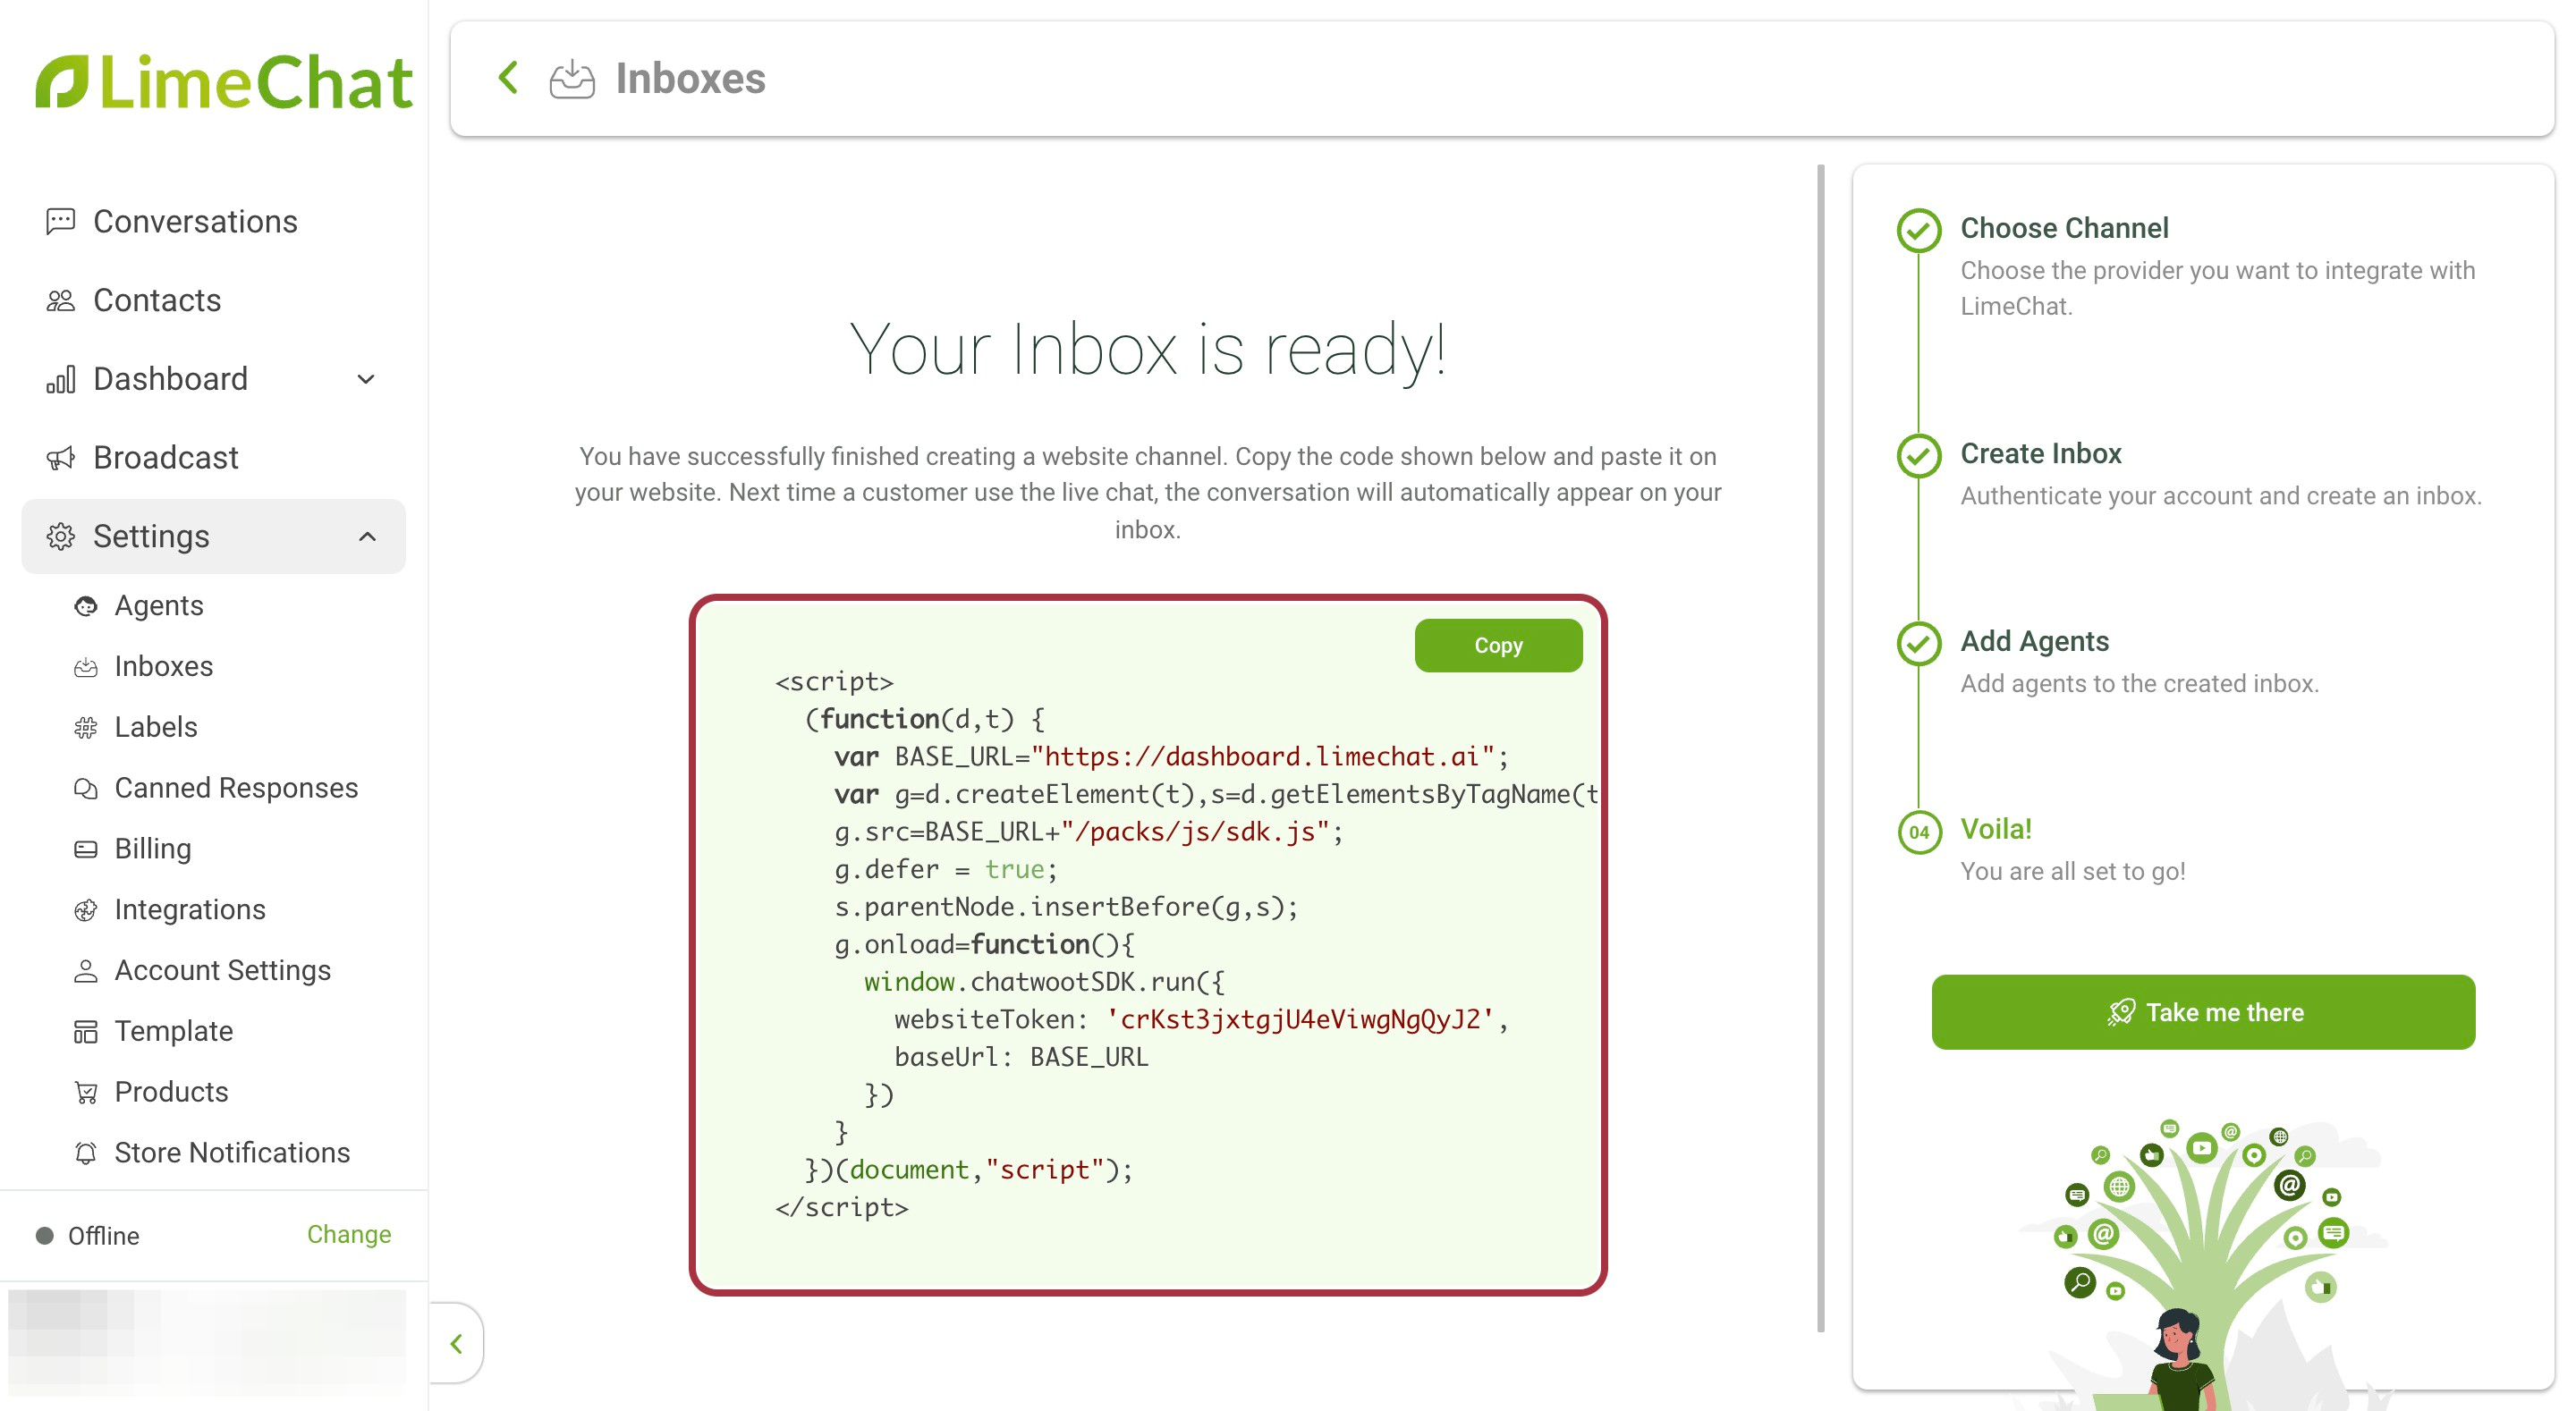
- The script present here must be added to the website’s code for the chatbot widget to be seen.
How to add WhatsApp Widget?
In order to add the WhatsApp icon on the website, a WhatsApp link has to be generated using https://create.wa.link/ and the generated link has to be added in the Website’s code along with the required code for the WA icon.